Table of Contents
Introduction
Black Desert Mobile or BDM is an MMORPG that goes after the feat of Black Desert Online available on PC and console which offers the same quality of action-packed content and combat styles based on skills.
This game is also comprised of various objectives to complete and quests, so if this is your first time, it might be a bit complicated but here’s a guide to help you out.
Class Selection
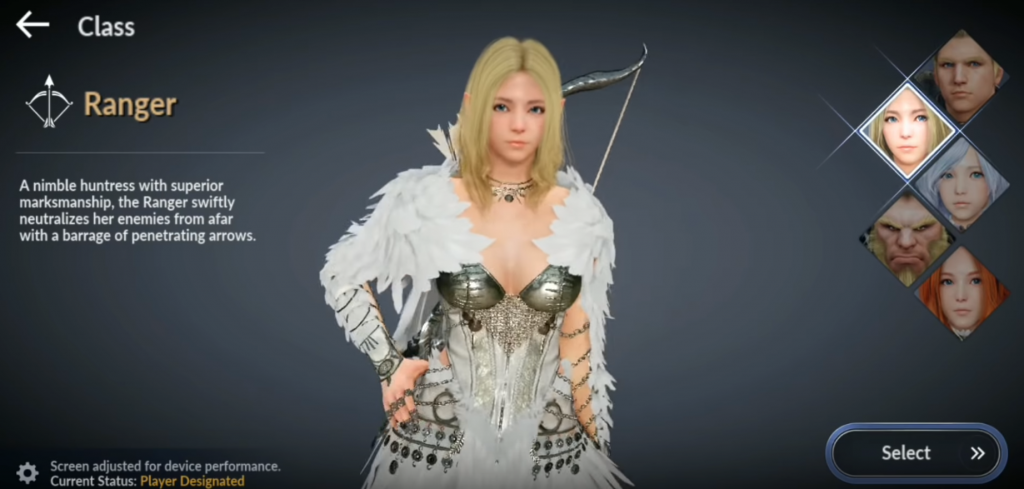
To start with, you have to choose between five classes when you enter Black desert Mobile: the Warrior, the Ranger, the Witch, the Giant, and the Valkyrie. While deciding what to choose between these classes, you will see a description of each of them that may help you decide on the character you feel to use.
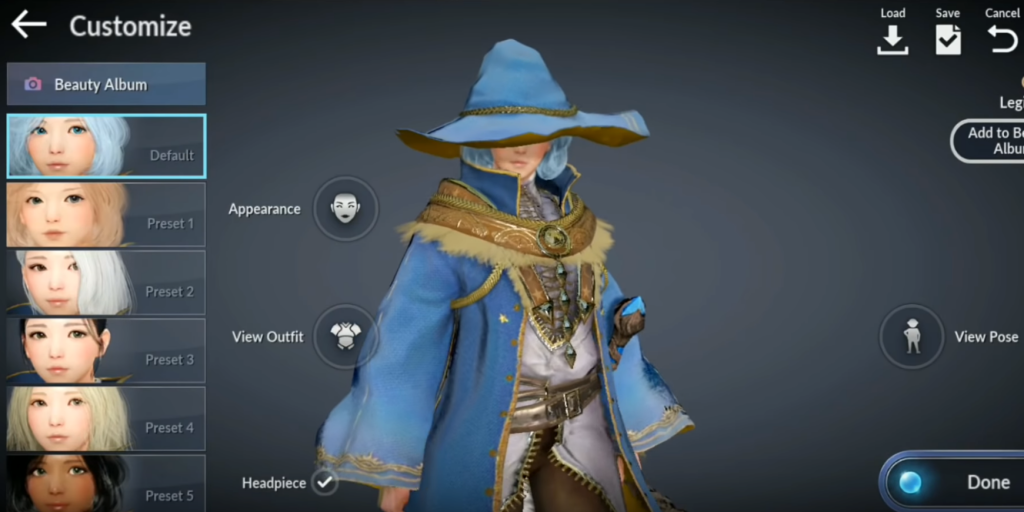
After you’ve selected a character, the next thing that will appear on your screen is Customization. This is the part where you can use the default or customize your character’s appearance and outfit with some additional presets that can be found on the left of your screen.
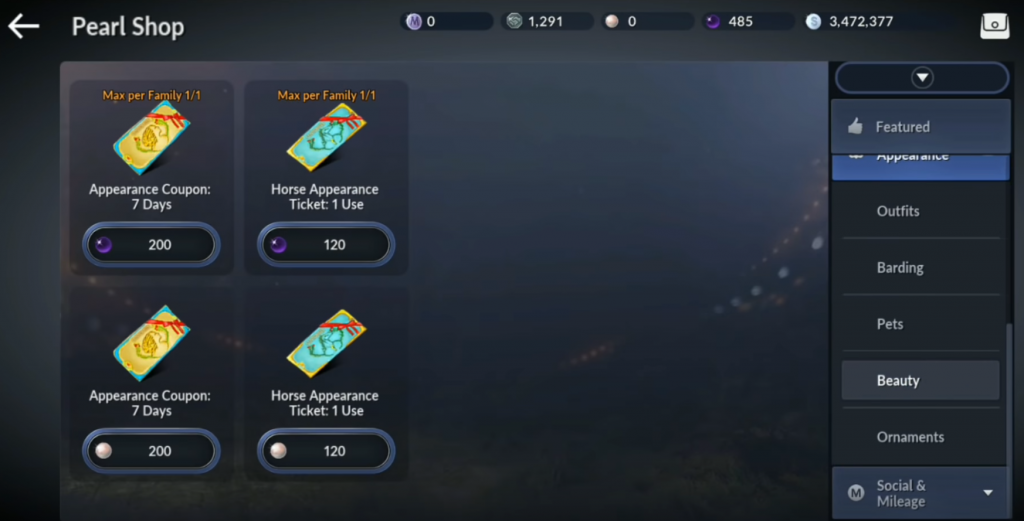
If later on you kind of want to change your character’s appearance, just go to the store (you can find it at the upper right of the screen), select beauty at the drop-down menu, you will see options where you can purchase passes with their corresponding pearls as payment.
User Interface
After you are done creating your character, you’ll be loaded on Black Desert Mobile. Here you’ll pretty much see numerous buttons and options on your screen so we’ll figure out almost all of it.
Map
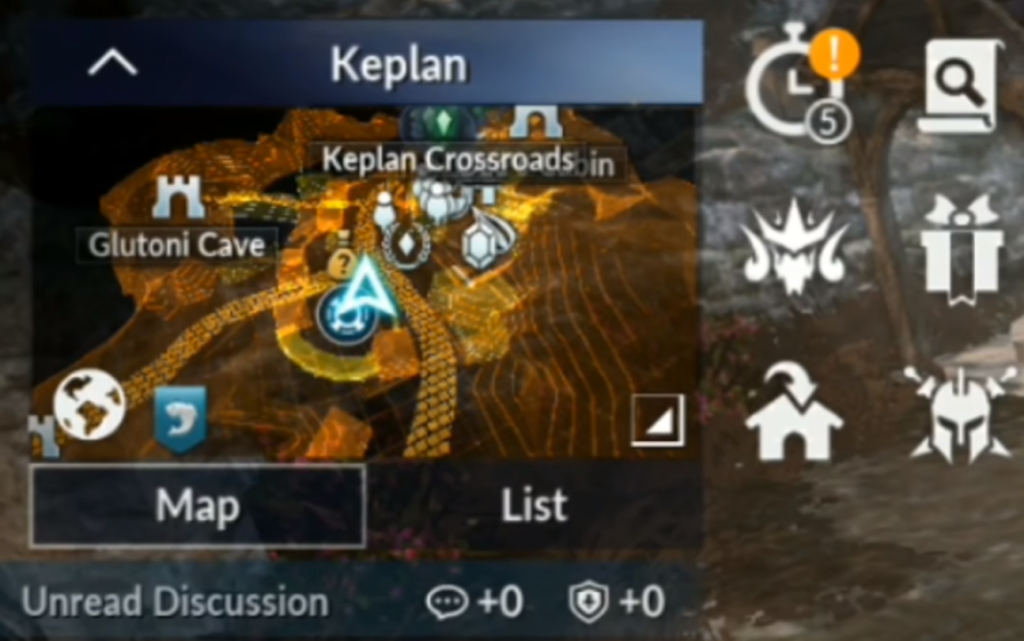
Located at the top left of the screen, you can access the map with either the map mode or the list. One of the functions of the map helps you go faster to a location just by clicking on to it and you can expand the map for a better view. Clicking the list view option will let you view the people in town with a corresponding quest or item to purchase from them.
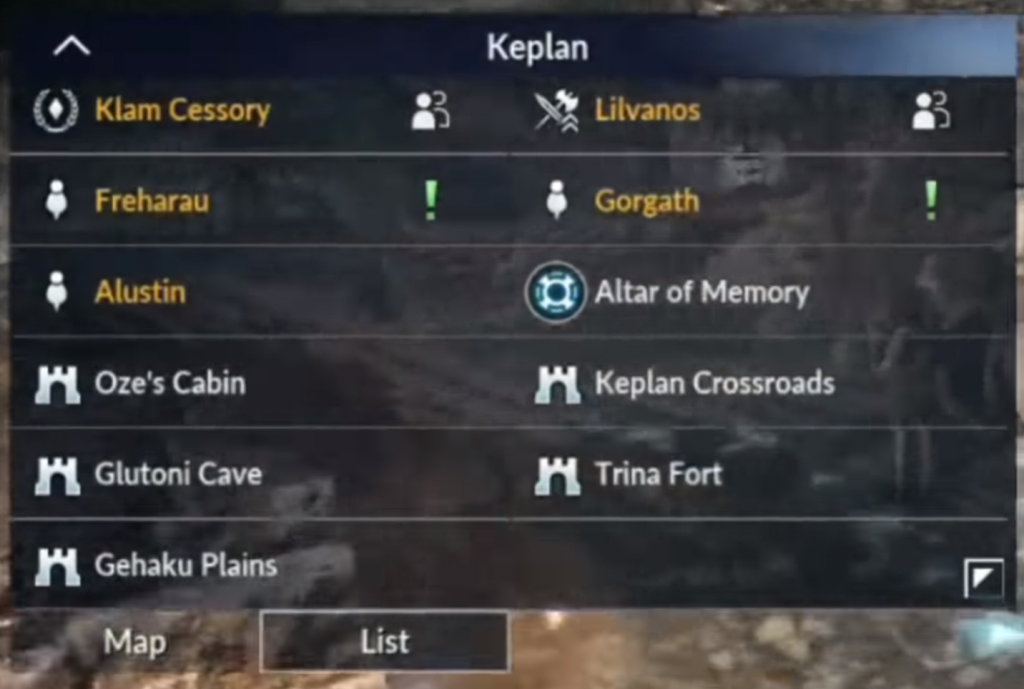
The six options situated next to the mini-map are:
Daily Log-In Reward
Map Area Information Screen
The first option in the window gives you information about all the monsters in the current area while the second option shows any quests available in the area.
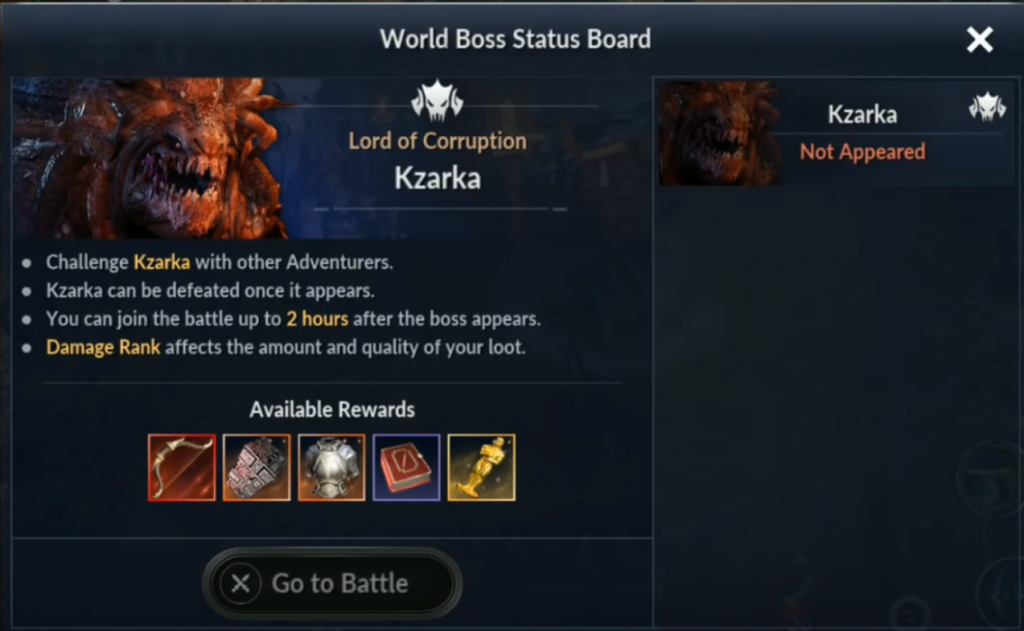
World Boss
This status board indicates when the boss is up and active.
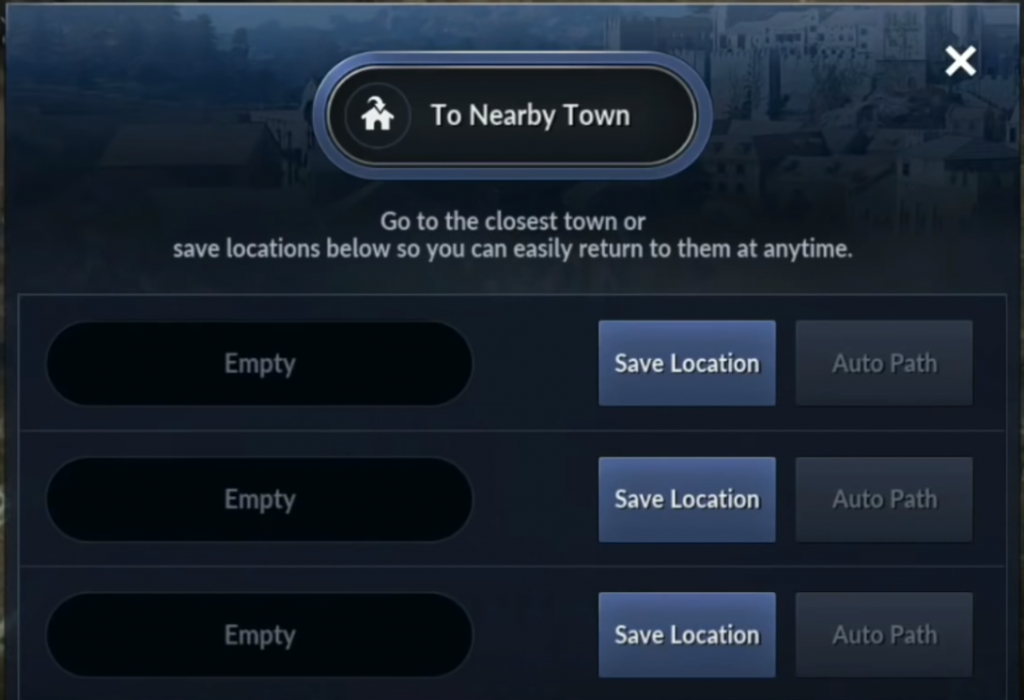
Auto-Teleport Option
It allows you to save locations and teleport to the nearby town.
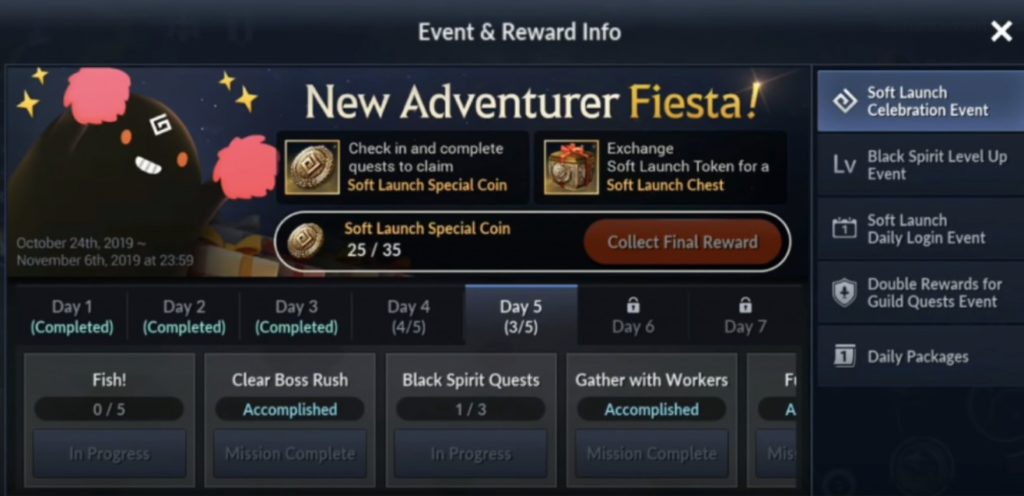
Events and Rewards Info
Shows the current events and their rewards.
Outlaw Mode Setting
Allows you to gain additional experience, however, makes you an active PvP status on the map

The Resource Button, located at the top center of the screen, gives you deets about your wealth and resources in the game.
In-Game Chat
The chat is situated below the map that allows you to communicate with your friends, guild members or the server.
Pets
Right below the in-game chat is your pet. Pets provide help to assist you in the game and you can own up to three pets. Each pet has different abilities and skills and you can obtain them either as a reward after you complete a quest or buying them from the Pearl Shop.
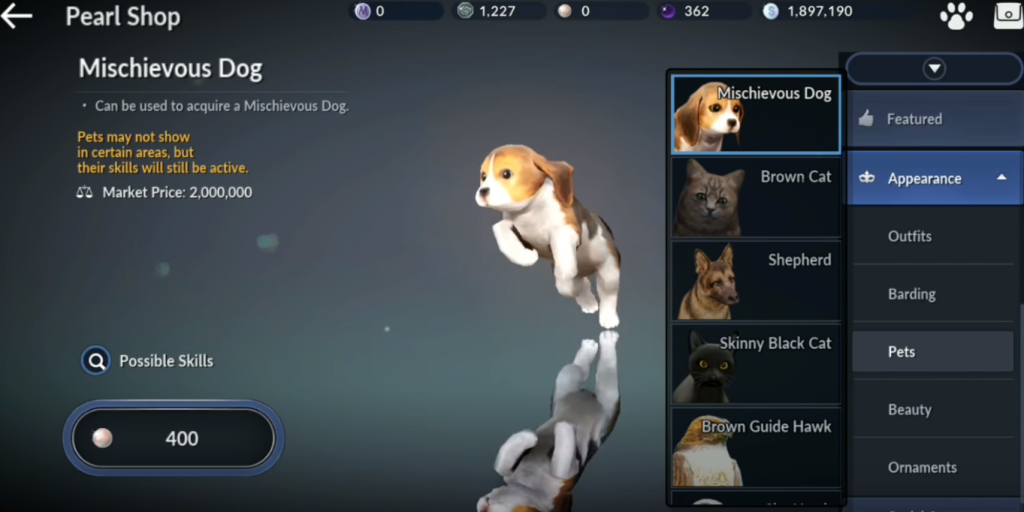
As mentioned earlier, pets have different abilities. Their skill level only increases as they train. The higher-grade pets have, the more skills are available.
Bonus Effects
Bonus Effects is located at the bottom of the screen above the health bar. By clicking, you can view all bonus effects and buffs that you obtained active in or cannot activate.
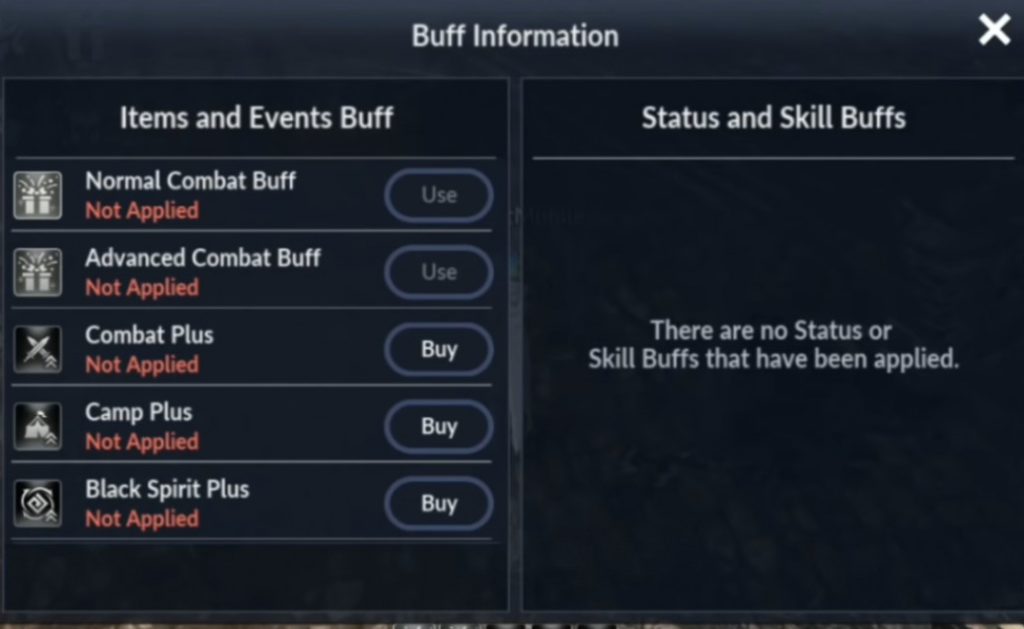
Below the Bonus effects are Gear Resonance & Accessory Resonance they are accumulated, for example, after + 15 on gear, + 2 or + 3 on accessories and 1900 CP depending on each requirement.
Health and Stamina, Auto-attack Button, Potions, and Dark Spirit
You can find Health and Stamina bar along with Tier/Combat Power below resonance.
The auto-attack button can be found on the left of the health bar. You don’t automatically attack when you are in a town so it is on a smiley face. It also serves as an auto-gatherer for resources.
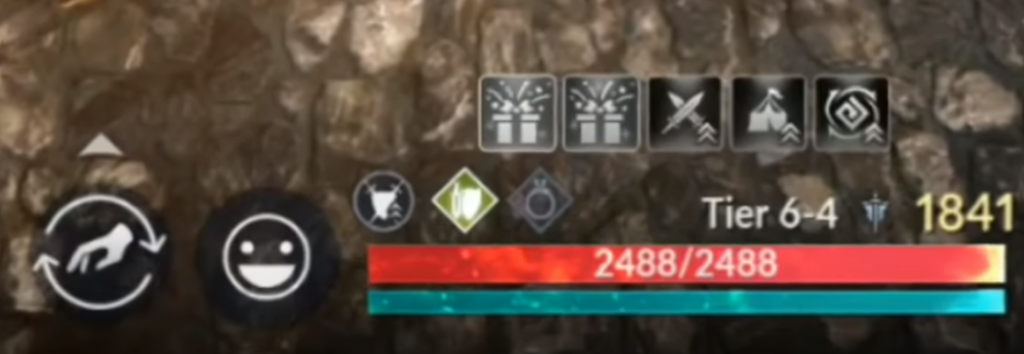
Health potions and Dark spirit buttons are located on the right side of the health bar on the screen while your quick slide and rollability skills can be found next to them.
Buttons on the right side of the screen at the left-most are the Store and next to it is the path to power, camp, skills button, inventory and character information screen, and the alert notification screen. Below these options, you can find your region progress, and then all of your active quests, and your dark spirit skill.

The option showing three lines you see at the upper right-most corner of the screen is the general overview screen which will show you the whole thing in the game.
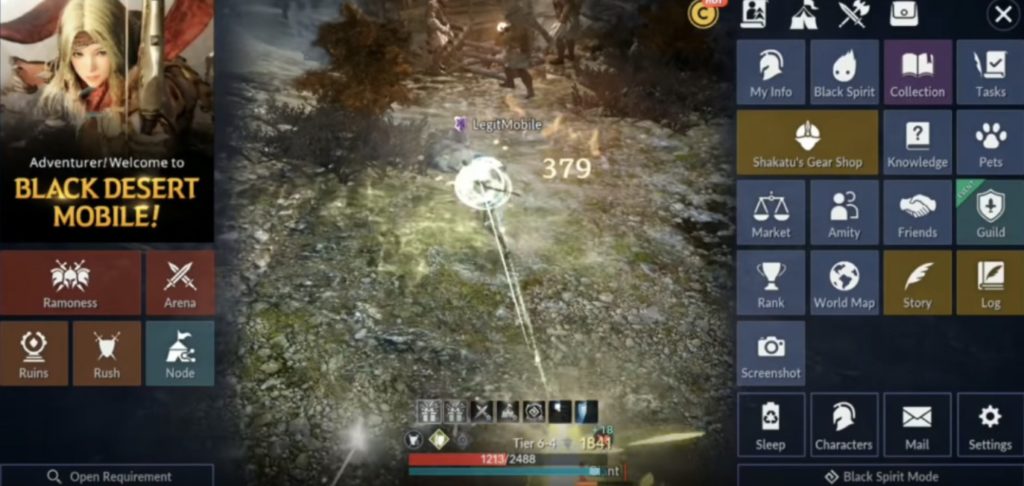
Black Spirit Mode
The Black Spirit serves as an assistant and guide in this game. Found at the bottom right of the main screen, selecting this mode will give you three options to choose from: auto-hunt, auto-gathering, and auto-fishing. Auto-hunt focuses on gaining experiences and hunting rewards at the same time.
Auto-gathering focuses only on gathering rewards and auto-fishing focuses on fishing rewards. These modes give you three hours max for free and you will be able to obtain experience and rewards after, or if you are commissioned to win, it lets you farm for six hours while offline.
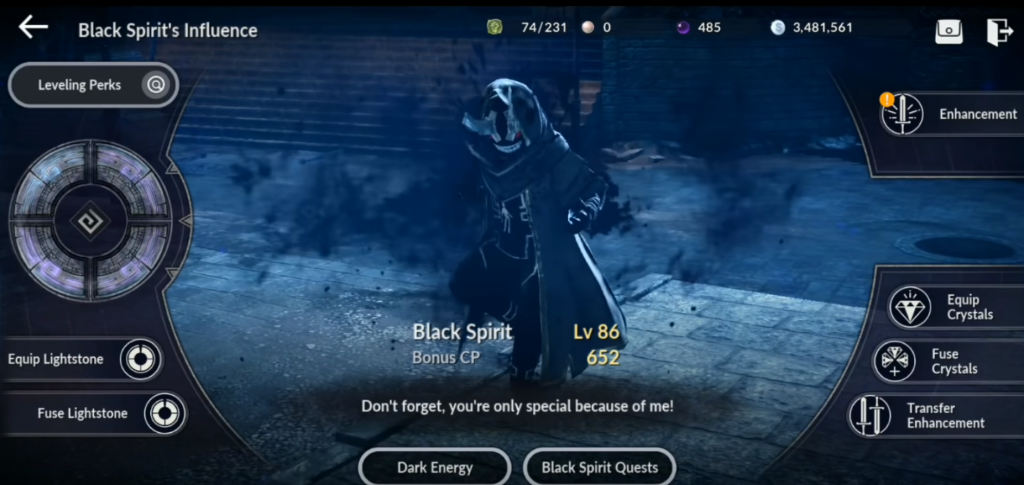
Black Spirit
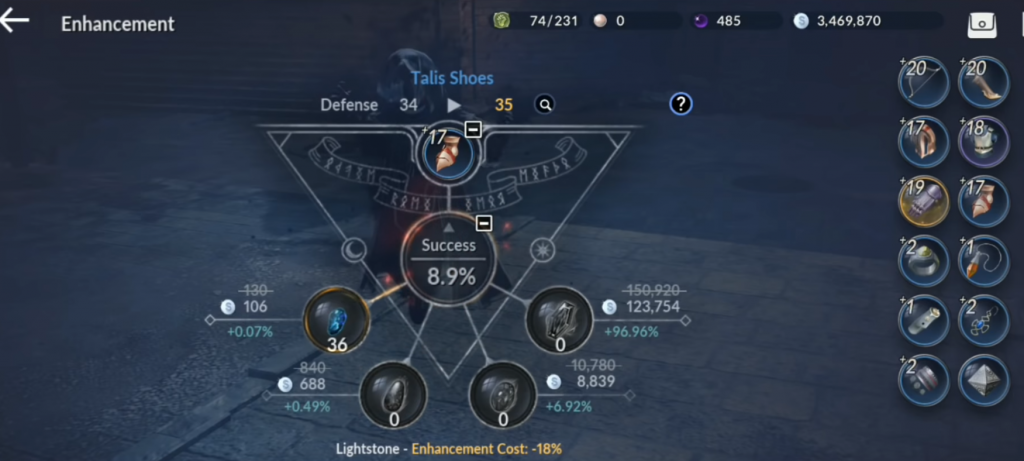
Enhancement
On the right side of the screen, you will see Enhancement. Weapon enhancement is separate from armor enhancement and requires Weapon/Armor Blackstone. In armor enhancement, you must have 10% at minimum to try to augment a piece of gear, it is also 10% chance-based.
Crystals
Below the enhancement option is the Crystals. These can be obtained from crafting, loot, or crystal vendor in the village. Crystals are grounded on levels and your armor and weapons can equip them.
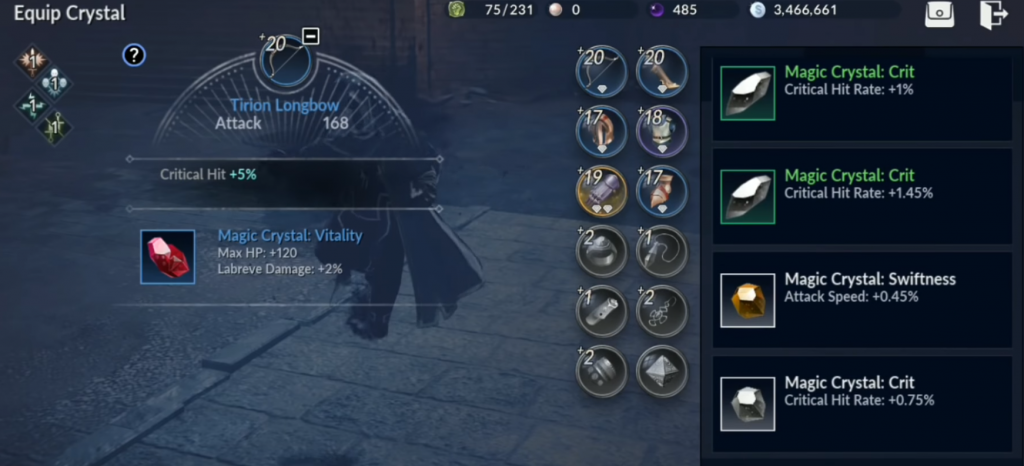
Dark Energy
At the bottom, dark energy can be seen. You can level up your black spirit as you feed him dark energy essence. Weapons, armors, accessories, and condensed dark energy do aid to level him up and as his level goes up he offers skills that can be used in combat, and skills that offer various benefits. Remember that those items can’t be recovered once the Black Spirit absorbs them.

Lightstone
Right below leveling perks you’re going to see lightstones. The lightstones allow players to gain access to different bonuses and other benefits depending on the type of lightstones. Lightstones upgrade by gear score. To fuse lightstones, you should have at least three of any type, but the same color or grade to fuse and attempt to upgrade it.
You’ll also need to have a Lightstone fragment since it is necessary for fusing. Lightstone and Lightstone fragment can be acquired at the Pearl Shop, Boss Rush, Field hunting, or Ancient Ruins. This is chance-based and requires silver to fuse.
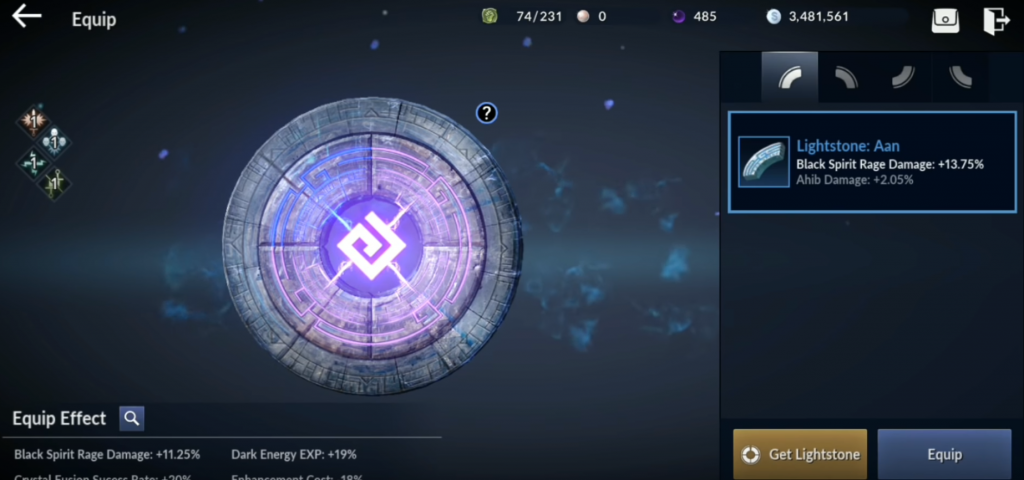
At the beginning of your game, you will only have one Lightstone slate. To get the two Lightstone slates, you need to head to the Pearl Store. These slates can be bought with silver and black/white pearl.
Dungeons and Rewards
Going to your dungeons, just click the main screen and access the Ruins on the left side of the screen. Here, you’ll see two different options: Quick Join or Create Chamber. In Quick Join, you are the one to choose the difficulty of the chamber. These chambers can go up to level five and are related to combat power.
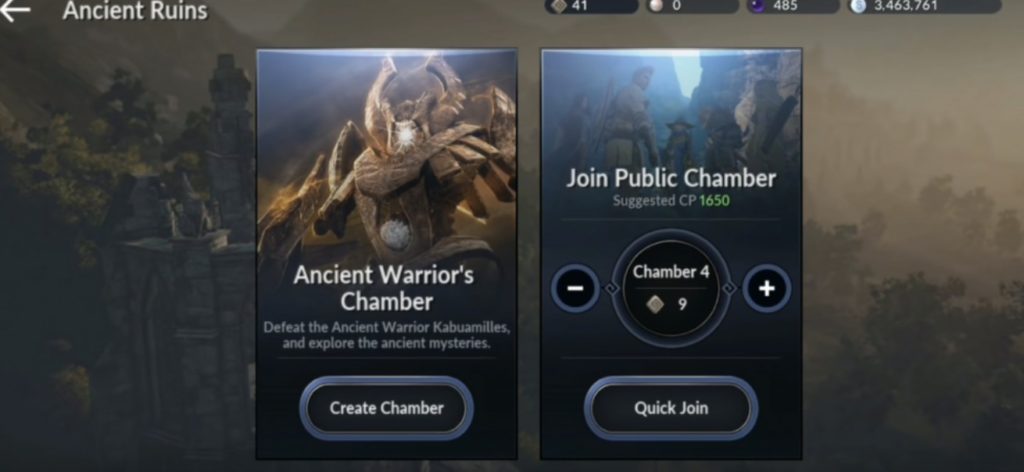
You won’t be able to join if you lack suitable combat power you choose to create a chamber, you can make a chamber that also shows the available rewards. You can also decide whether to increase the chamber or not.
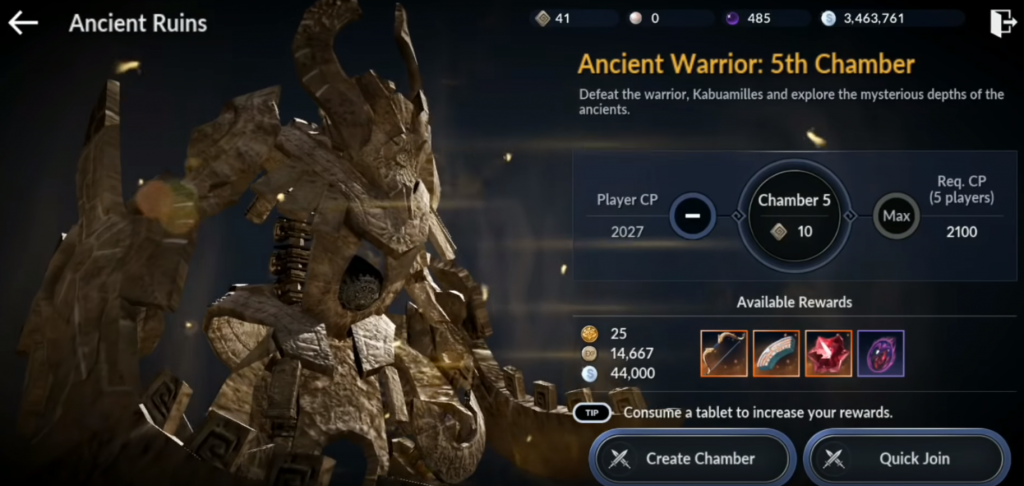
And once you do create it, you can also increase up to x5 the reward modifier which also increases the rewards you’re going to receive. Failing to have people join within 30 seconds will result in bots filling in so you can finally start the match.
Rush Board
Comprised of mainly Bosses is the Rush Board. These are grounded by combat power and they begin at level one difficulty and somehow continue to raise. Better rewards are waiting as the higher you get. You can either raise the difficulty or auto-repeat. Raising difficulty escalates as you go on and you want to be continuously doing it up to the most difficult level to increase the rewards you can get.
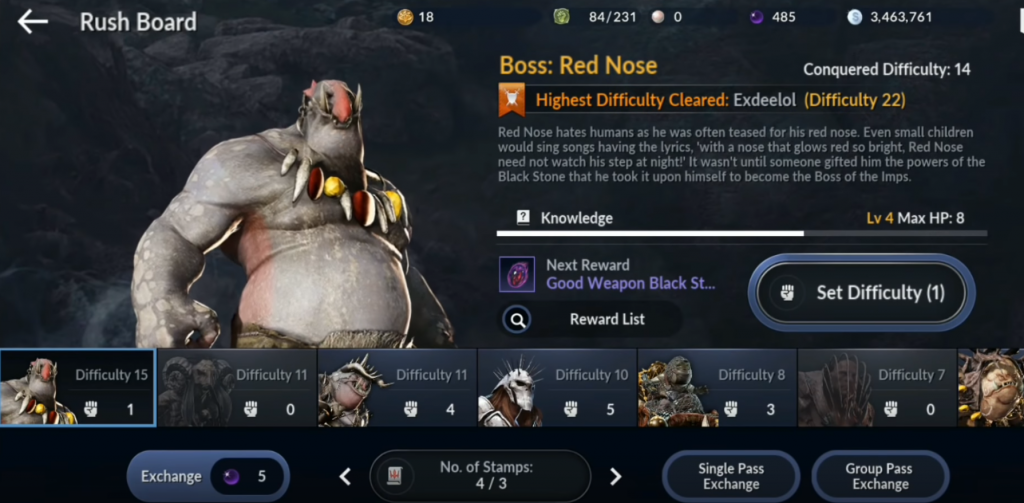
You can view the reward list in the middle that shows the different rewards you would get for each level.
Character Information
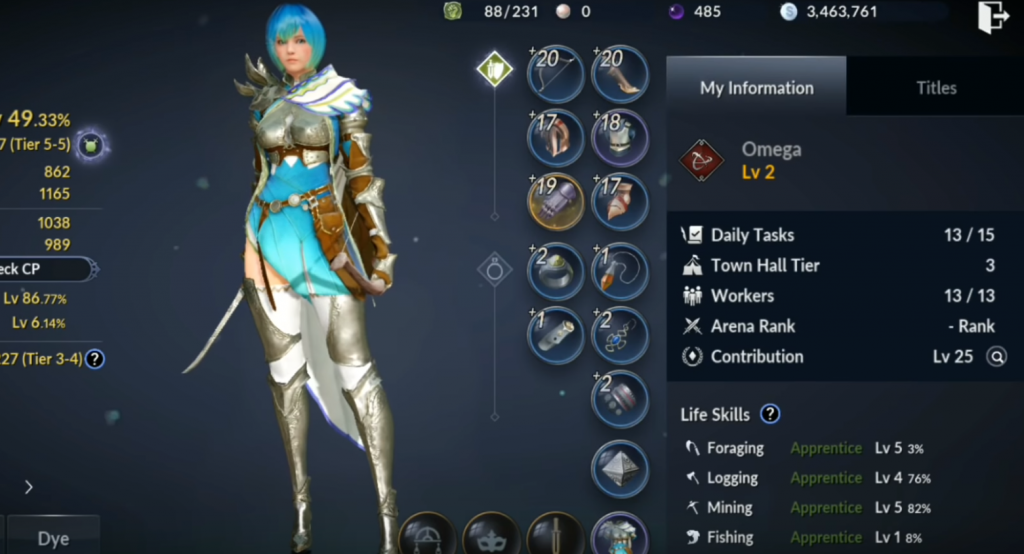
Character info can be accessed by going to the main menu and clicking on the My Info. On the left of the screen, you’ll see your combat power and the process of how you get it. That way you’ll figure out how to increase them and also your family’s combat power. By scrolling over, you can view much detailed information on your stats.
Branch Damage
Branch damage is composed of Aal, Serrett, Labreve, and Ahib.
- Aal – increases skill damage
- Serrett – increases the number of targets
- Labreve – Increases skilled critical hit rate
- Ahib – the chance of additional damage
On the right is your My Information which shows stats on Tasks, Town Hall Tier, Workers, Arena Rank, and Contribution. Contribution levels you up with workers you can spend contribution points on and the different things within your camp.

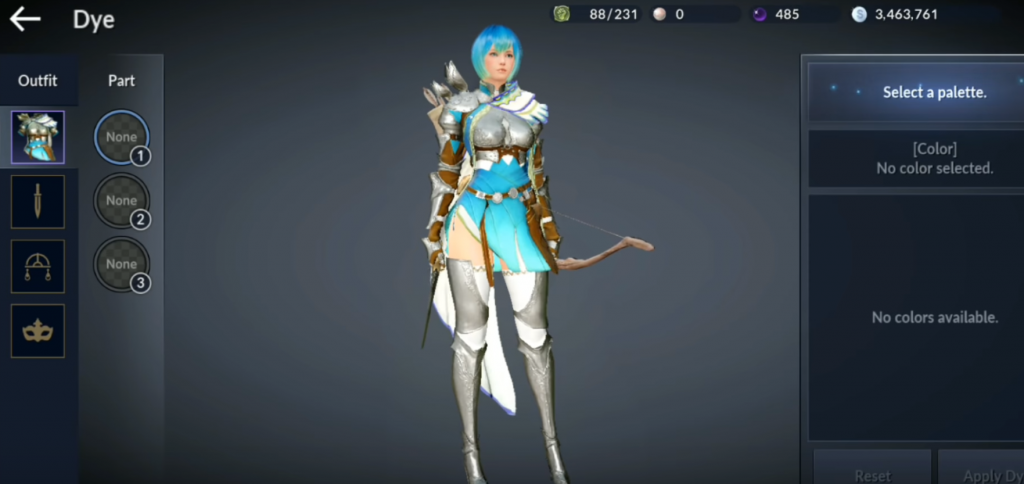
In the middle of the screen, you can see all your gear like armor, accessories, and weapons. You can also dye and choose the color to your liking by clicking on the Dye.
Access to your inventory is on the right side of the screen. You can check your weapons, crystals, armors, accessories, skill books, and some other things.
Skills and Combat Power
Every skill has one skill book and there’s no worry about leveling it up because you can level each one up if it is available. On the left of the screen, you can view skills and how each skill work with its corresponding added effect and benefit.
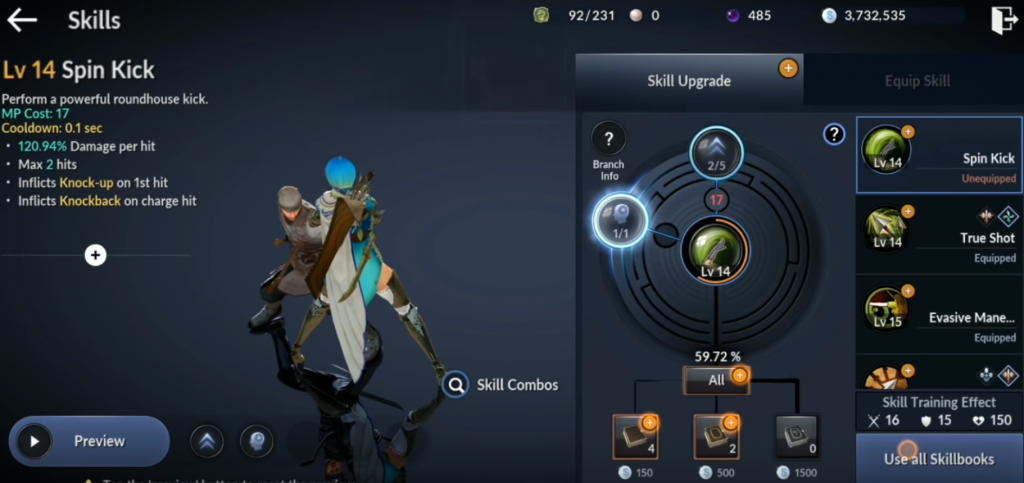
By clicking the + sign located on the left, you can also see the possible additional benefits you are going to acquire after you level up that particular skill. You can scroll and look at all of your skills on the right side of the screen. Just use the skill books and you can level each up.
Experience, essential in skill upgrade, can be obtained through completing quests, fighting, purchasing, and such. There’s also a sub-skill and more or less can use branch damage. Remember to stack the exact branch damage suited for your class or current set-up.
There are eight slots for skills, in which the four are visible on the game screen while the remaining four can be accessed upon pressing the icon or swiping the skills at the bottom right of the screen.
PvP
Player versus Player can be found on the left of the main menu. First, the Ramoness Arena is a 3on3 arena wherein you just have to click it and decide either to create a team or quick join a team to join.
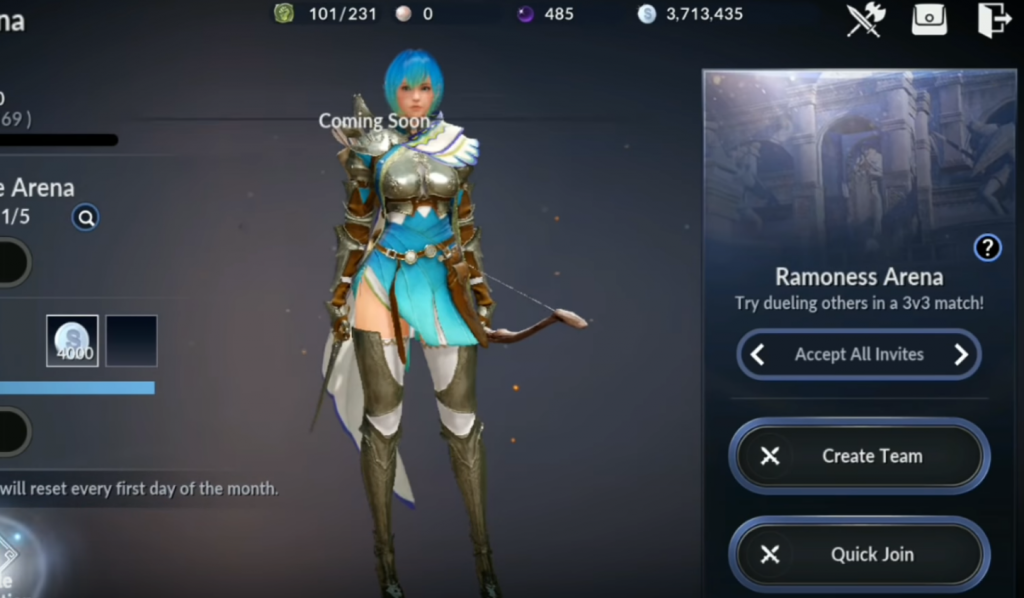
The 1v1 arena, you can choose between Arena or Friendly Arena and you’ll obtain a chest after winning a match.
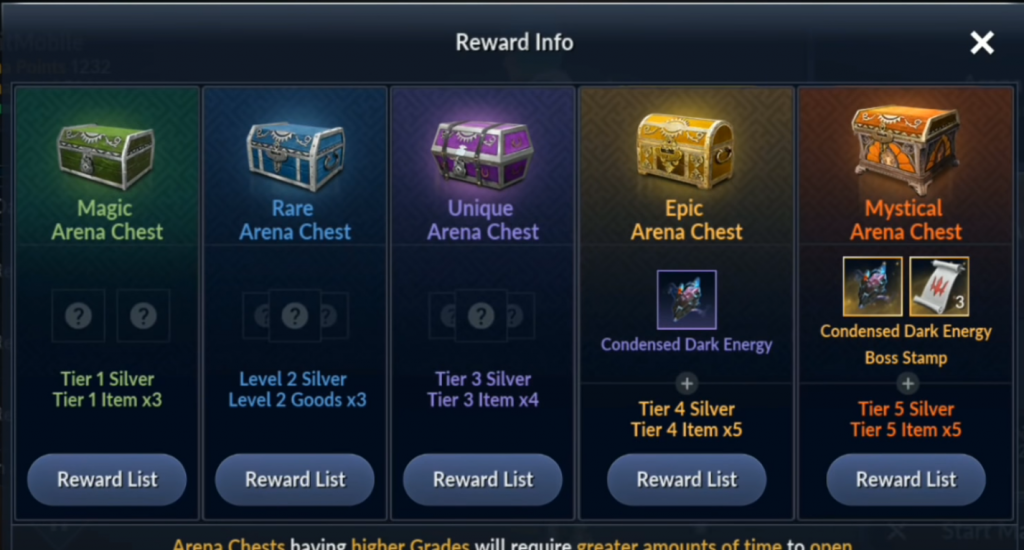
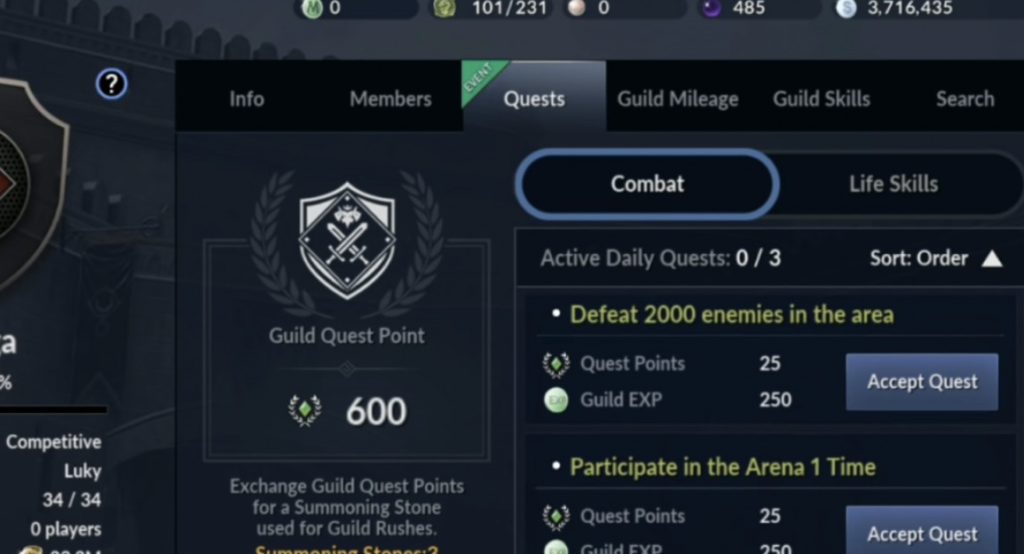
Guilds, Tasks and Shakatus Shop
Joining a guild is advisable to players. As you join, you can acquire guild quests as well as guild skills as your guild levels up.
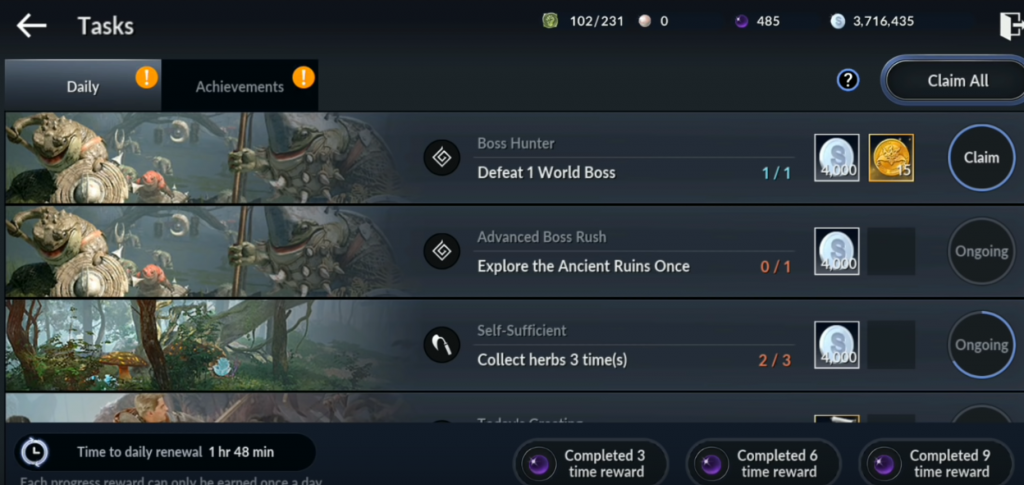
Tasks are those to-do lists every day. Once you go there, you’ll see the daily tasks and achievements tab. At the bottom right there’s three, six, and nine tasks per day on rewards on the pearls.
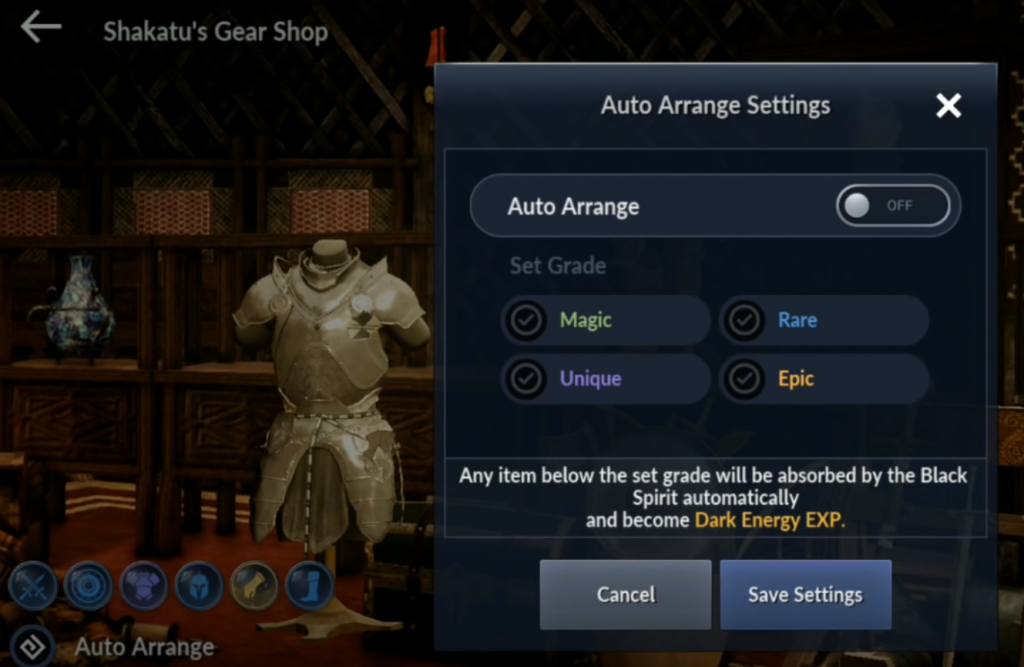
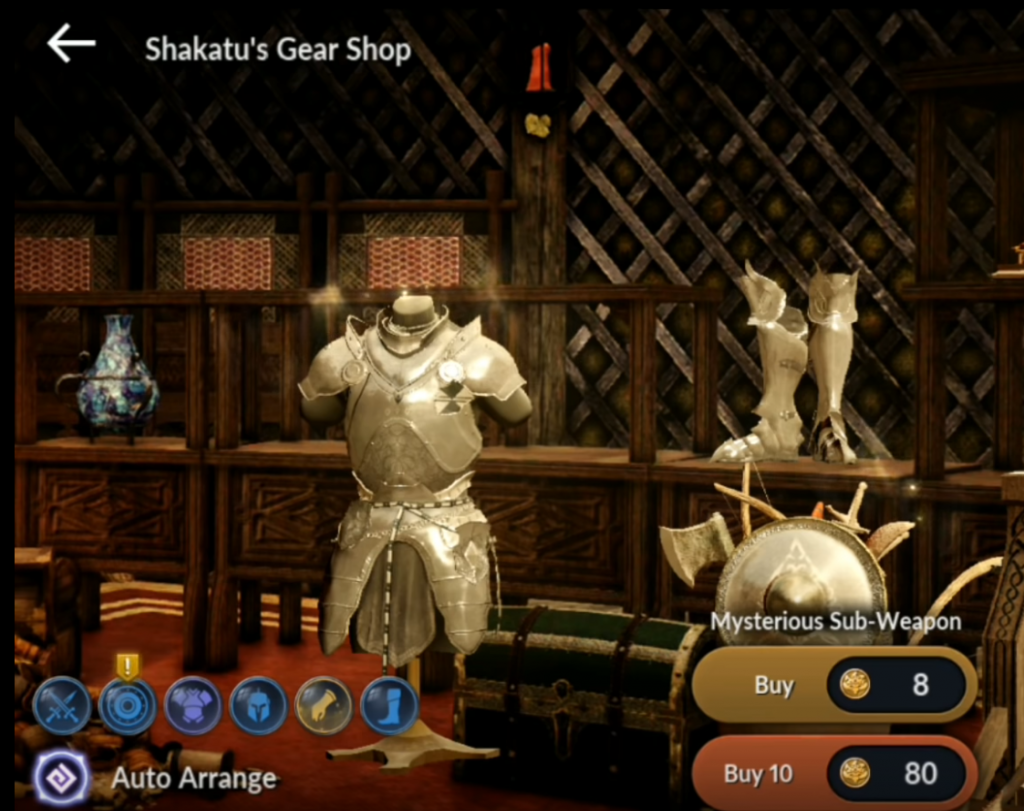
Shakatu’s Shop is the best shop to get mysterious and legendary items by spending ancient gold coins. You can get gold coins from doing quests and daily tasks to spend in this gear shop. The ancient gold coins required vary for each piece of item and you can purchase an item one by one or if your Black Spirit is over 40, purchasing 10 items at once is achievable.
