Table of Contents
Introduction
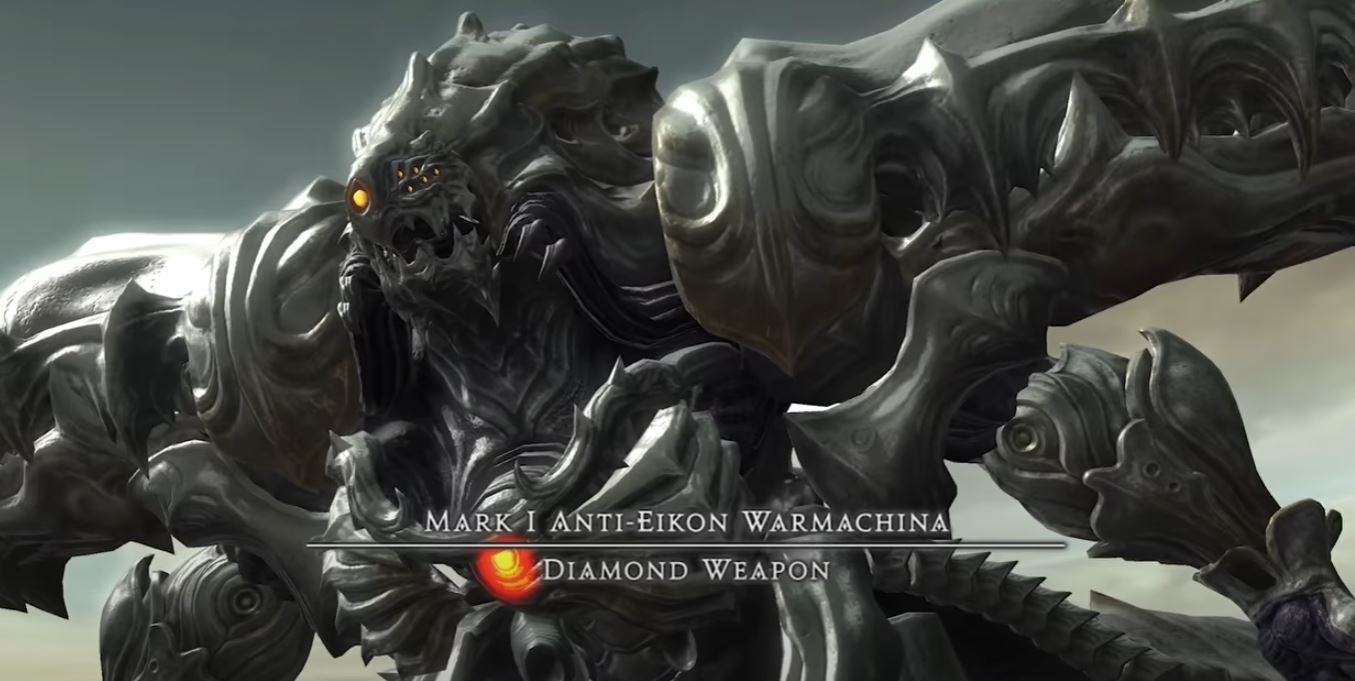
The extreme version of The Cloud Deck, where players face The Diamond Weapon, is unlocked by talking to the Resistance Officer in The Lochs for the quest Duty in the Sky with Diamond.
This three-phase fight takes place on a series of floating platforms, and it’s a good idea to split the group into two teams of 2 DPS, a healer, and tank to assign them to their platforms. Players can only move between platforms every 20 seconds, so jumps must be timed wisely. This trial has a lot of mechanics so be sure to pay attention.
Mechanics
Phase 1
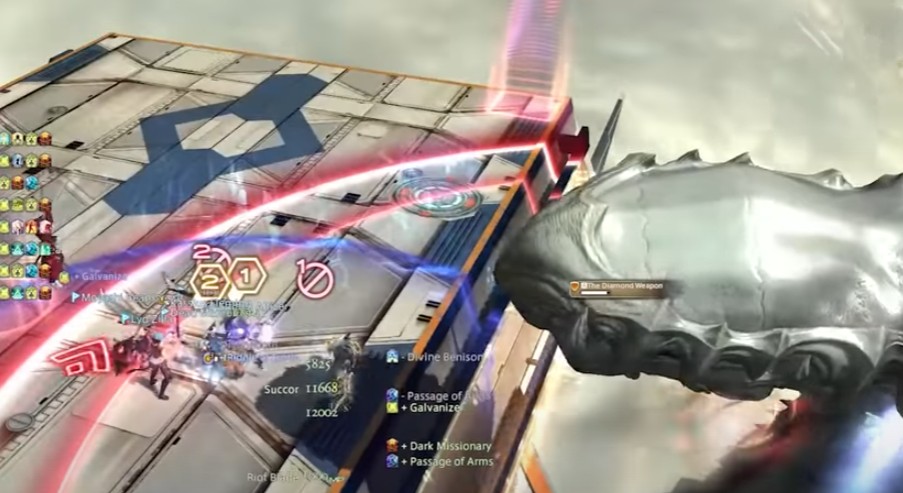
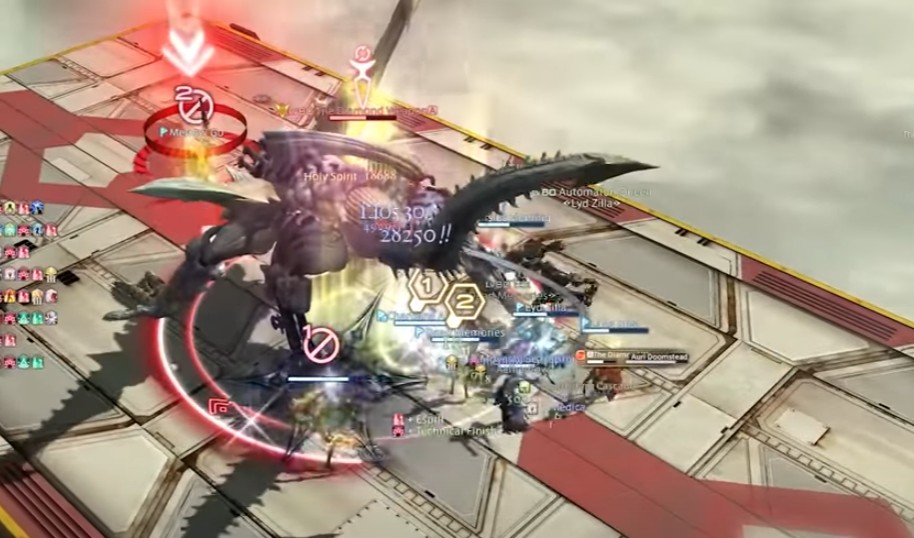
Adamant Purge: The Diamond Weapon will raise its claws and prepare to destroy the targeted platform. Players should teleport to a new platform before this happens. Watch the arm to determine which platform he will perform the attack on.
Claw Swipe: After casting Adamant Purge, The Diamond Weapon will use this ability to destroy the targeted platform.
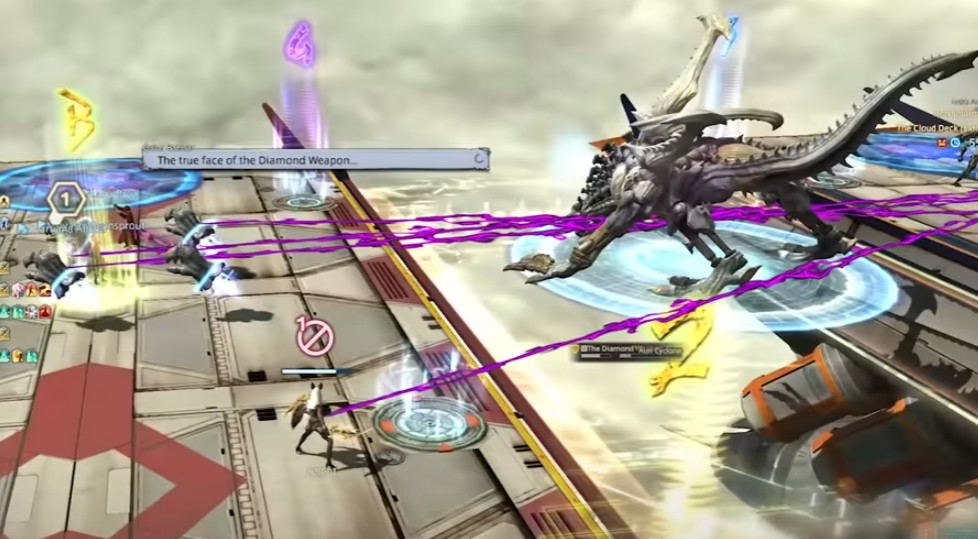
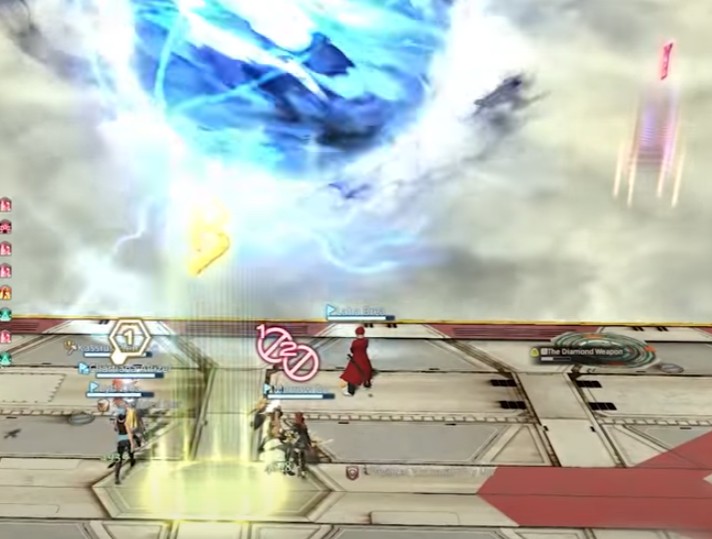
Diamond Rain: An unavoidable AoE that targets one platform at a time and applies magic vulnerability. Half stand on one platform and the other on the other platform.
Laser attack – make sure tanks have highest enmity as it will target the top 2 and away from the rest of the group.
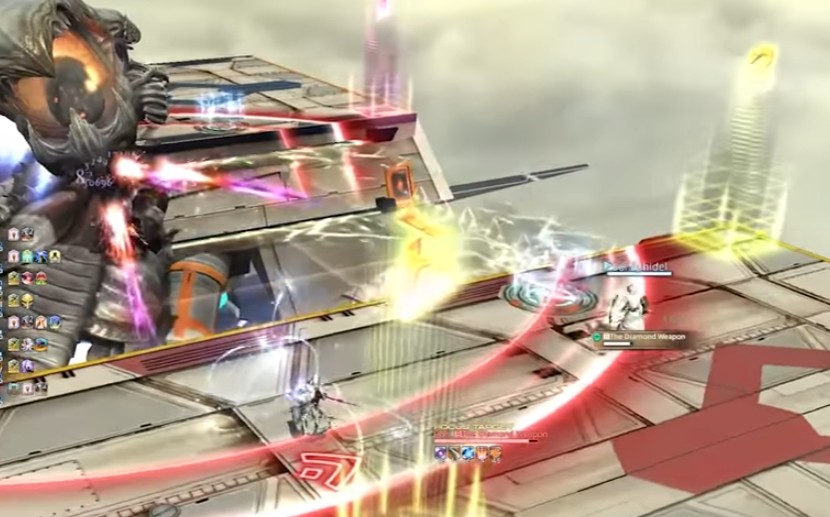
Diamond Flash: Yellow chest cannon. This mechanic is a Line AoE that splits the damage between all players. To survive, players should stack together.
Homing Laser: The Diamond Weapon will place small AoE markers on all players that apply magic vulnerability. Players should spread to avoid stacking damage.
Homing Missile: orange shoulder cannons, spread out to avoid overlap damage.
Teleport: After a mechanic combo, players without the teleporter debuff should jump to the opposite platform.
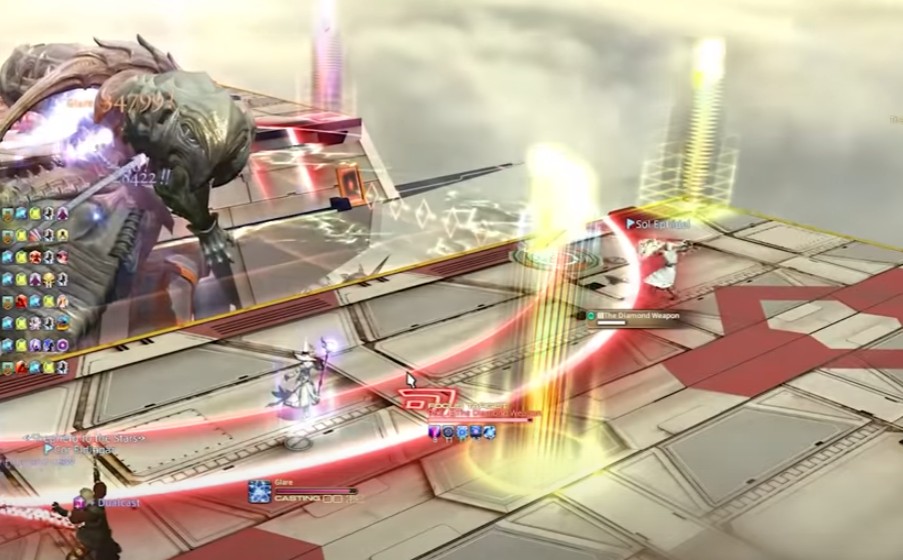
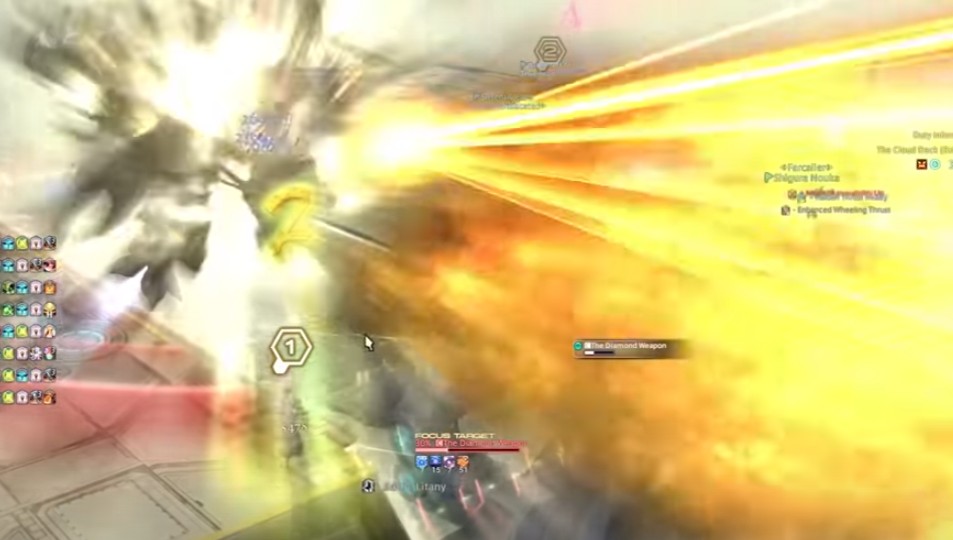
Photon Burst: This ability is a line AoE that targets the top two aggro targets (the tanks). The tanks should stand separate from the rest of the raid to avoid stacking damage.
Phase 2
Code Chi-Xi-Stigma: This mechanic initiates phase 2 upon completion of the cast.
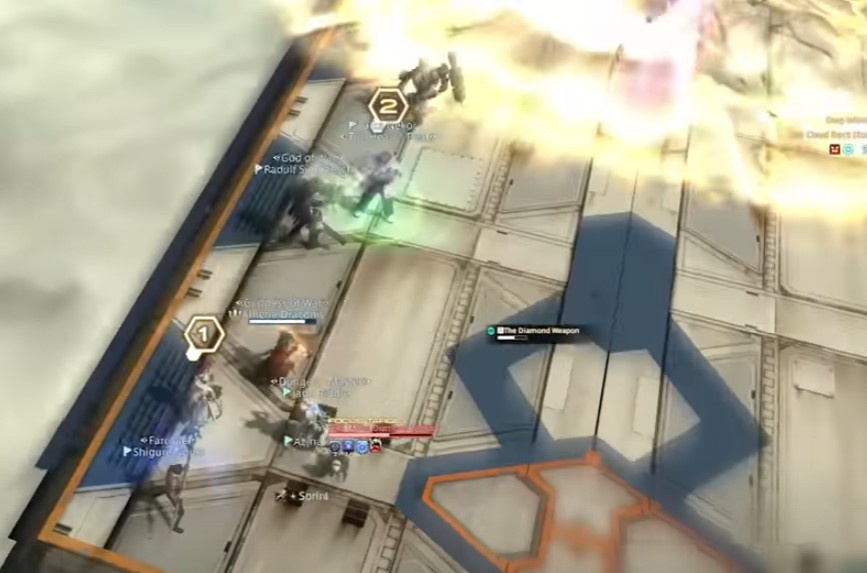
Diamond Shot: This tethers players to Articulated bits. They must jump into Auri Cyclones or receive a vulnerability.
Auri Cyclone: Blue knockback circles that help players avoid Diamond Shot.
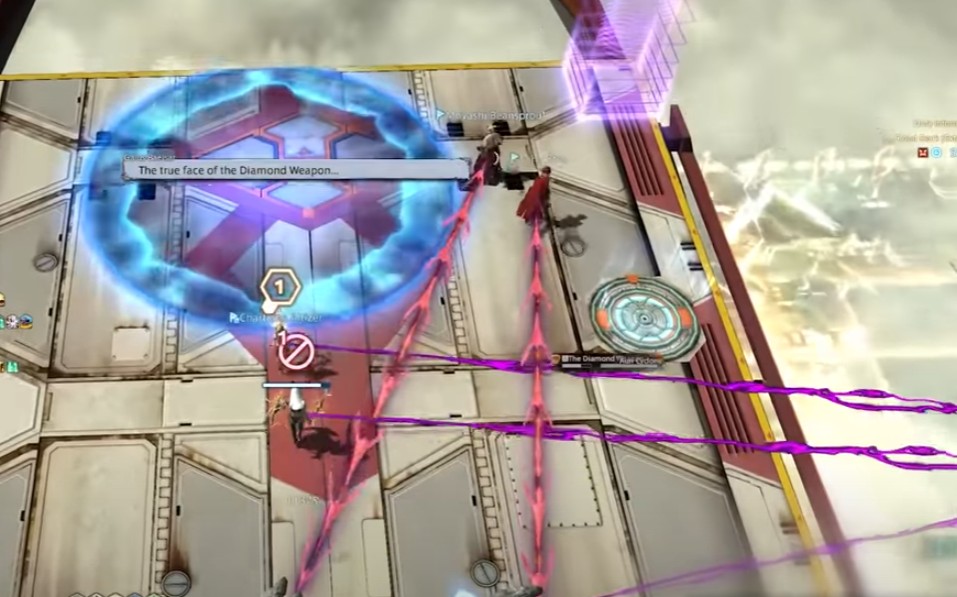
Articulated Bits: This ability summons Articulated Bits that will shoot Aetherial Bullet beams. Tethers all player, you must be far away from the tether to turn purple, if it doesn’t turn purple you will die.
Airship’s Bane: The Diamond Weapon destroys a targeted platform. This removes it until phase 3.

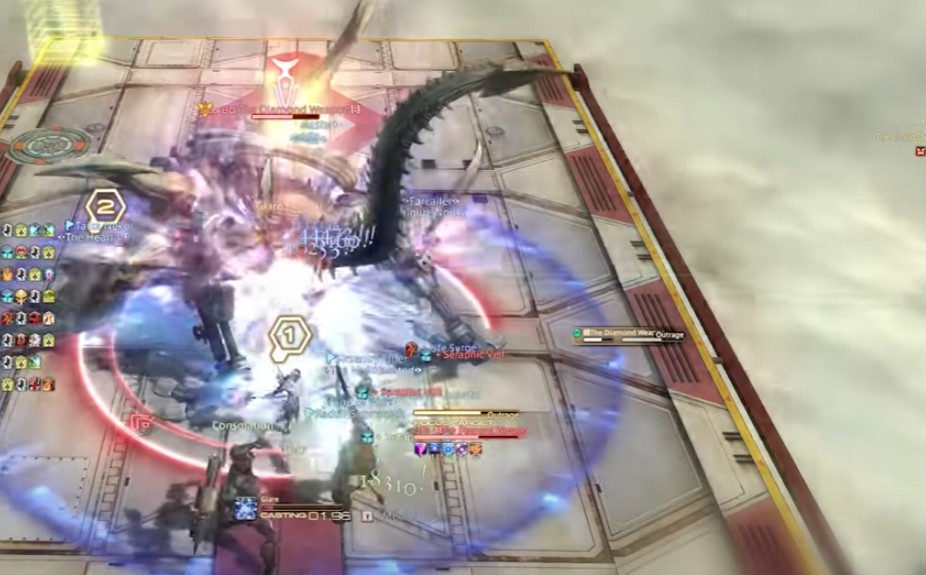
Outrage: Unavoidable raid-wide damage.
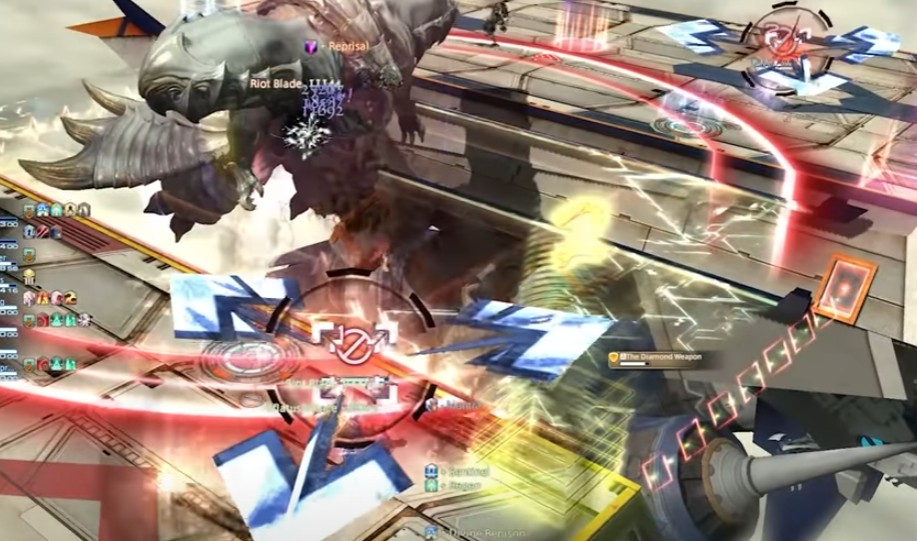
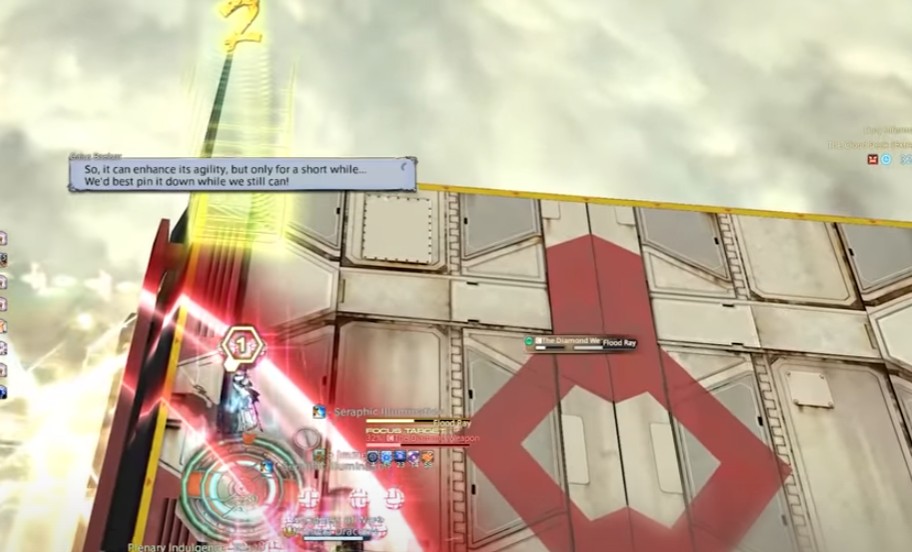
Auri Arts: Diamond Weapon’s dashes, the boss zig-zags on the platform, find the triangle area behind the boss as shown in the picture below
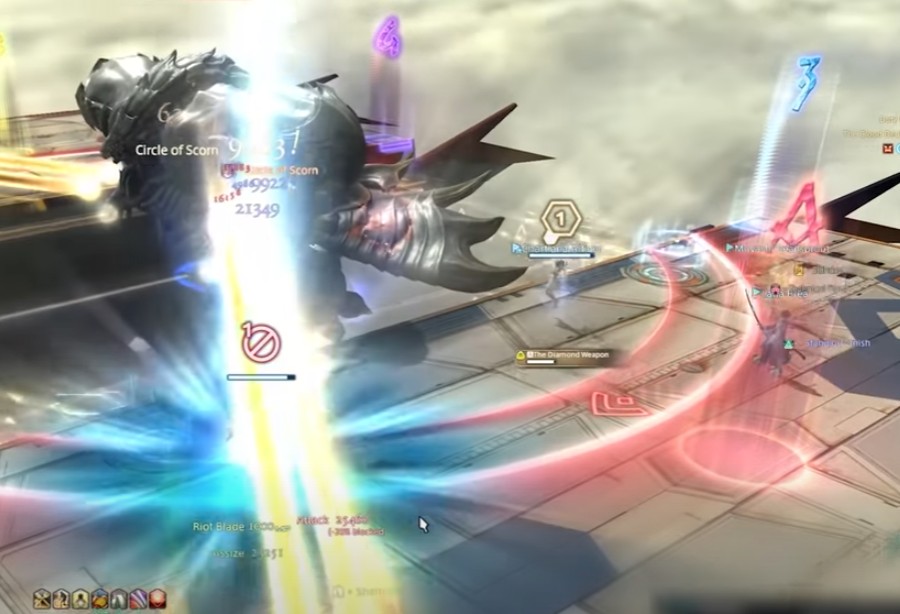
Auri Doomstead: A physical damage tankbuster. Tanks should swap aggro after this is cast.
Auri arts second: one orb – move towards boss(stay at the edge). two orbs – move away from the boss(stay on edge)
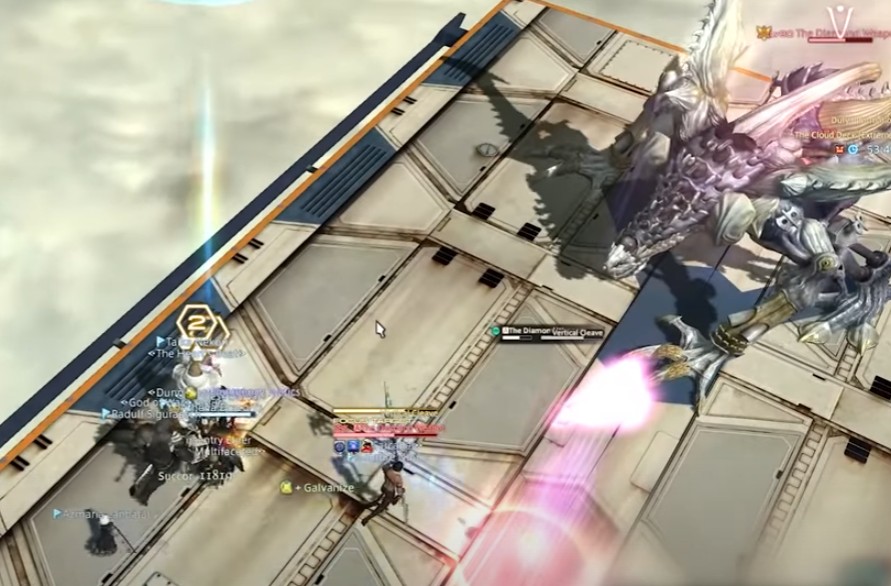
Vertical Cleave: Unavoidable AoE damage with a knockback. Position your back towards the corner.
Aetherial Bullet: Line AoEs fired from Articulated Bits.
Articulated Bits: Spawns on either half of the north/south edge, move to opposite side of the platform
After this the boss restores its armor and returns to the center.
Phase 3
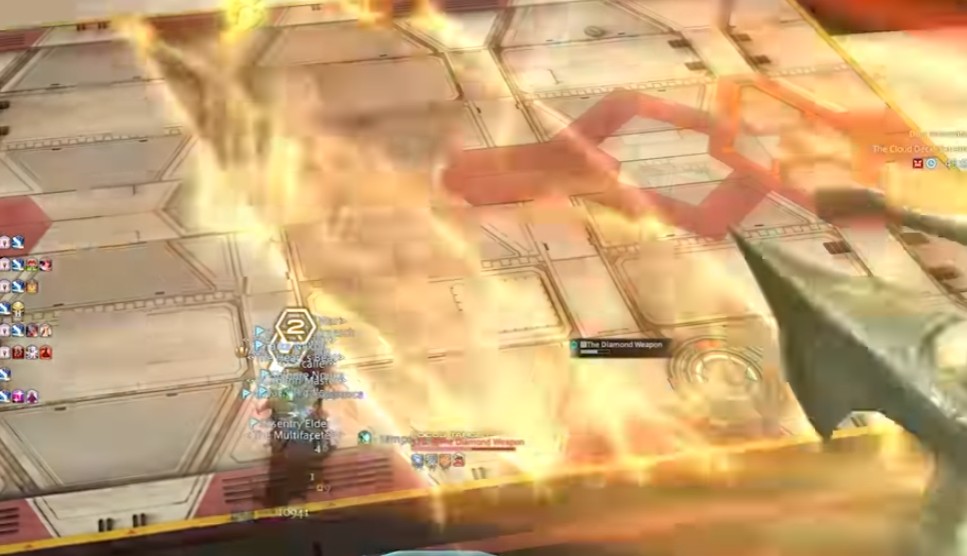
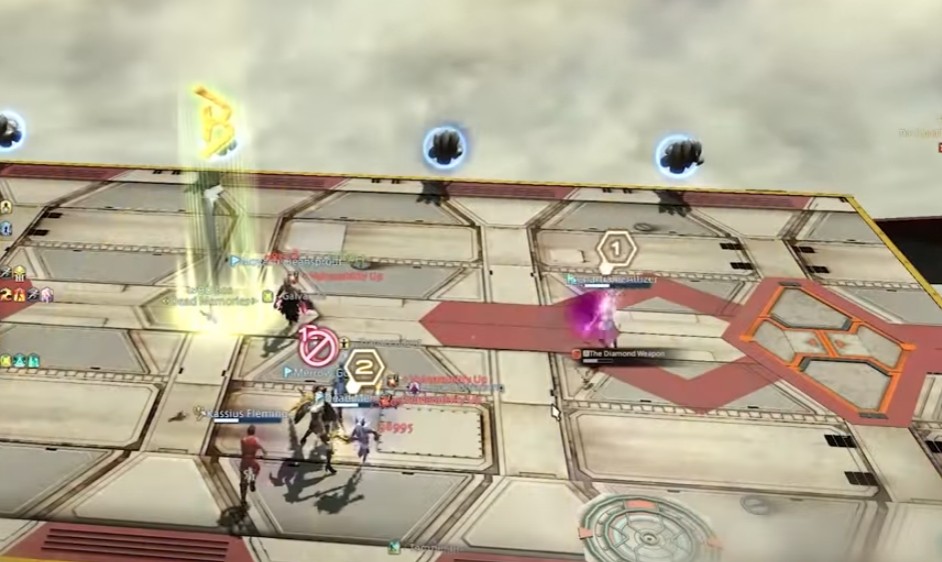
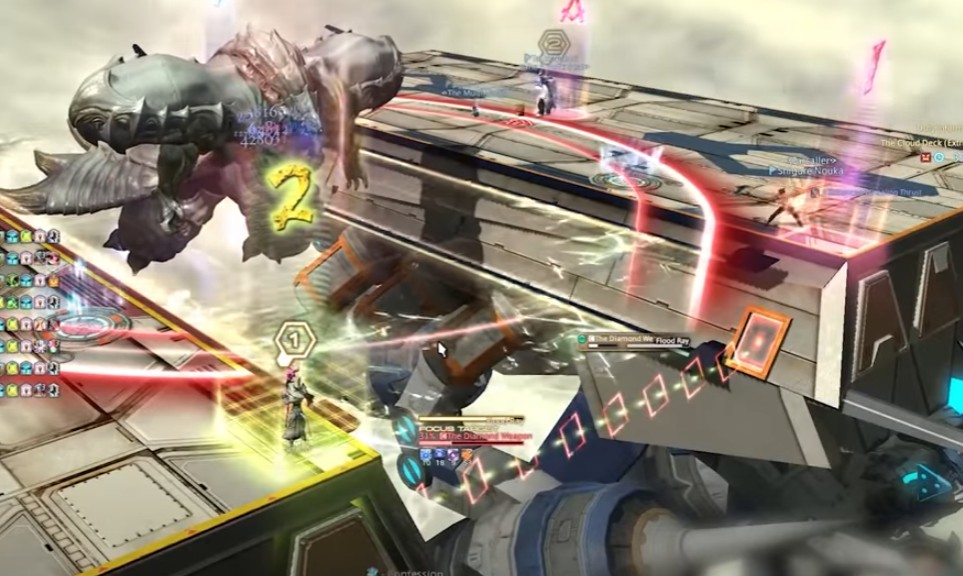
Flood Ray 1: Multiple players are marked for a magic cleave that applies a Magic Vulnerability. Do not overlap with other players, as you will be wiped then. Stand in each corner to avoid overlap, since each blast is very wide.
Diamond Shrapnel: AoEs that are tethered to players. These must be dropped on the outer edge of the current platform before teleporting across.
Flood Ray Numbers: Odd numbers blue – west ship. Even numbers red – east ship.
Flood Ray: 2 This is the end of the encounter unless players can just finish off the boss. Player 1-4 runs to waymark or inner corners. Players 5-8 wait in the center of each of their platforms. When they get blasted you swap places with them.
Player 7 swaps with 3. Player 8 swaps with 4. Player 5 swaps with 1. Player 6 swaps with 2.
Flood ray is definitely the most difficult mechanic that wipes most parties out.
Phase 1
During Phase 1, The Diamond Weapon will use Diamond Rain to open the fight then follow it up with auto-attacking the tanks. The raid shouldn’t stand behind them as these auto attacks form line AoEs. The first use of Adamant Purge is marked by the use of Diamond Flash or Homing Lasers that players should react according to. During this time, players should move to a different platform to avoid Claw Swipe. As soon as they have reached a new platform, the boss will use Photon Burst.
The second Adamant Purge will always do a side cleave that one party should teleport away from.
The third Adamant Purge will be signaled by The Diamond Weapon using either Diamond Flash or Homing Lasers (whichever it did not use during the first Adamant Purge). The boss will then do one more Photon Burst.
Phase 2
Phase 2 starts when the Code Chi-Xi-Stigma cast is completed. Articulated Bits will spawn along with Auri Cyclones that players should use to avoid the Bits when tethered to them.
Immediately after this, The Diamond Weapon will use Airship’s Bane to destroy one of the platforms. After that platform is destroyed, the boss will cast two Outrages.
During Phase 2, The Diamond Weapon will use Auri Arts, which is a series of dashes in a zig-zag pattern from an orb on the north side of the arena to an orb on the south side of the arena. To avoid these dashes, players should watch the boss carefully to see which orb it is facing.
Phase 3
During Phase 3, the boss ceases to use Auri Arts. Instead, it will now use Flood Ray. To deal with this mechanic, players should swap places with each other when hit to spread out the damage and magic vulnerability.
During this phase, the boss will continue to cast Articulated Bits and Auri Cyclones as well as Diamond Flash and Homing Lasers. A single player per cast will also need to soak Adamant Spheres.
Players will need to defeat the boss during this phase before the Enrage happens.