Table of Contents
Introduction
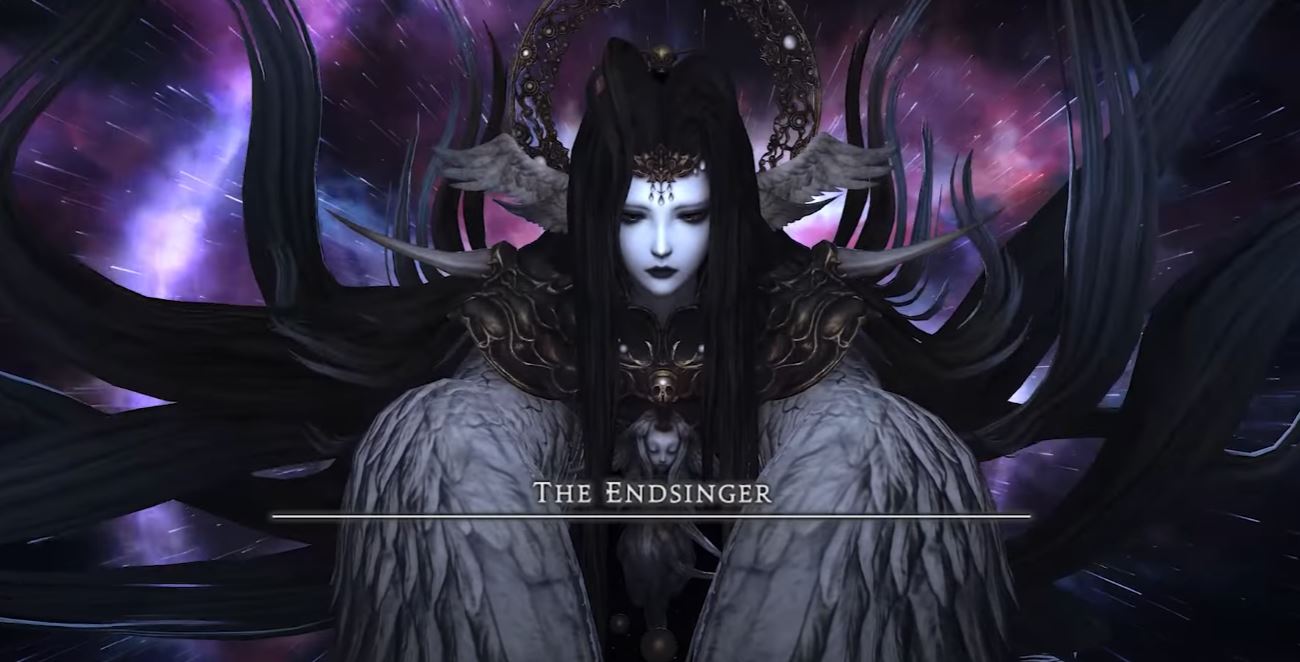
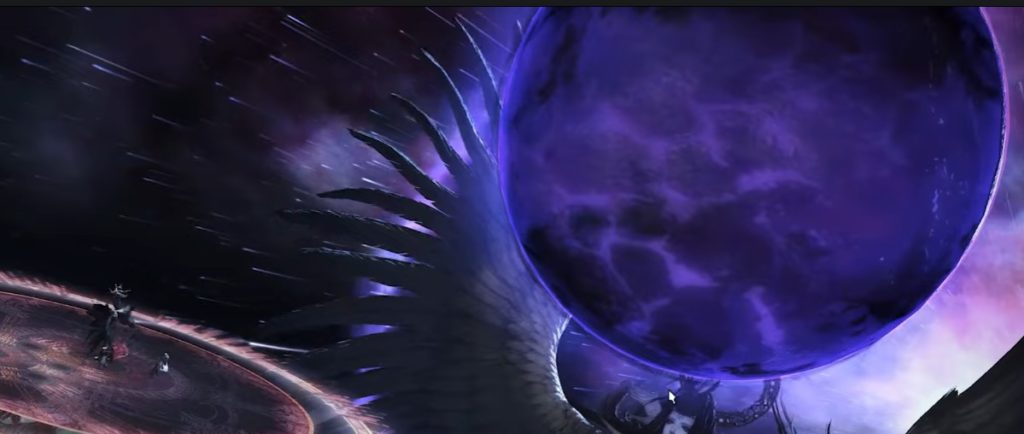
You need to accept the Endwalker main scenario quest from Alphinaud in Ultima Thule to unlock the final day. The final day is a level 90 dungeon in the Final Fantasy 14 Endwalker. There is no railing in this arena, so be careful not to fall.
Phase 1
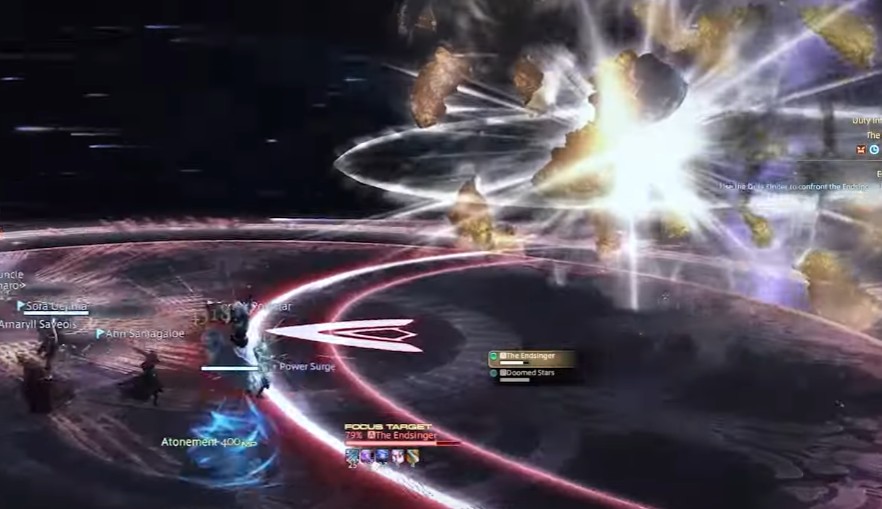
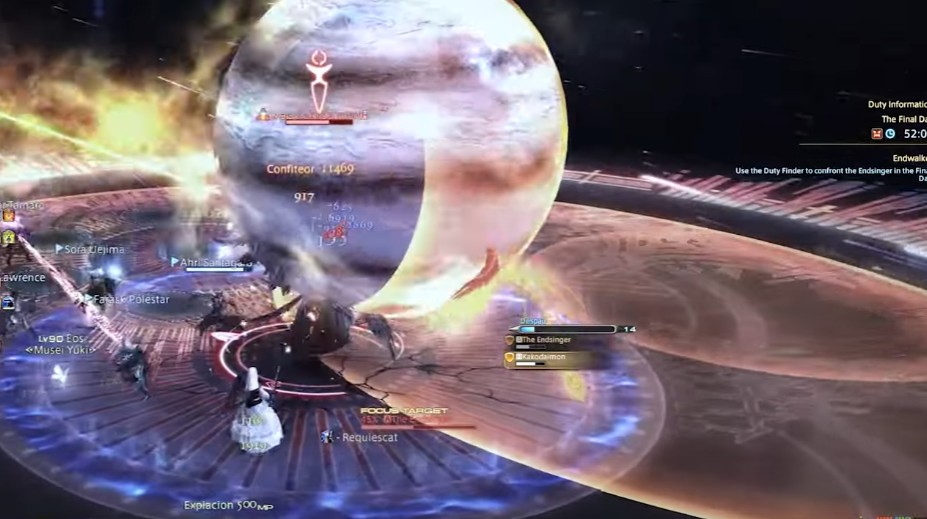
- Elegeia – There are 2 parts to this. The first one is raid-wide AOE damage. Heal and shield as necessary. Two planets will spawn outside the arena; one fast, another is slow. Both of them will crash into the arena and create massive AOE damage. To avoid this, you need to watch the slow planet and once you see it, run to the other part of the arena to avoid damage. Healers are ready to heal if necessary.
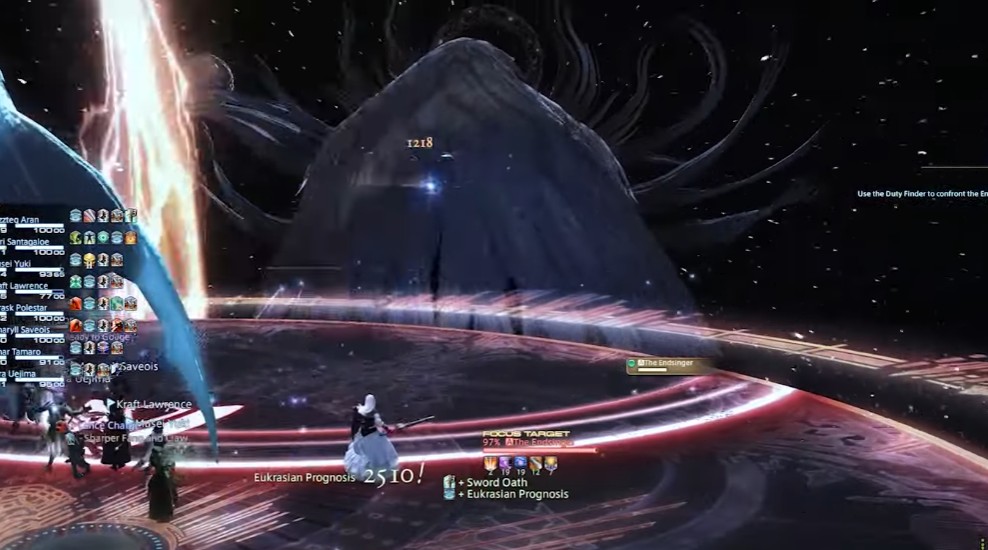
- Doomed Stars – When the fast rotating star collides with the slow one, move away.
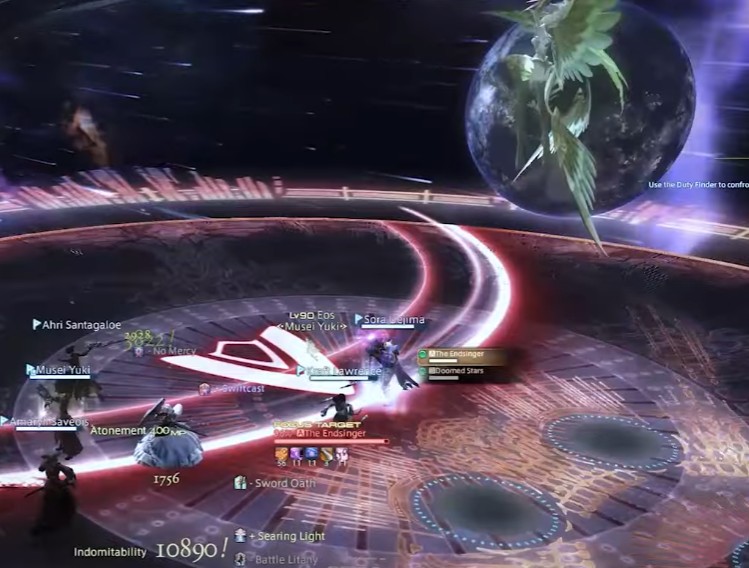
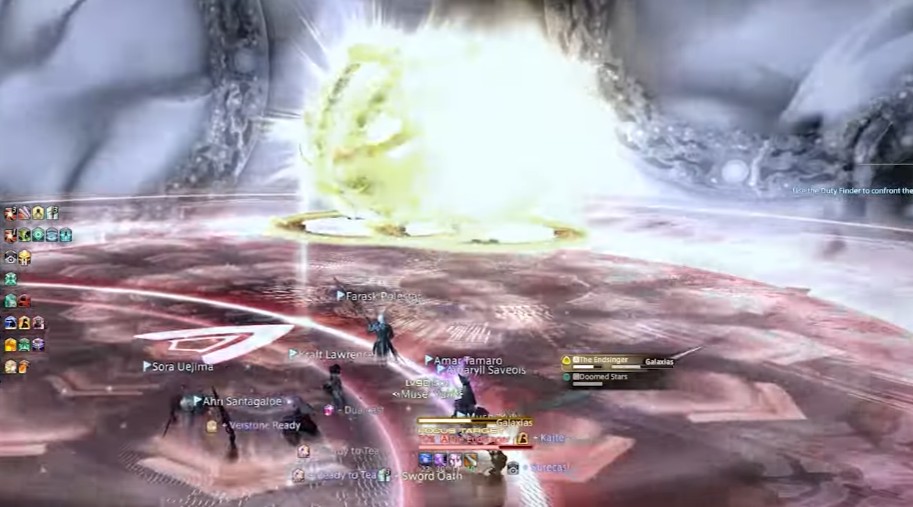
- Galaxias – This cast will knockback the player to the edge. Try to go near the center when this is cast to avoid falling down the arena. This usually happens together with Elegeia, so stand at the right spot to avoid damage and falling damage.
- Elenchos – There are 2 attacks to this. If the boss’s mouth is purple, there will be line AOE in the middle, and if her eyes are crying purple, there will be line AOE on both sides of the arena. So stand accordingly at the right spot.
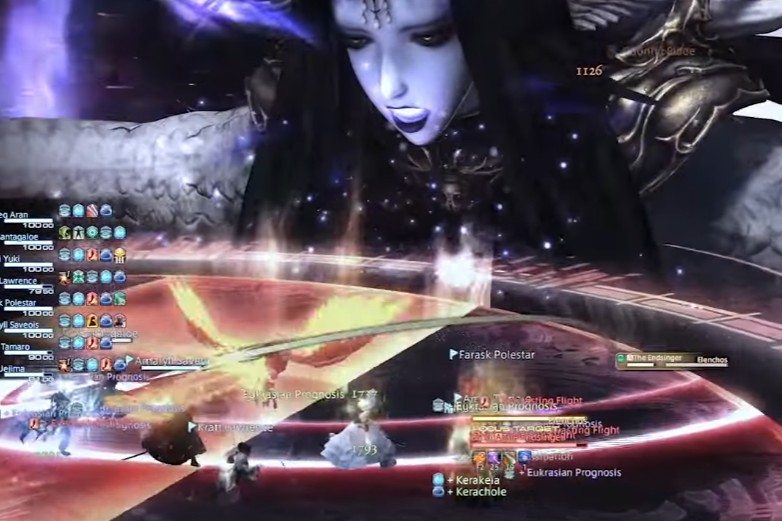
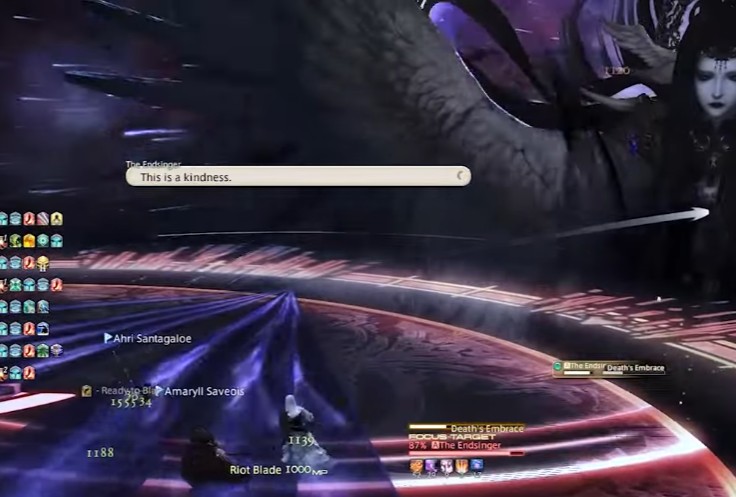
- Death’s embrace – Thin cone AOE will target all the players. Spread out to avoid overlapping damage.
- Feathers of Despair – move away from the feathers to avoid explosions
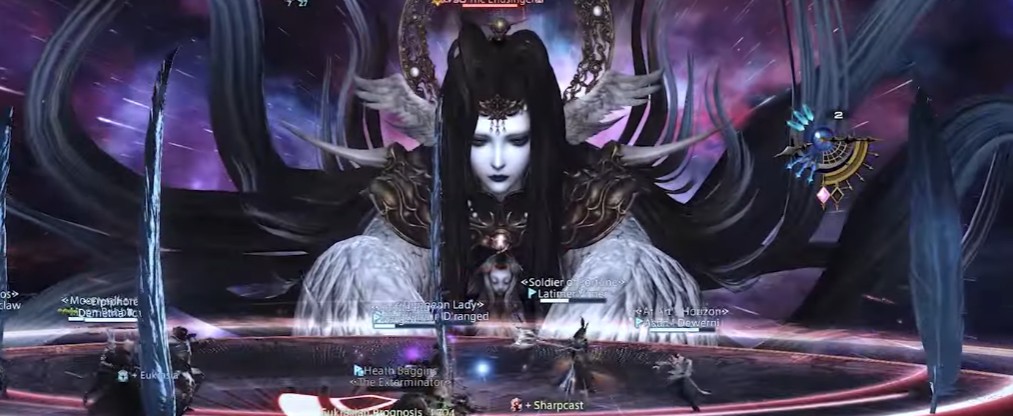
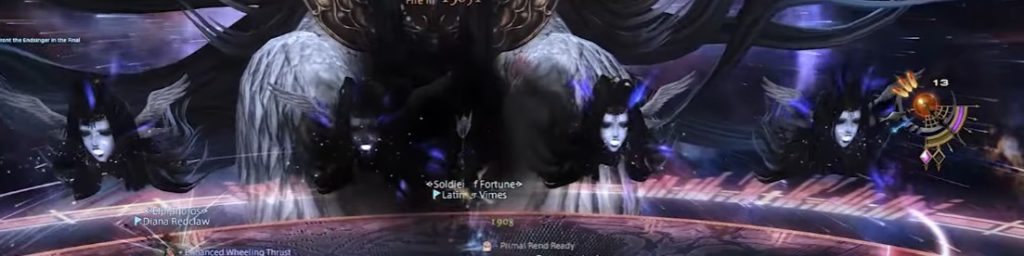
- Apporhoia – Four faces will spawn and blast a line AOE on the arena. Stand between the two faces to avoid damage.
- Hubris – Double tank buster which targets both the tanks. Others spread out to avoid overlapping damage from the tank attack.

Phase 1 (mixed mechanics)
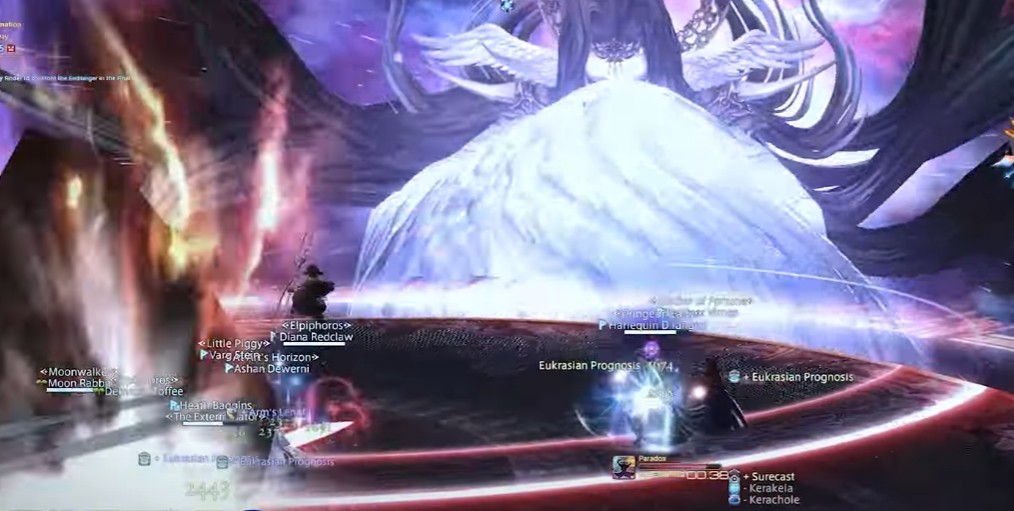
- Elegeia unforgotten – Like Elegeia, but instead of crashing, it will be frozen in place, which is the sign where it will explode. Run to the safe spot accordingly.
- Fatalism – Both these planets that have been frozen will be reversed a few seconds before colliding again to the arena. Predict the collision and move to a safe spot.
- Ekstasis – There will be several faces that spawn to become a puddle. This puddle will eventually explode to cause big AOE damage. To avoid this, run between the faces and the arena’s edge.
- Interstellar – The boss will move to the edge and cast a large line AOE in the middle. At the same time, 4 players will be marked with an AOE marker. Spread out evenly away from eachother to avoid overlapping damage.
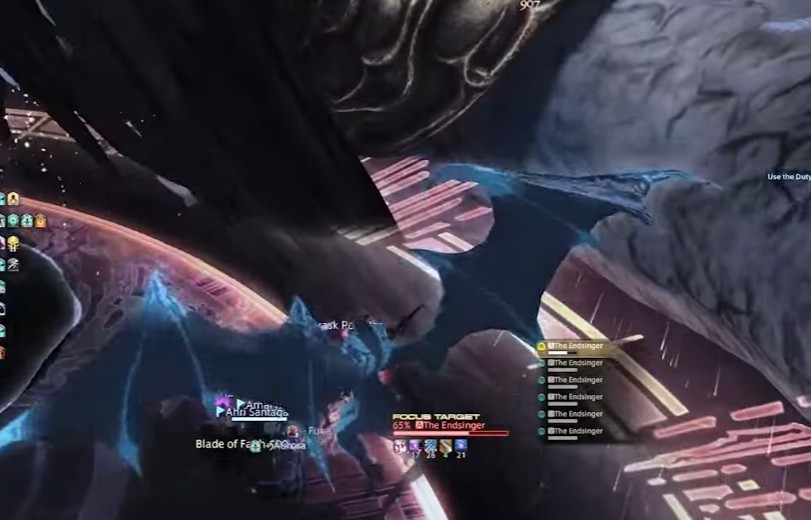
Phase 2 – Add phase
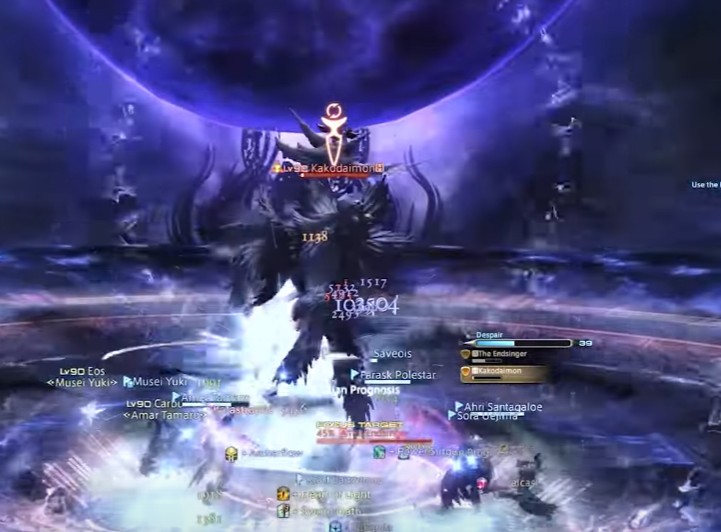
In this phase, the boss will summon Kakodaimon.
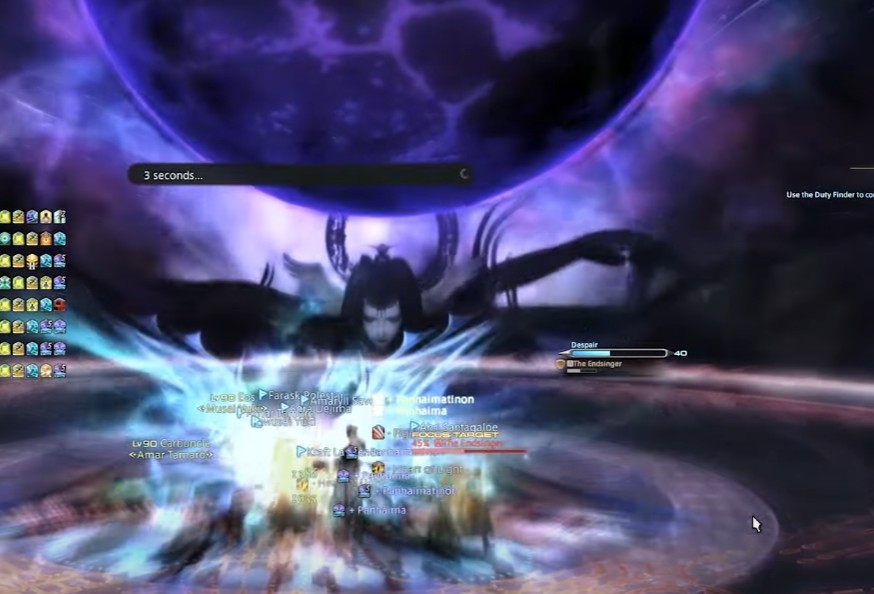
Planets – There will be a despair gauge, and you will need to kill the Kakodaimon before it is full. Once the add is dead, the boss will cast Oblivion. You can use your tank limit break once Kakodaimon spawns because it will replenish fully once the Oblivion countdown starts.
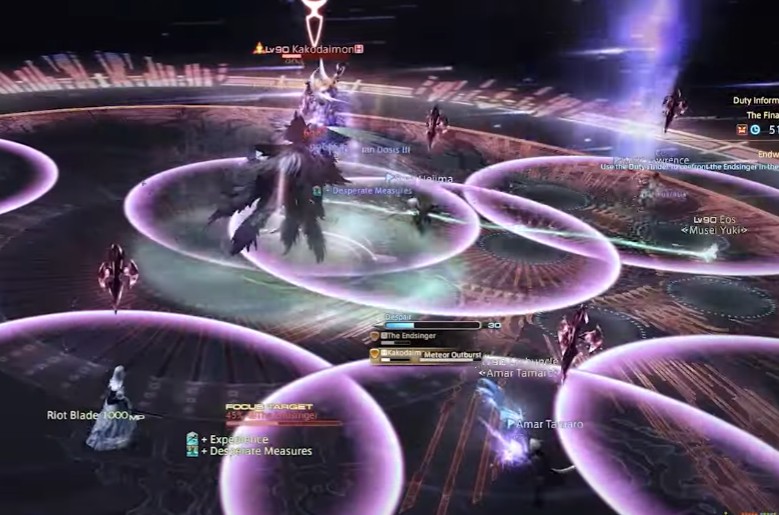
Meteor Radiant – stars fall to the platform, to where the line indicator(looks like a laser beam) is pointing. Move away from where it is pointing.
Meteor Outburst – Circle attacks on players, spread out to avoid overlapping damage.
Katastrophe – Raid wide damage, make sure to use your shields and heals.
There will be a despair gauge, and you will need to kill the add before it is full.
Oblivion – Countdown to insanely high damage, use tank limit break to survive. Your tank LB3 will be fully replenished when the countdown starts, so make sure to use it.
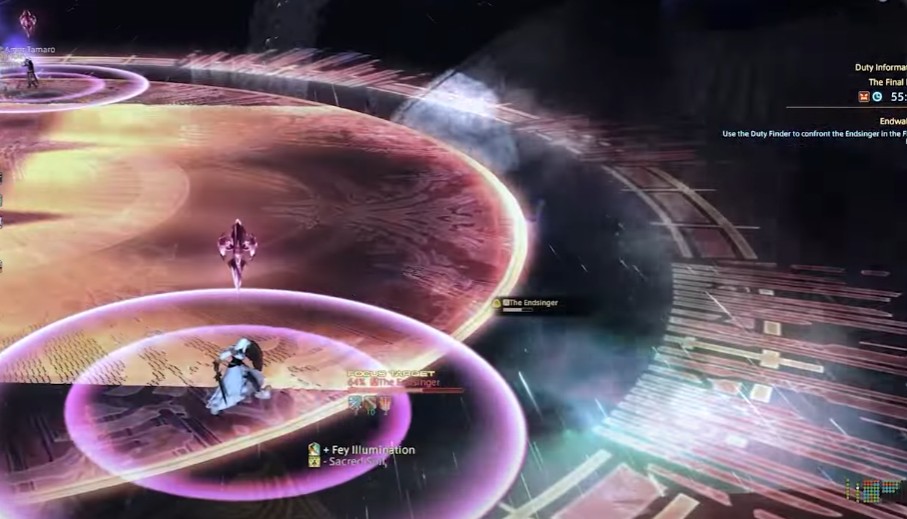
Phase 3
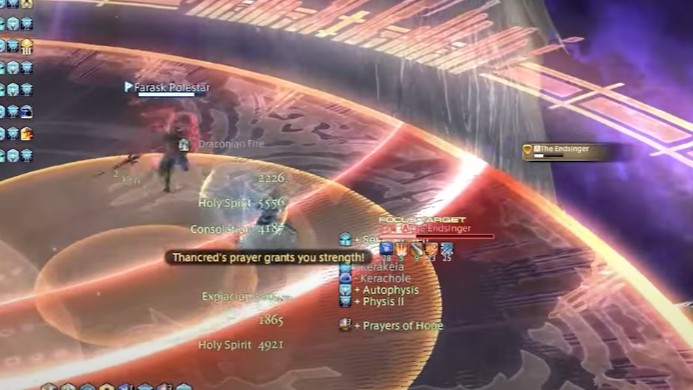
Telos – High raid-wide damage, shield, and heal.
Telomania – high raid-wide damage, there will also be ground AoE attacks which you must move away from.
All these 3 mechanics will be repeated until you defeat the boss.