Table of Contents
Introduction
This is the first new dungeon made available by patch 5.0 in Final Fantasy 14 Shadowbringers. This is a level 71 dungeon where you need to defeat the Lightwarden and bring back the night to Norvrandt.
To unlock Holminster Switch you need to accept the Lightwardens quest from the NPC Crystal Exarch in the Ocular, the Crystarium.
Before reaching the boss, you will encounter feather pods that will spawn mobs. Avoid them and if they did spawn do not pull more than you can handle. Also, look out for AOE telegraphs and move away as necessary.
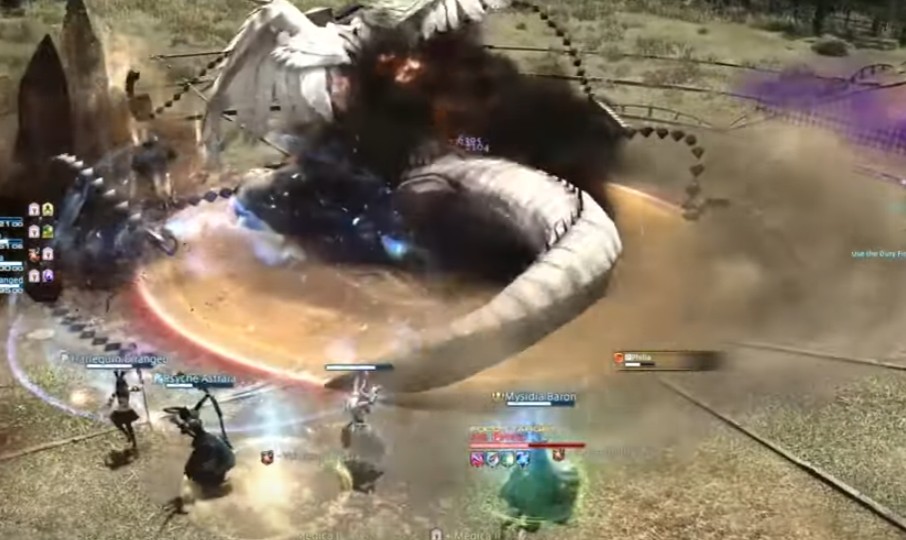
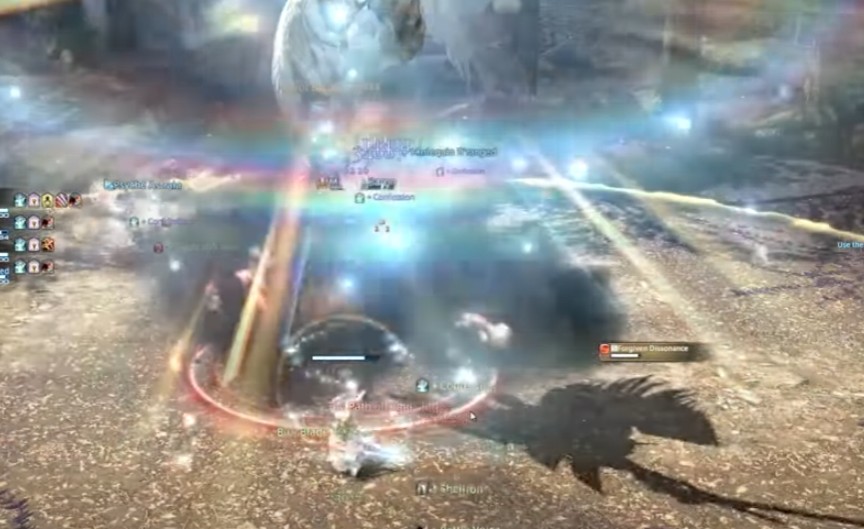
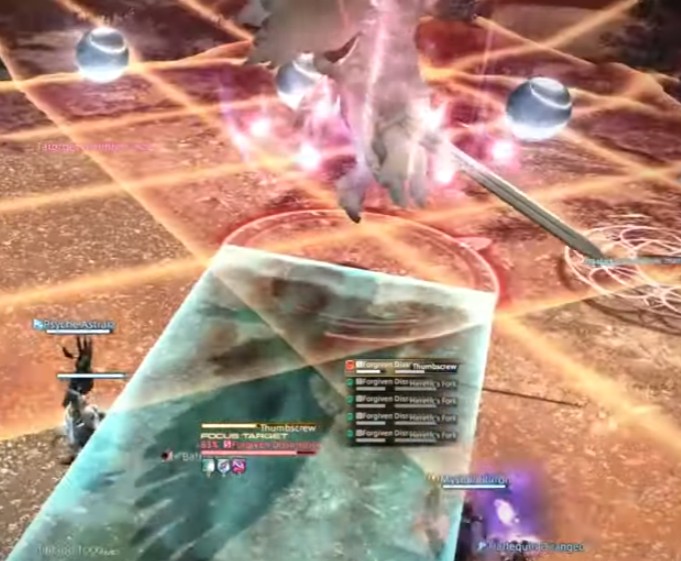
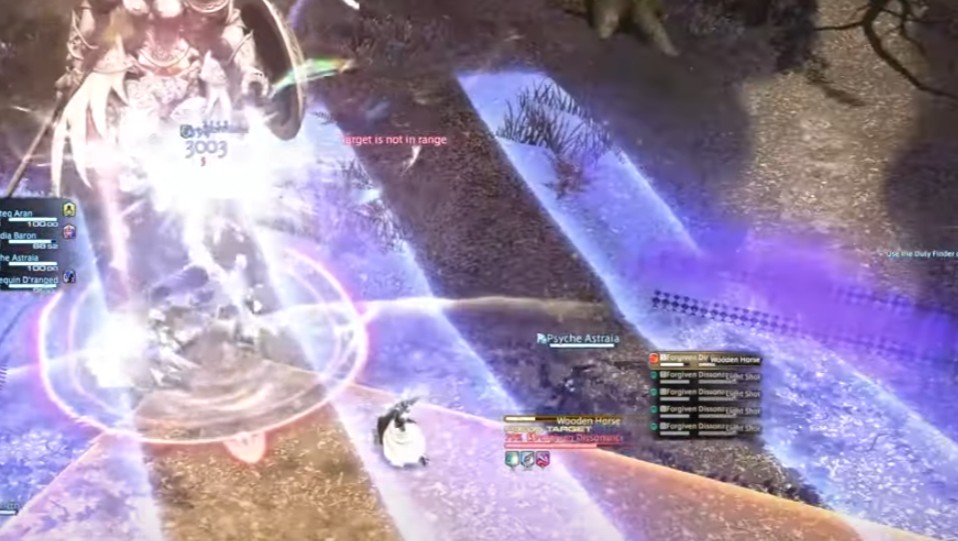
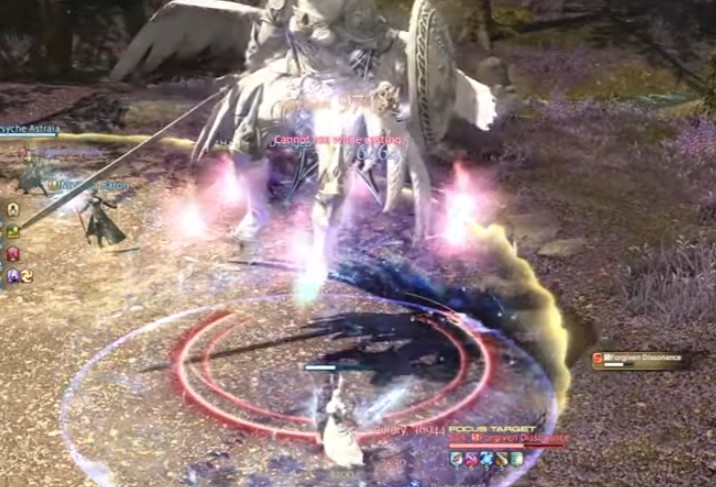
Forgiven Dissonance
- The path of light – This is a group-wide AOE blast and the healer must heal as necessary.
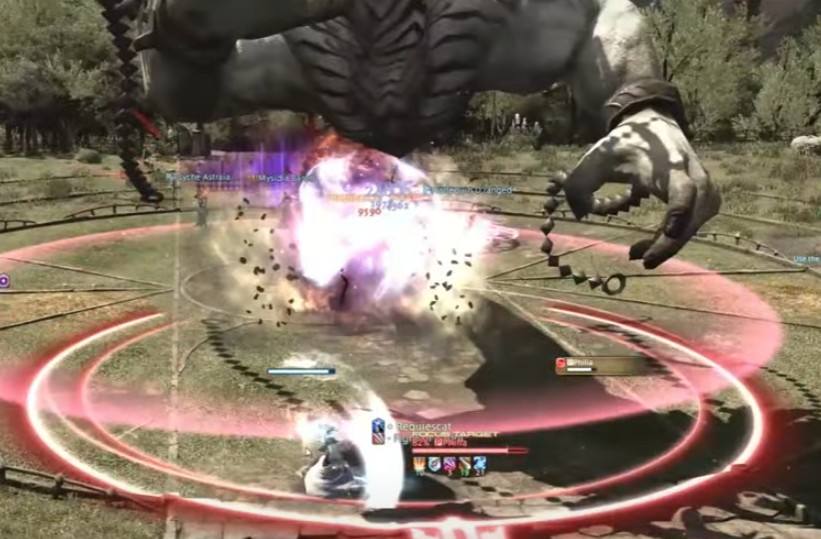
- Brazen bull – The boss moves to the center and cast these mechanics where several orbs will spawn in a set of patterns around the platform and will explode in a cross pattern. Move into a safe spot to avoid damage.
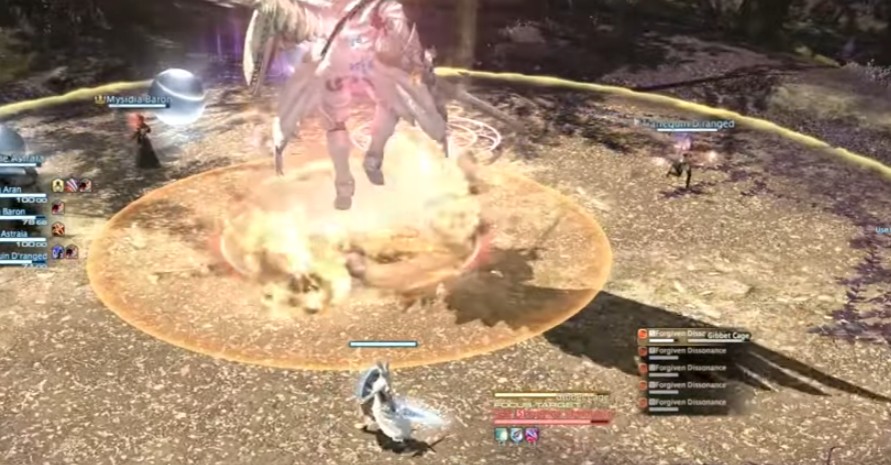
- Gibbet cage – Point blank AOE around the boss, move around as necessary to avoid damage. There will be a safe zone where you can position yourself so that you can avoid the damage and get ready for the next mechanics.
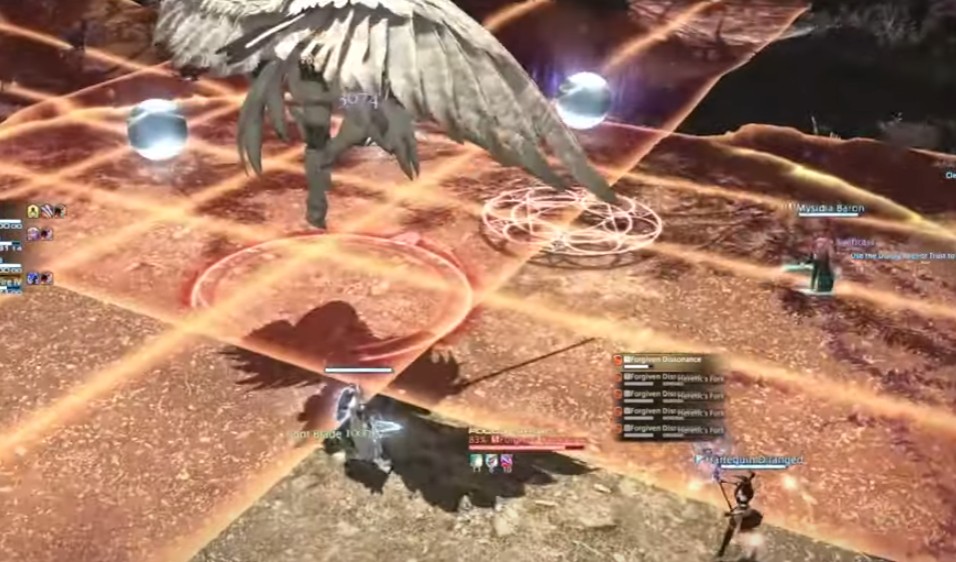
- Thumbscrew – A large column AOE will be blasted towards the safe zone edge limiting the safe zone. Move as necessary to the edge to avoid damage.
- Wooden horse – A large frontal conal AOE towards the center and you need to move to a safe spot to avoid damage.
- Pillory – Heavy-hitting tankbuster towards the primary target. Heal and cooldown shields as necessary. All these mechanics will overlap and repeat until the boss is down.
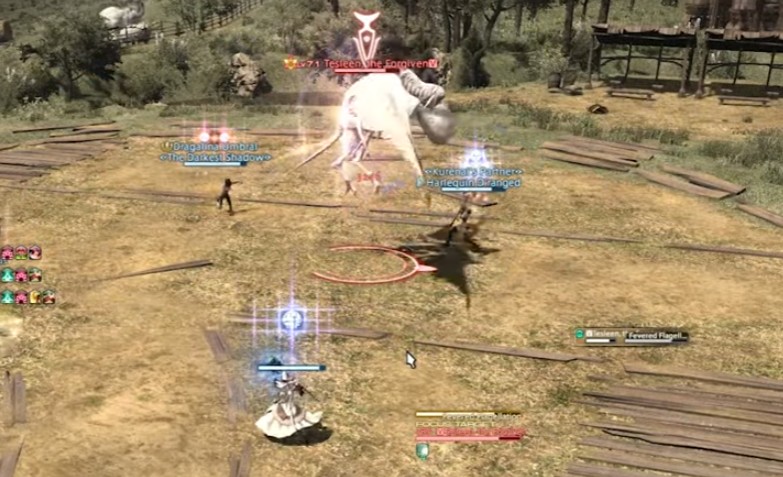
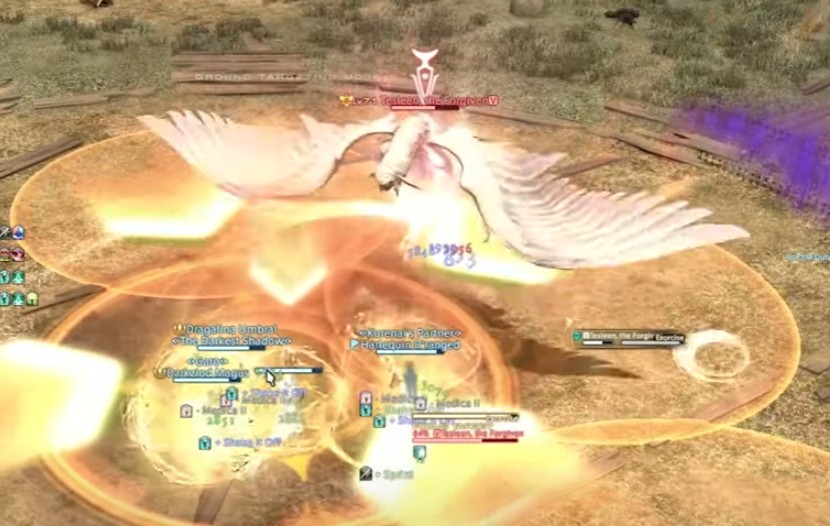
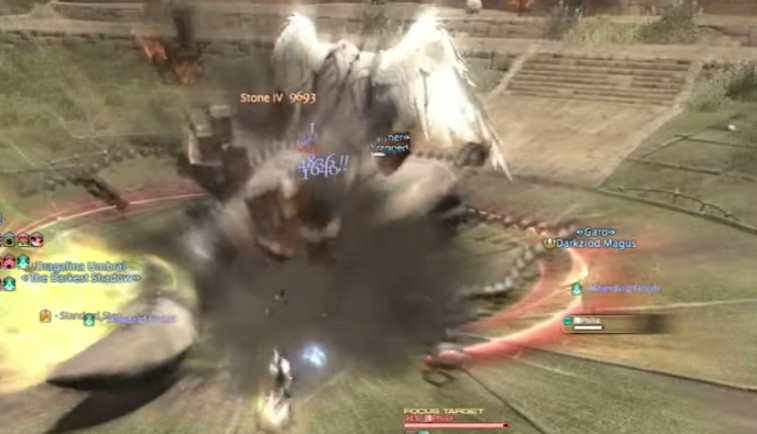
Tesleen the forgiven
- The tickler – Heavy-hitting tank buster towards the primary target. Heal and cooldown shields as necessary.

- Scold’s bridle – This is a group-wide AOE blast and the healer must heal as necessary.
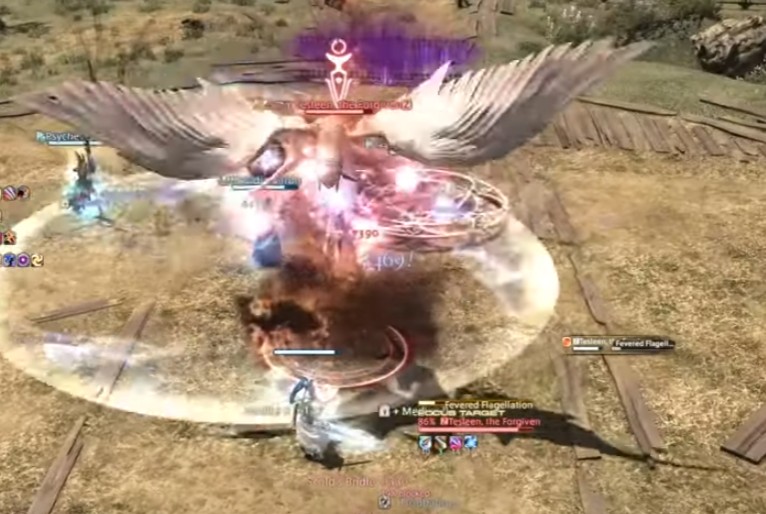
- Fevered flagellation – The boss will mark each player from 1 to 4 and then jump at each of the players accordingly. To avoid more damage from overlapping, spread out from each other.
- Exorcise – 4 AOE circles will be placed on the platform and mark up one player for the stack-up marker. At first, all the players need to collapse together to spread the damage. But once this is done another puddle will appear with the 4 puddle that is already on the platform. So, you need to spread away immediately after the initial blast to avoid overlapping damage. All of these mechanics will repeat until the boss is down.
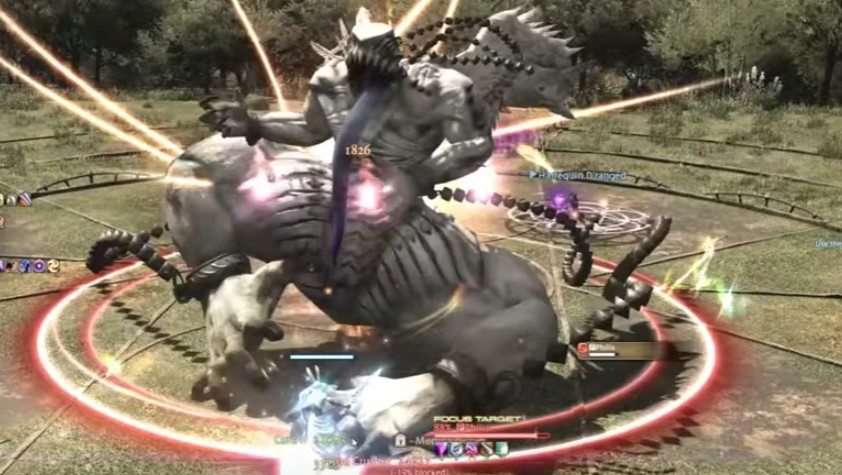
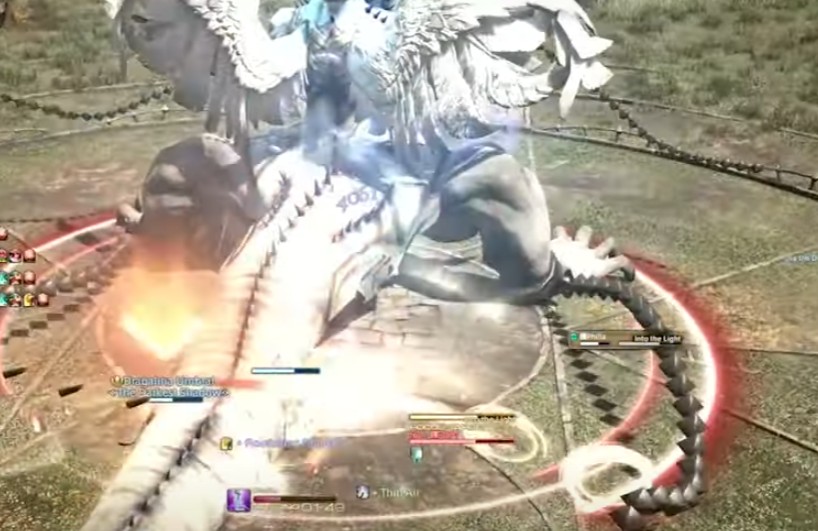
Philia (Lighwarden)
- Scavenger’s daughter – Group-wide AOE blast. Heal and shield as necessary.
- Headcrushers – Heavy-hitting tank buster towards the primary target. Heal and cooldown shield as necessary.
- Pendulum – Mark up the tank with a flare marker, forcing them to move away from the group. At the same time, a proximity marker will be placed in the center. To avoid this all players must get to the safe zone at the edge of the platform.
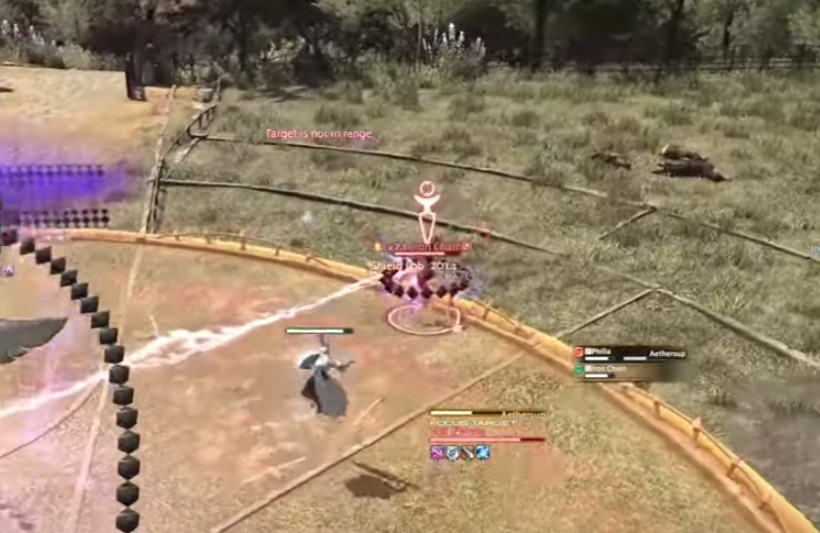
- Chain down – A random player will be marked and chained down. Other players need to destroy the chain ASAP before the mechanics are cast. If not destroyed, it will kill the chained player.
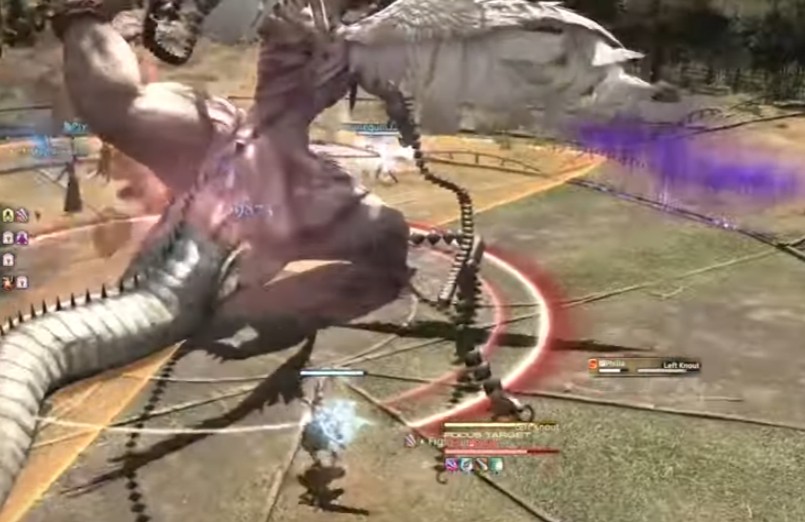
- Right/left Knout – The boss will lift either one leg to give an AOE blast. Avoid it by running to the other leg.
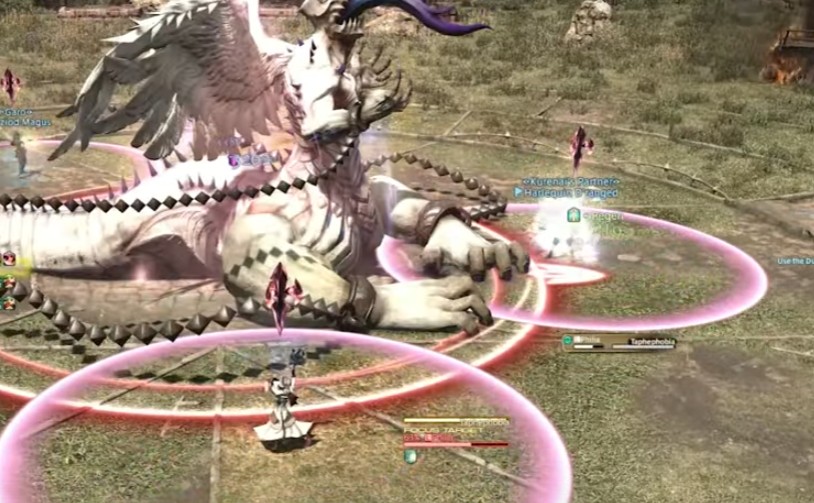
- Taphephobia – AOE circles will be marked on all players. Move away from each other to overlapping damage when the circles explode.
- Into the light – A line-up marker will be put on a random player. Other players need to gather in a line to share the damage.
- Fierce beating – The boss moves to the center then sends shockwaves of beating through the front and tail swipes in the back. Move around as necessary to avoid damage. All of these mechanics will repeat until the boss is down.