Table of Contents
Introduction
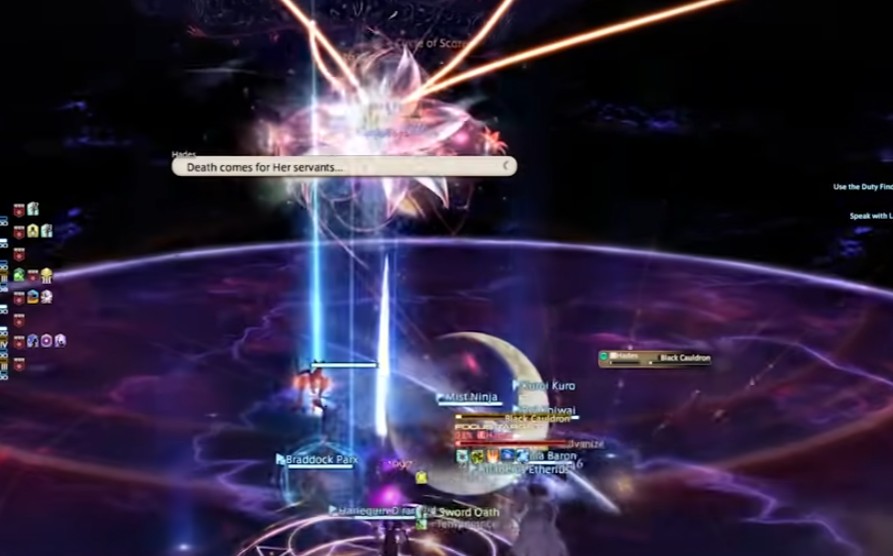
This is the final level 80 MSQ trial made available by patch 5.0 in Final Fantasy 14 Shadowbringers. There will be several phases you will go through before defeating this boss.
This article contains spoilers, you have been warned!
Phase one
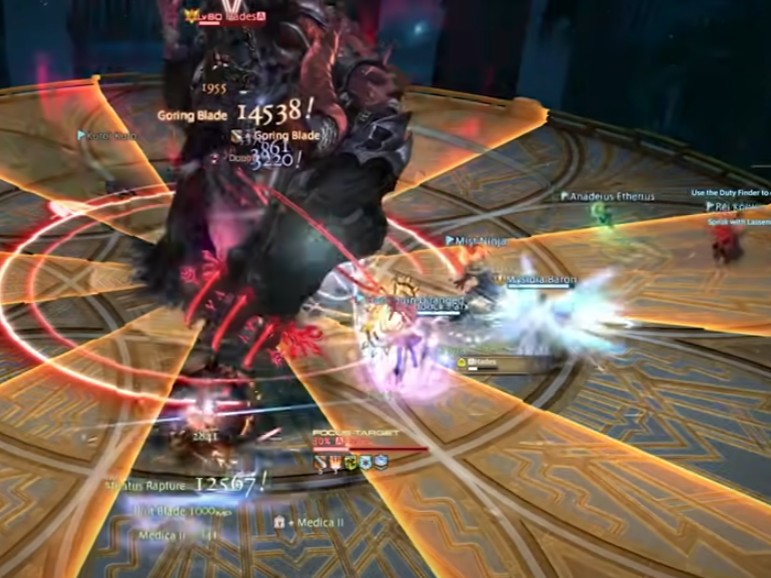
- Ravenous assault – A tank buster targeted at the primary tank target. Cooldown and shield as necessary.
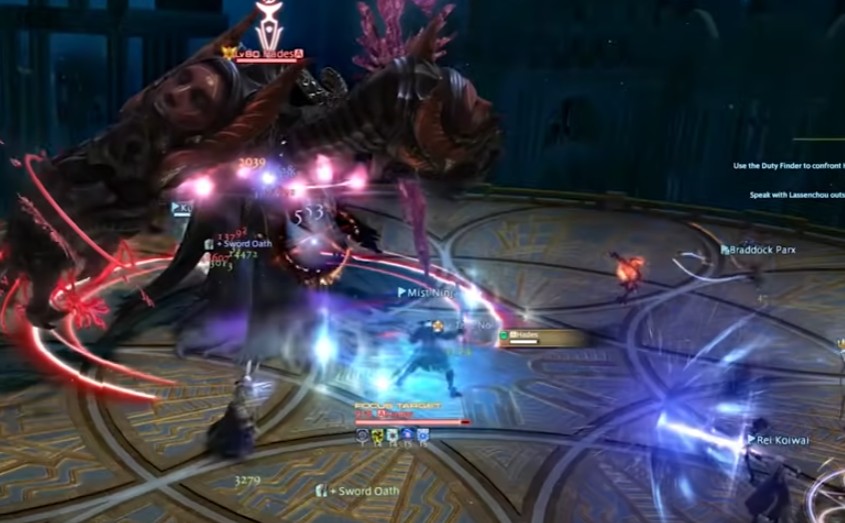
- Bad faith – Two walls with arrows will emerge and there will be an AOE blast. Move to the side of the arrow that is pointing away from you to avoid damage.
- Double – Causes next attack to hit twice.
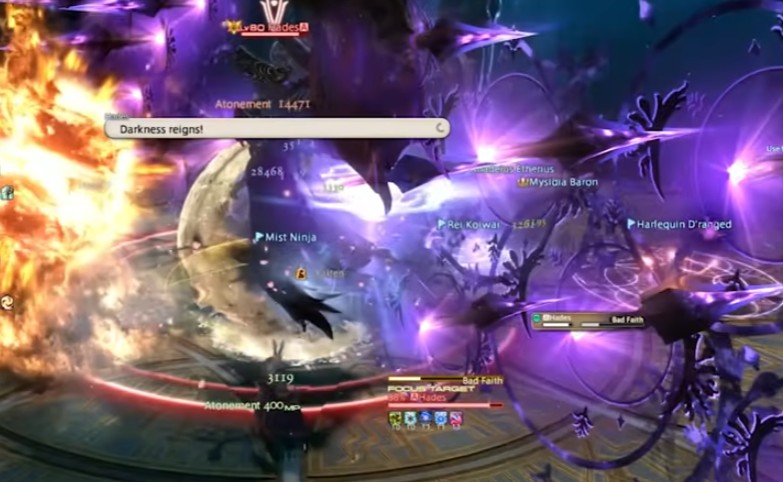
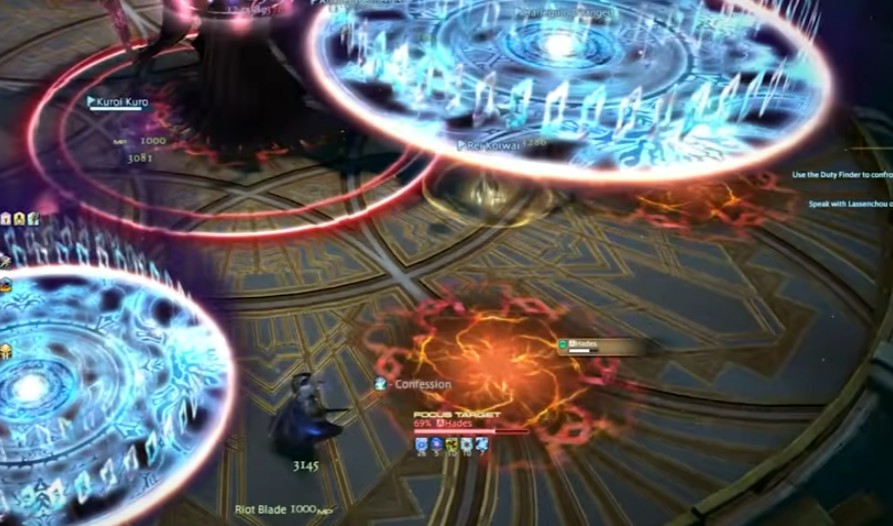
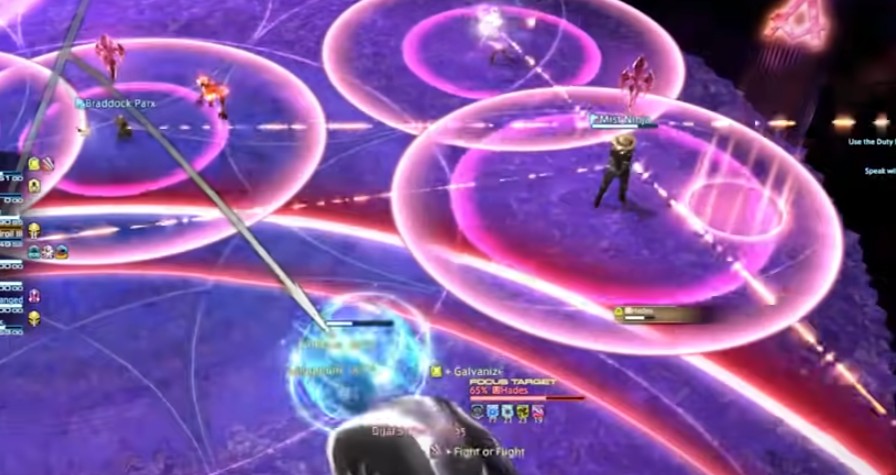
- Dark eruption – There will be AOE circles on the platform and the players. Avoid the AOE circles on the ground and spread away from each other to avoid overlapping damage.
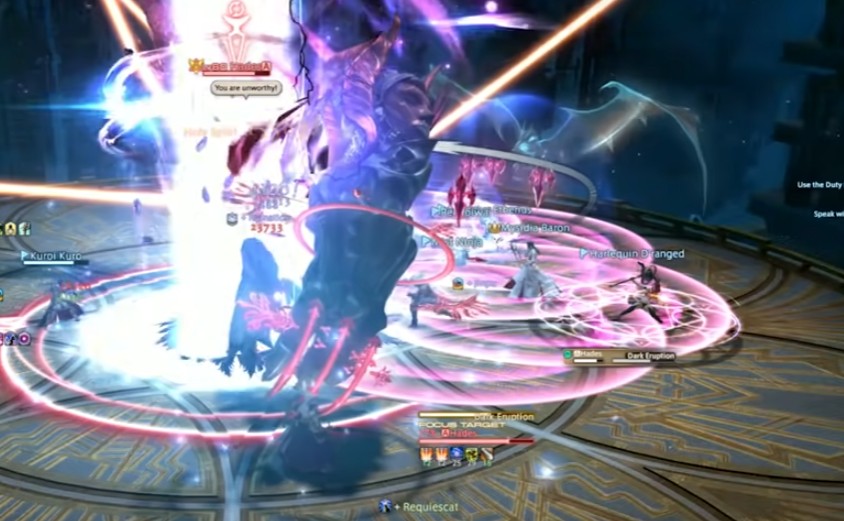
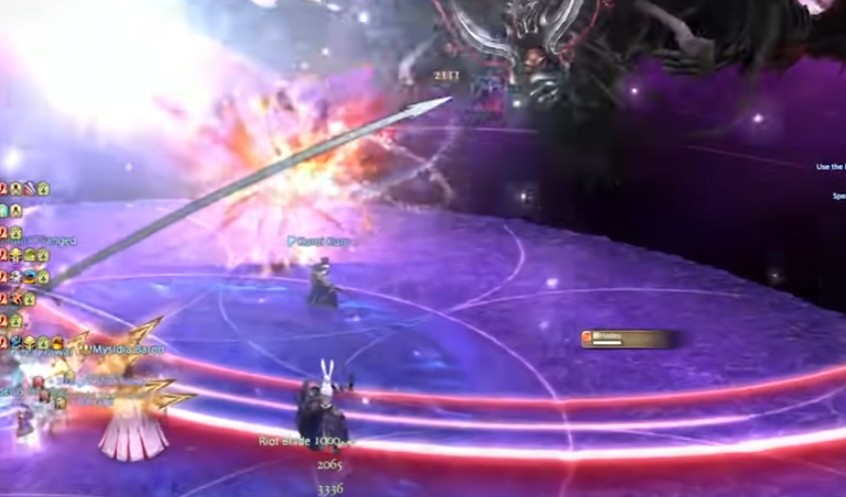
- Broken faith – Several orange circles will emerge indicating a disc is going to fall on that place. Move around and avoid that area because once the disc hits the platform it will blast a large AOE circle damage and debuff.
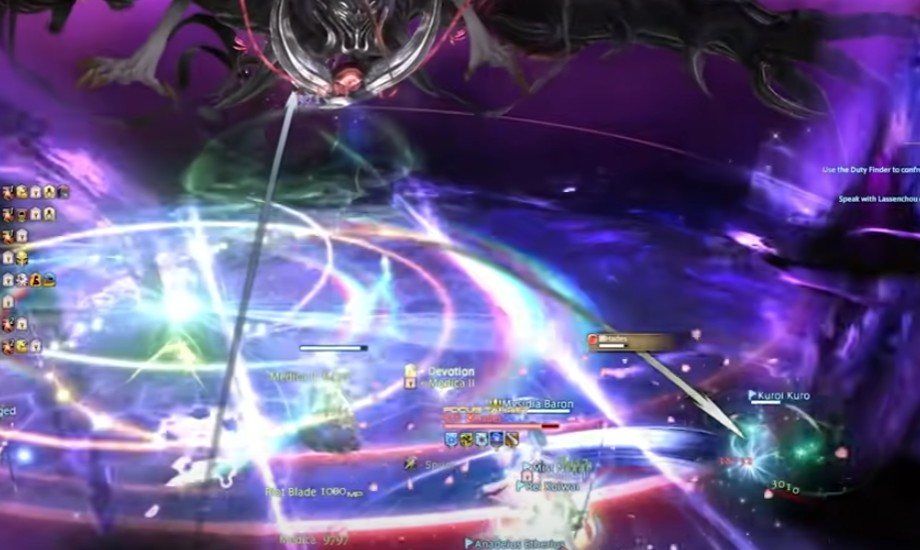
- Shadowspread – Two sets of AOE attacks from the boss. Dodge the attack to avoid damage. All these mechanics will repeat and overlap until it reaches 10% and become invulnerable.
Add phase
- Five waves of adds will be spawning around the platform and you need to destroy it before it reaches 100%. At the same time, several players will be marked with AOE circles and several players will be marked with a stack-up marker.
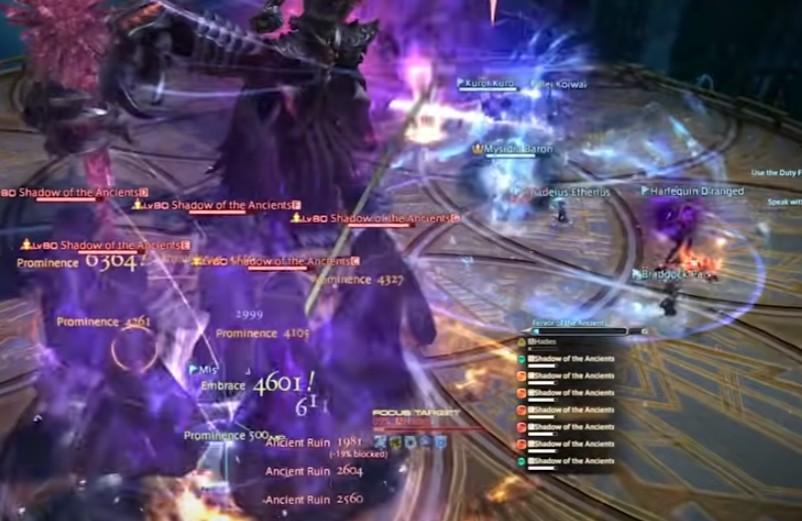
- Spread out or group up as necessary to avoid damage and survive the attack from the adds.
- Ancient dark IV – If the boss reaches 100% gauge before all the adds are destroyed, you will die. Cooldown, shield, and heal as necessary.

Phase two
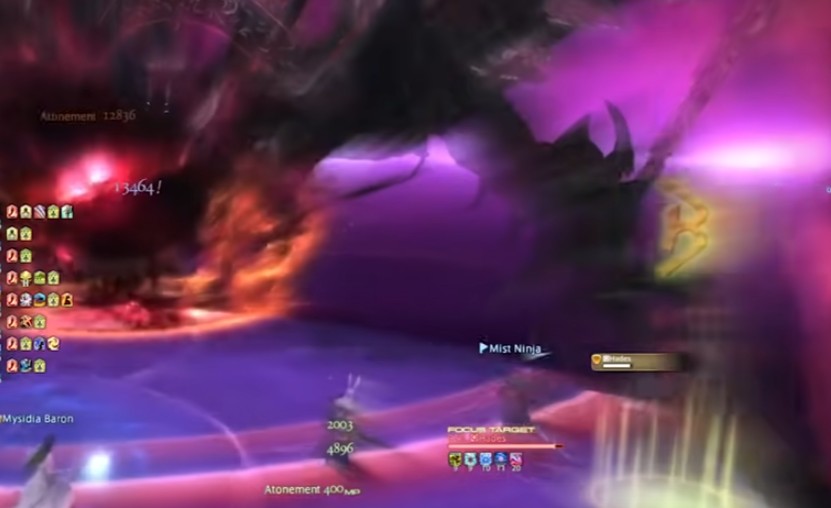
- Titanomachy – This is a raid-wide damage blast. Healer be ready to heal necessary.
- Shadowstream – Longline AOE blast on the center of the platform. Move to the side to avoid damage.
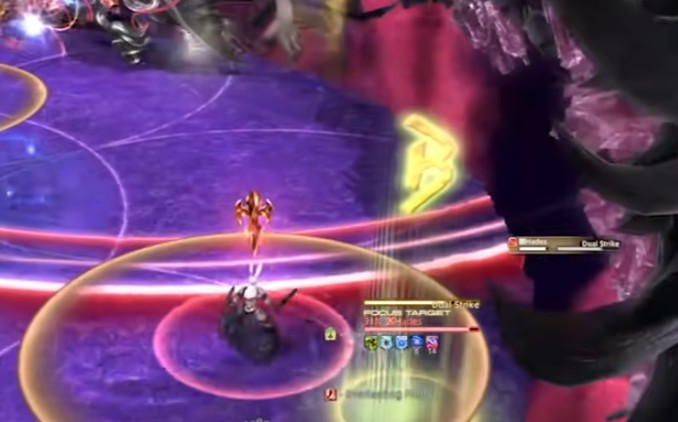
- Dual strike – A Tank buster, both the tanks will be marked with AOE circles. Spread out to avoid overlapping damage and be ready to use tank CDs before.
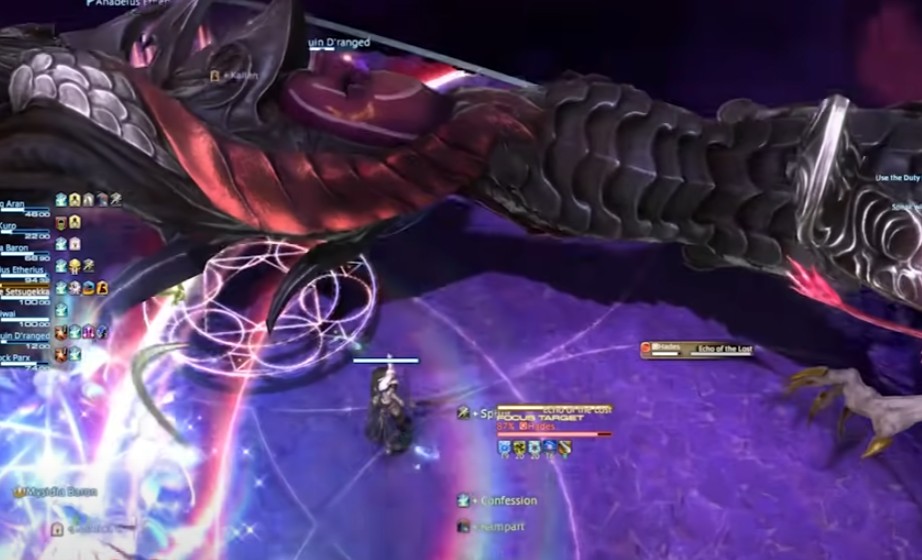
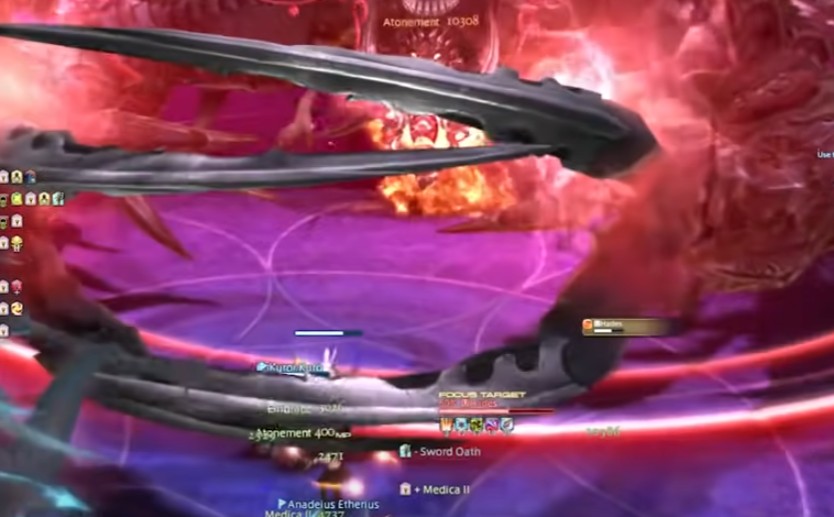
- Echo of the lost – The boss will swipe the platform with one arm. Move to the other side of the arm to avoid damage.
- Polydegmon’s predation – The boss will pick up both its arm and slam the side of the platform. Move to the center to avoid damage.
- Hellborn yawp – Both tanks will be marked for targeted AOE attack. Spread from each other and move to the side of the platform to create a safe spot in the middle for other members.
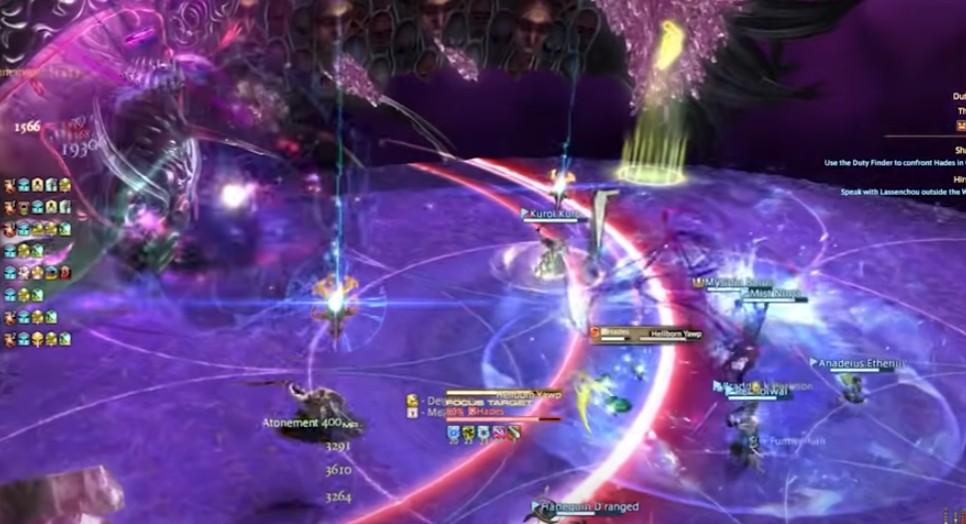
- Captivity – Two players will be marked with AOE circles and anyone other than this hit by these circles will be kept in Gaol.
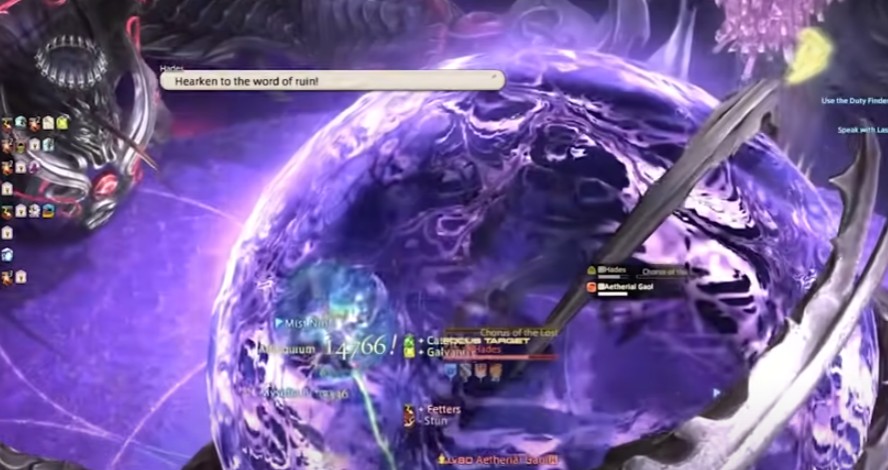
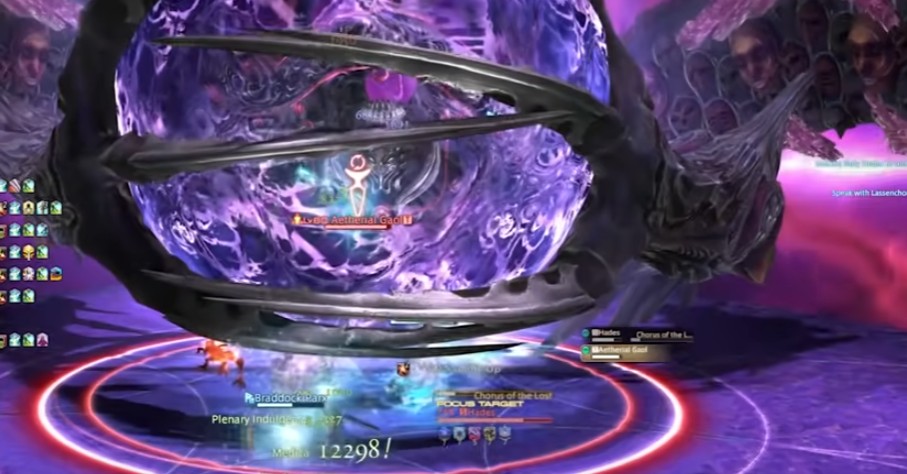
- Aetherial gaol – This gaol must be destroyed immediately before it goes off. If it does go off, it will kill all the players inside the gaol.
- Dual strike – additional players will be affected. Spread out to minimize the overlapping damage.
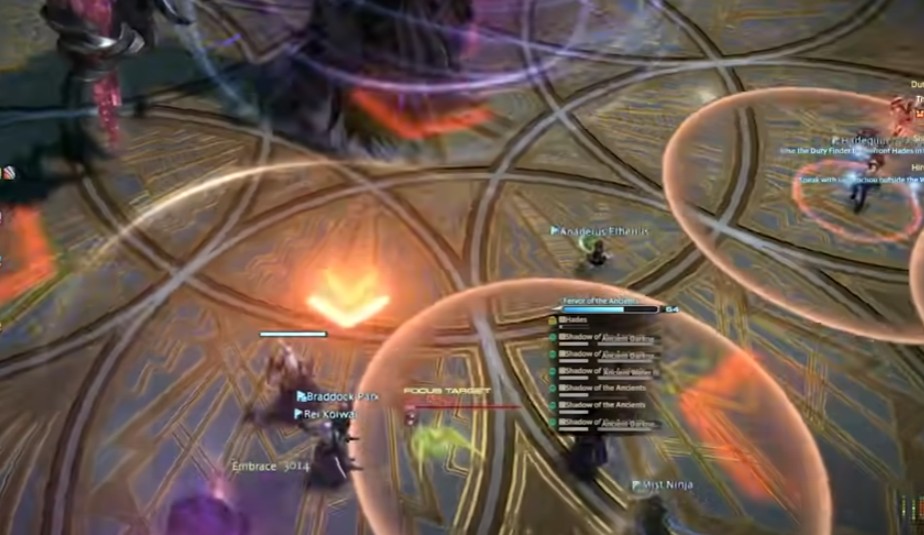
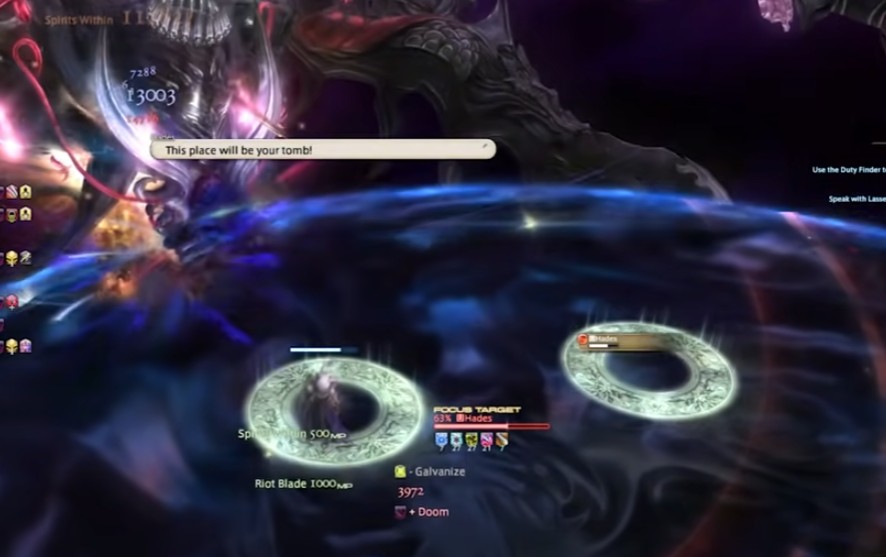
- Doom – The platform will turn black and 5 white circles will appear. At least one player must stand on each circle to get off the spell and if not, you will die.
- Wall of the lost – Knockback effect from the center. Move to the center to avoid falling off the platform. All these mechanics will repeat and overlap until the next phase begins.
Phase three
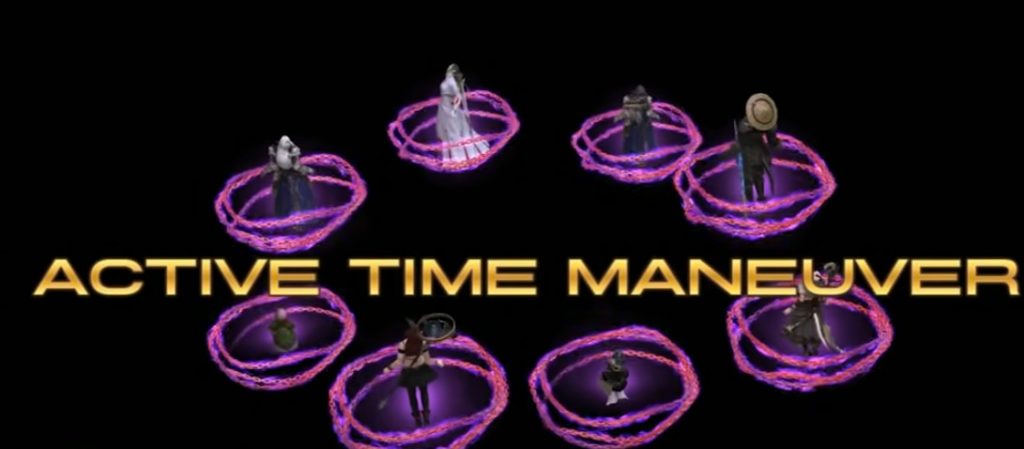
- Life in captivity – All players will be chained and an active time event will be started. Spam buttons to be released.
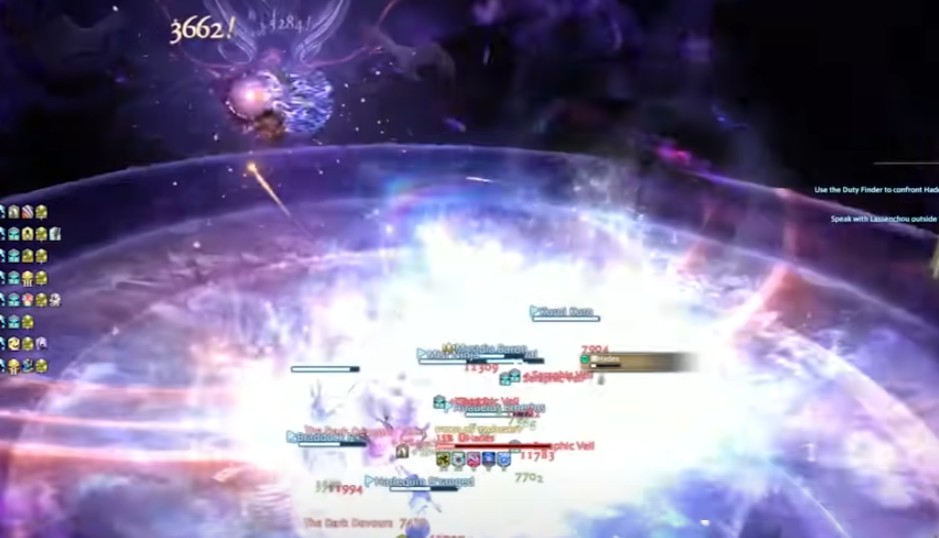
- The dark devours – The platform will be covered in the darkness that gives damage and once fully covered the players will start to bleed. Healers be ready to heal and shield as necessary.
- Black cauldron – This final cast must be stopped at all cost because if it goes off, you will all be wiped. So you need to kill the boss ASAP.