Table of Contents
Introduction
This is a level 80 dungeon in Final Fantasy 14 that is introduced in patch 5.3 To enter this dungeon you need to have item level 460 and above. The dungeon will be unlocked after accepting the Converging Light main scenario quest. You will go through Amh Areang, Ill Meg, and Lakeland to defeat three bosses and finish this quest.
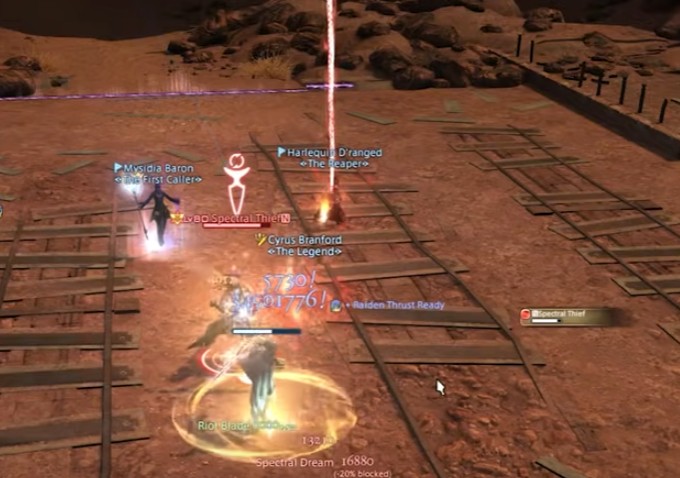
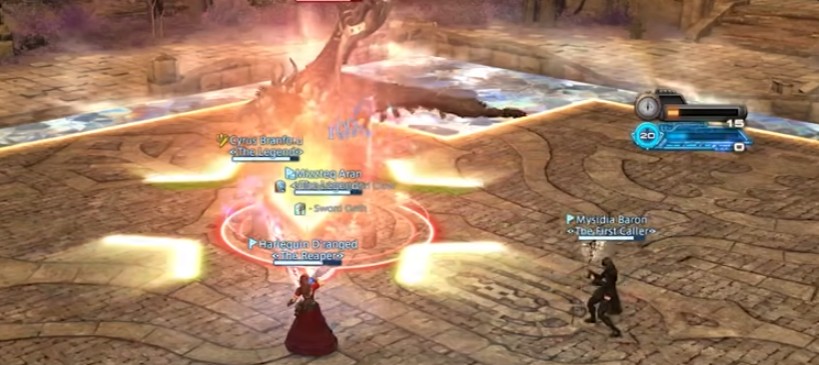
Spectral thief
- Spectral dream – This is a tank buster aimed at three primary targets. Heal, cool down, and shield as necessary.
- Dash – An arrow marker will spawn somewhere in the platform and the boss will dash to that particular area. Look for the countdown orb and the circle in the middle to determine where the boss will dash and avoid that place.

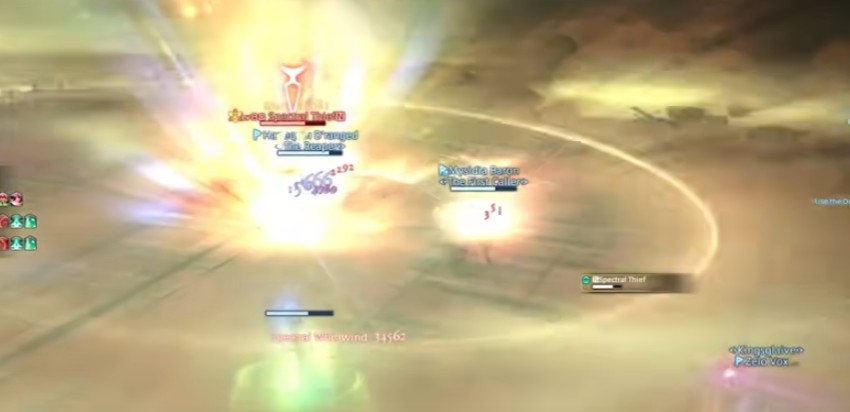
- Spectral whirlwind – Moderate group-wide damage to the whole party. Heal and shield as necessary.
- Spectral gust – There will be circle AOE markers on all players. Spread out to avoid overlapping damage.
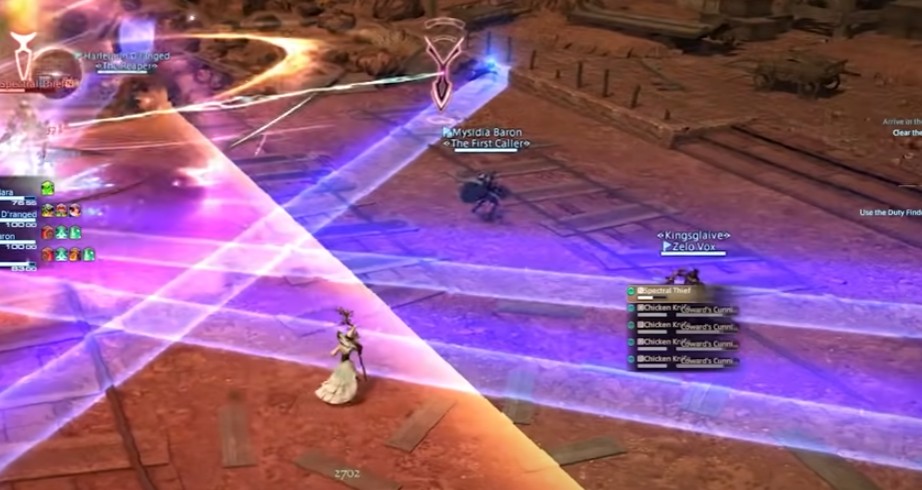
- Chicken knife – Number of adds will spawn around the platform and start blasting line AOE damages. Go to a safe spot to avoid damage.
- Shadowdash – Line AOE will appear together with two teleport arrows. This line AOE will split in two following the arrow marker. Stay away from this marker and spread out to avoid damage. After this, the mechanics will be repeated until the boss is down.
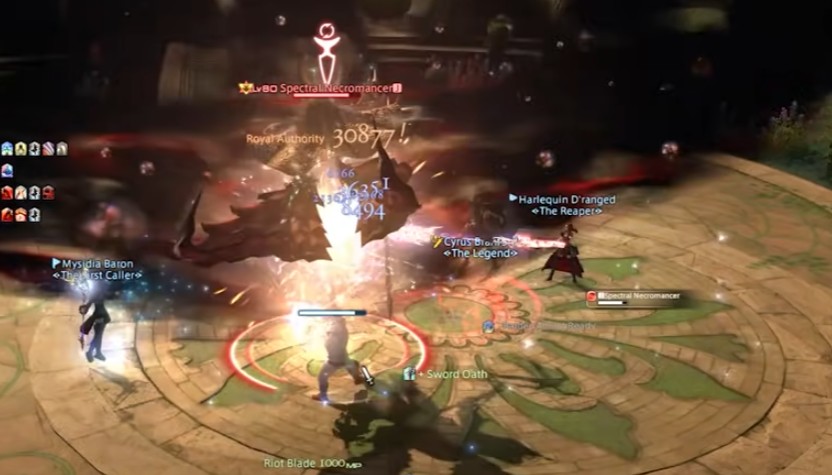
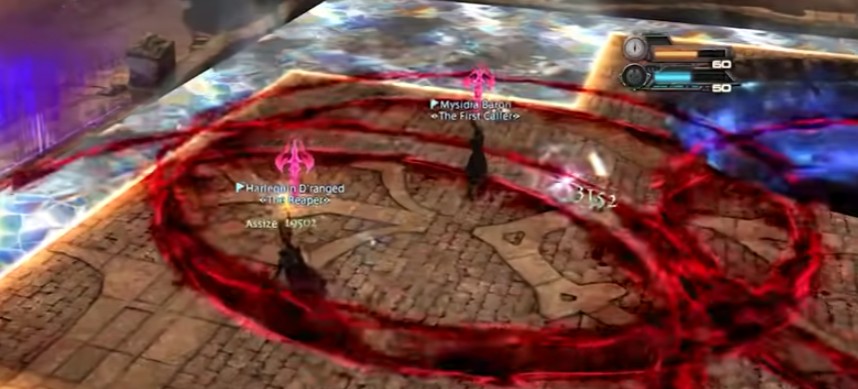
Spectral Necromancer
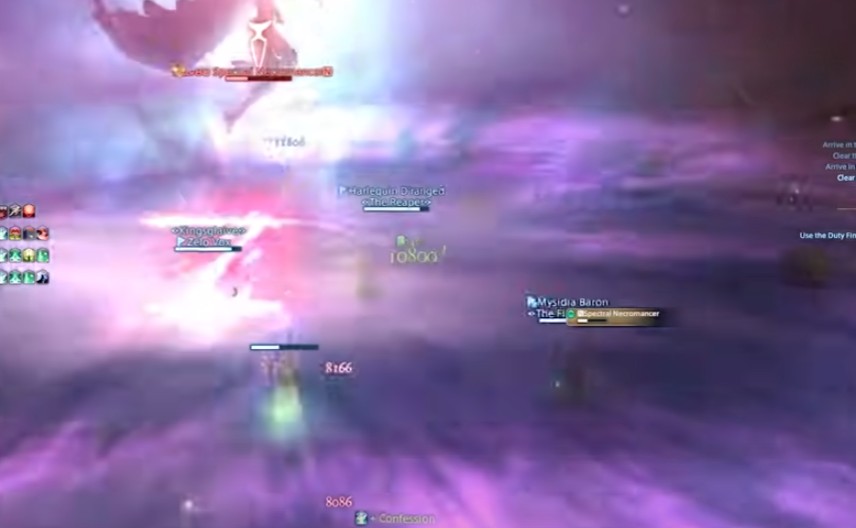
- Absolute dark II – This is a large conal AOE attack from the boss. Move to a safe spot to avoid damage.
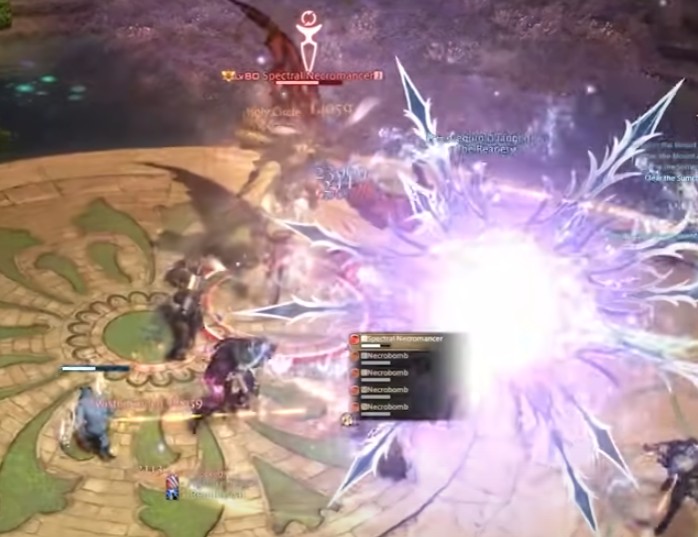
- Necromancy – Four circles will spawn and create 4 necrobomb zombies that will tether to the players and explode.
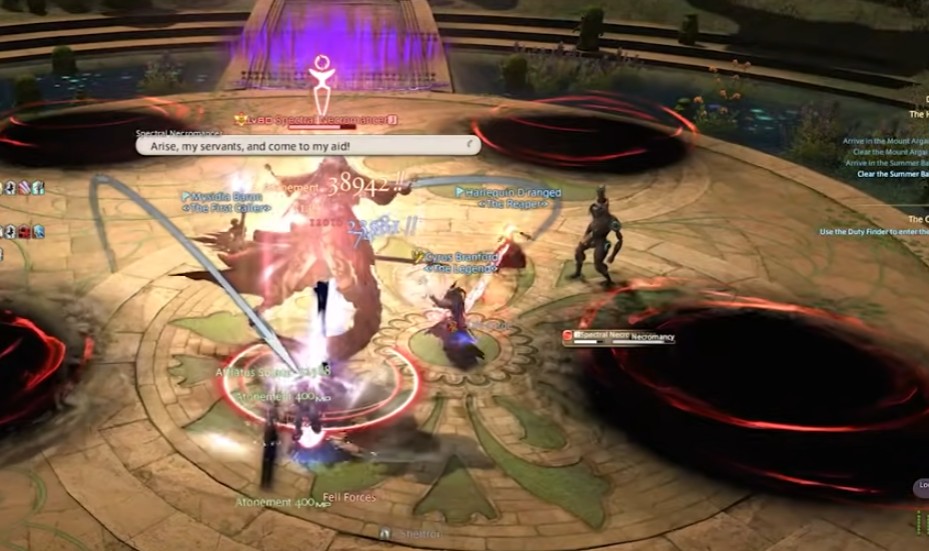
- Necrobomb zombies – These zombies will either be upright or crawling. They will chase the player that is tethered to before exploding. The player must run away from the zombies to avoid damage.
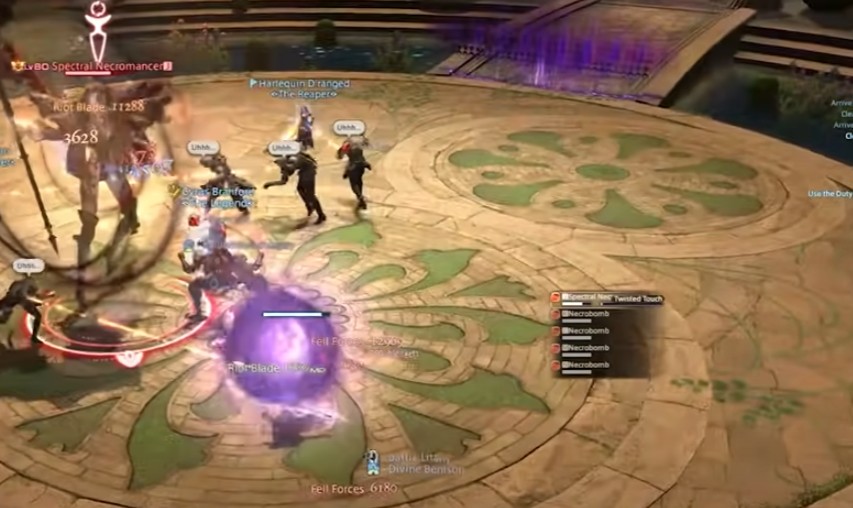
- Necroburst – The boss will cast this mechanic and zombies will explode in a small circle AOE. Spread out or move away to minimize the damage.
- Twisted touch – This is a tank buster aimed at the primary target. Heal and cool down as necessary.
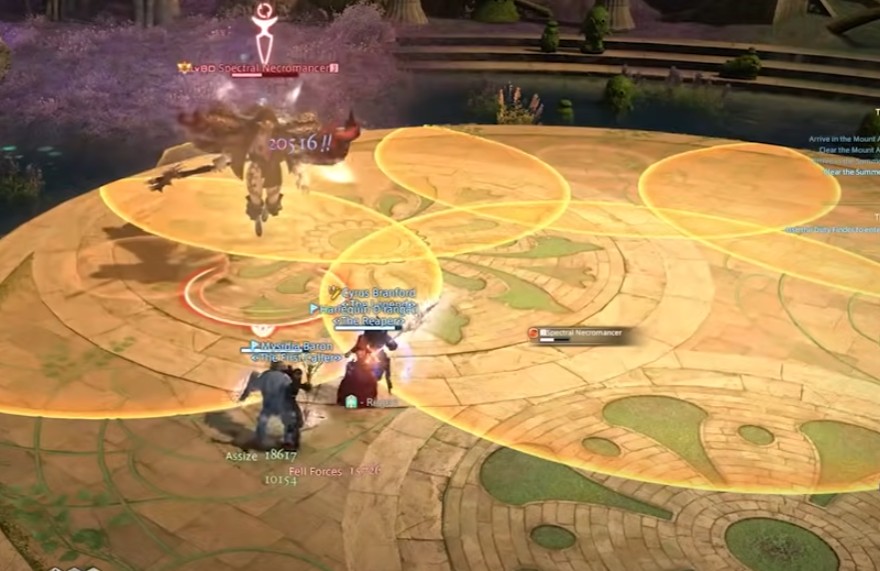
- Bleed circles – large AOE circles will appear on the platform that will apply bleed debuff. Move away from these circles to avoid damage and debuff.
- Fetters – Crawling zombies will appear on the platform and snare players before exploding. Spread our from each other to avoid overlapping damage.
- Chaos burst – Moderate group-wide damage to the whole party. Heal and shield as necessary. All these mechanics will repeat with increased overlapping and difficulties until the boss is down
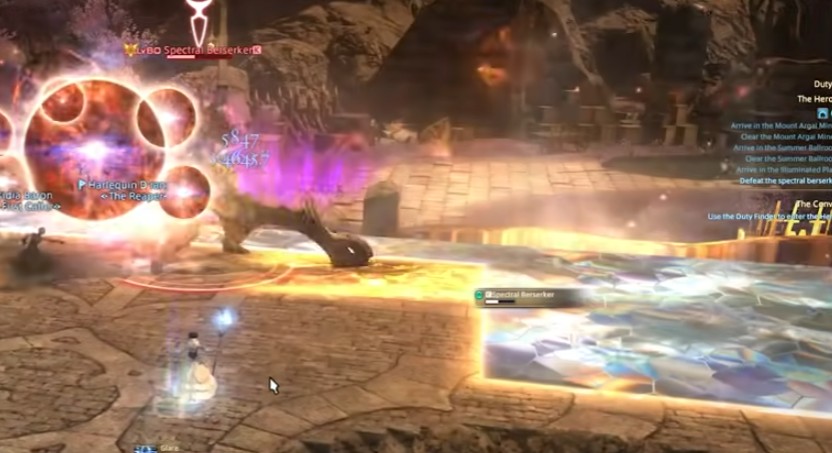
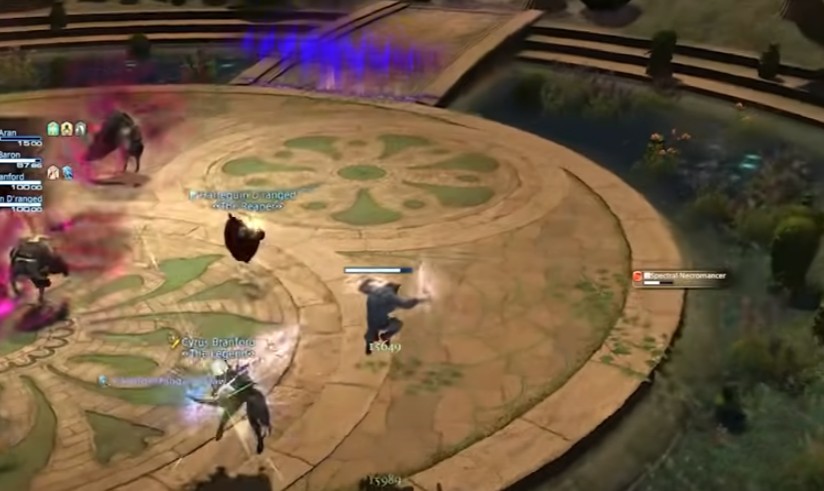
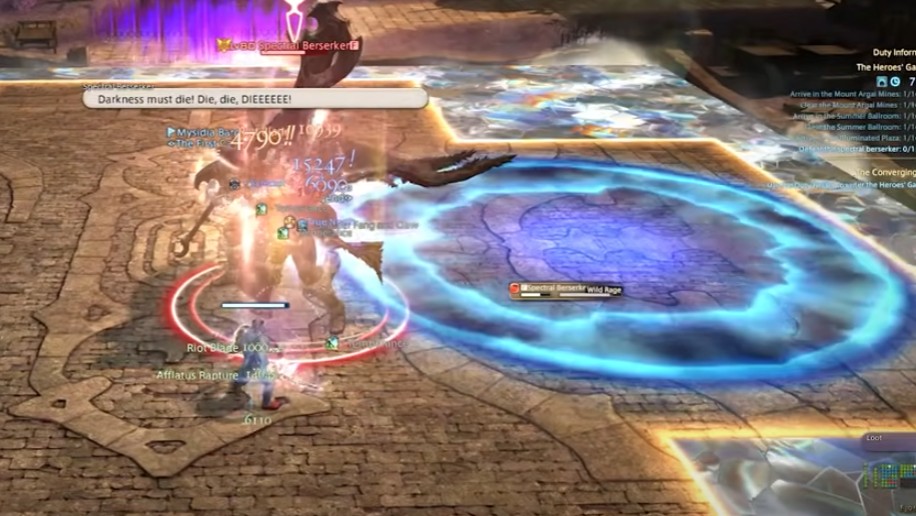
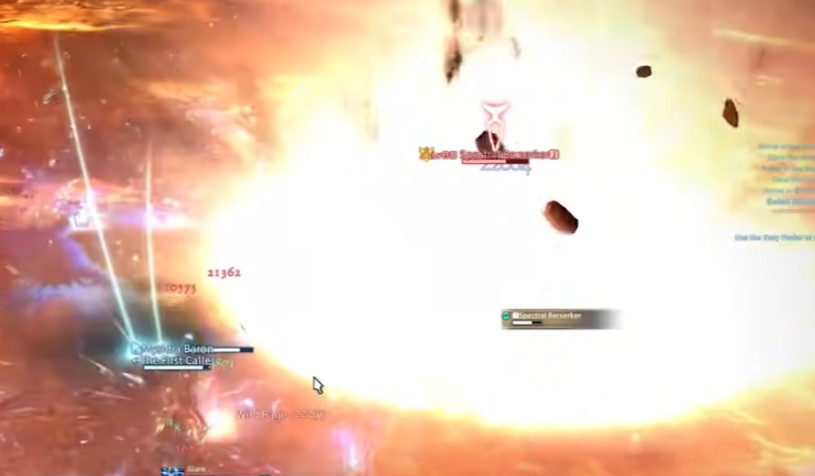
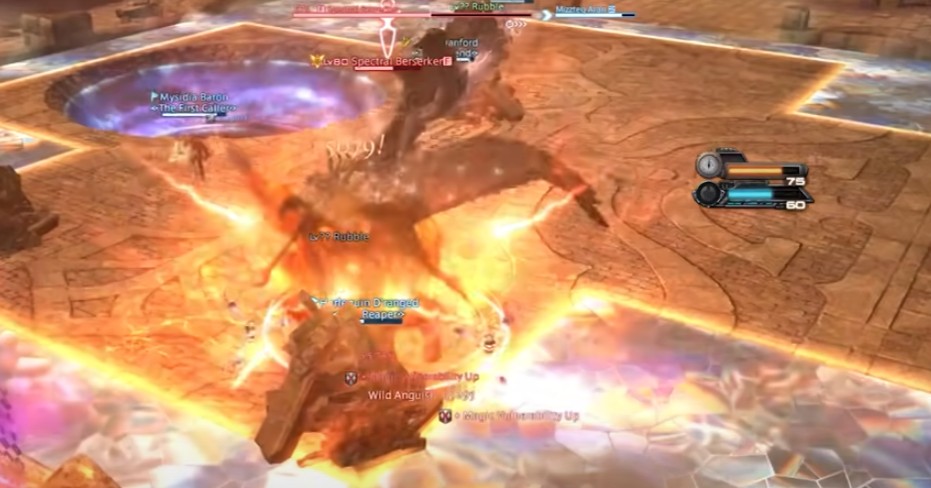
Spectral berserker
- Beastly fury – This is group-wide damage with the corners and edges covered by bleed zones. Avoid this area to minimize the damage.

- Wild anguish – Will target a random player for the stack-up marker. Group together to spread the damage among pasty members.
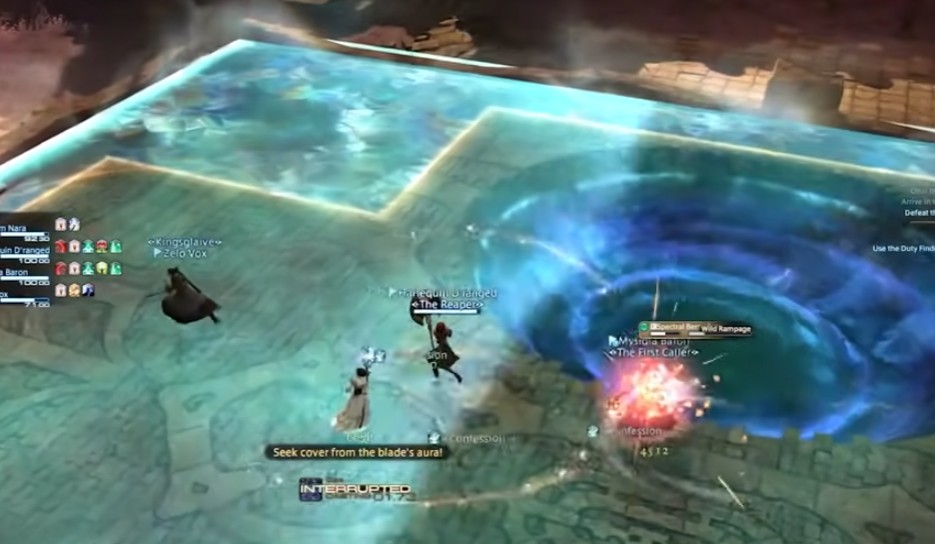
- Wild rage – A blue marker will appear on the platform and the boss will jump on the marker to blast a knockback effect. Position yourself properly or use knockback immunity to avoid damage.
- Berserk crater – A crater will appear that applies berserk debuff. If you get 8 berserks you will lose your character. Avoid stepping into the crater.
- Falling rocks – Players will be targeted with a large AOE circle. Spread to avoid overlapping damage. Immediately a pile of rock will fall on you.
- Wild anguish – All players will be targeted with a stack-up marker. Players can use the rock pile to soak damage.
- Wild rampage – the boss will blow lethal damage to any player. Jump to the crater to avoid this but be careful of the stack.
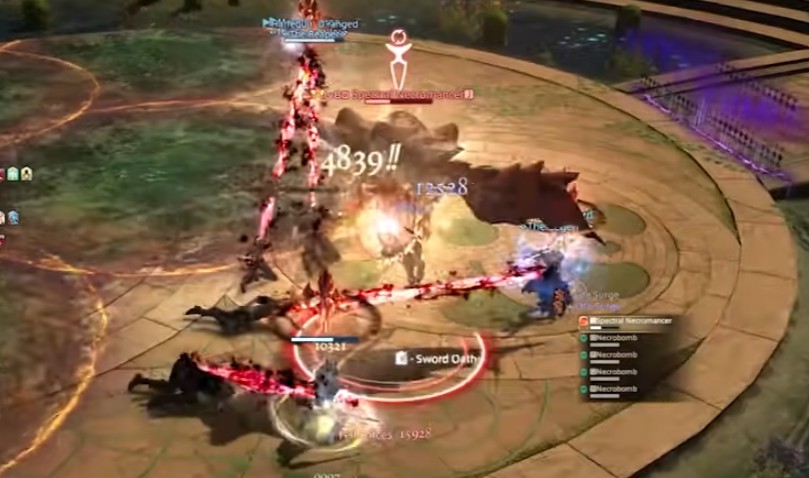
- Raging strike – Targets a random player for a long frontal attack, the spectral berserker will lift his sword before doing this attack. Move to the side or behind the berserker to avoid damage. All these mechanics will be repeated until the boss is down.