

Background: First appearing in Final Fight, Poison has started becoming a Street Fighter staple, now making her third appearance in Street Fighter as an offensive-zoning type character with abusively long range strikes as well as a threatening up-close game.
Strengths:
♡A very strong long range and AA game.
♡Has many resets and steal turns, especially with meter, along with 50/50s
♡ Many of her AAs and general conversions lead to oki, has great up close pressure and frame traps.
Weaknesses:
♡No reversals excluding a still rather slow Critical Art. She has to eat pressure and players will be forced to have good defense and patience to survive with her.
♡She has to play well. Single mistakes can send her to the corner and lose the game.
♡ Rather poor mid-range game, stubby non-heavy normals
| Health | 975 | Stun | 975 |
| Forward Walk Speed | 4.1 | Backwards Walk Speed | 3.2 |
| Forward Dash | 18 Frames | Back Dash | 23 Frames |
| Throw Range | 0.85 | Tier? | Mid-High. |
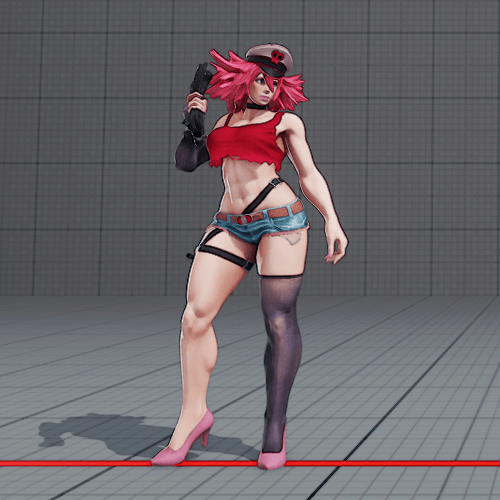
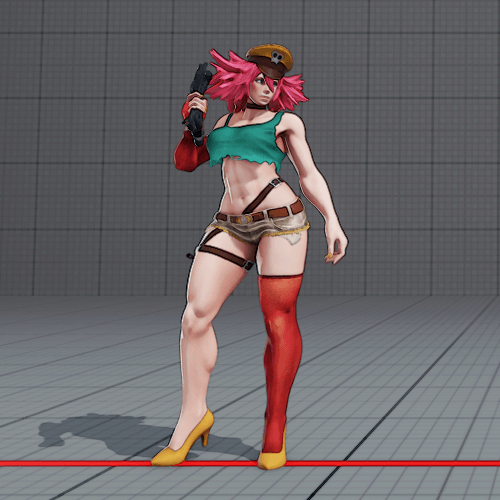
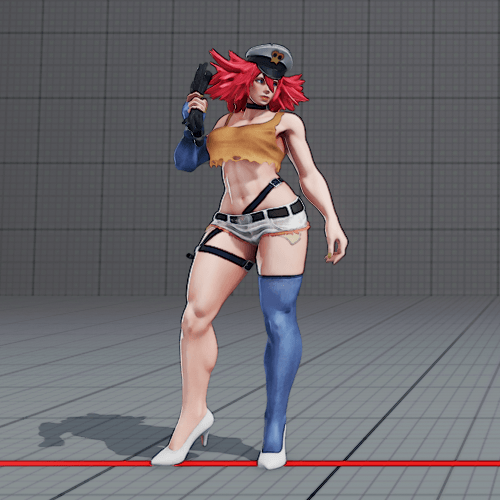
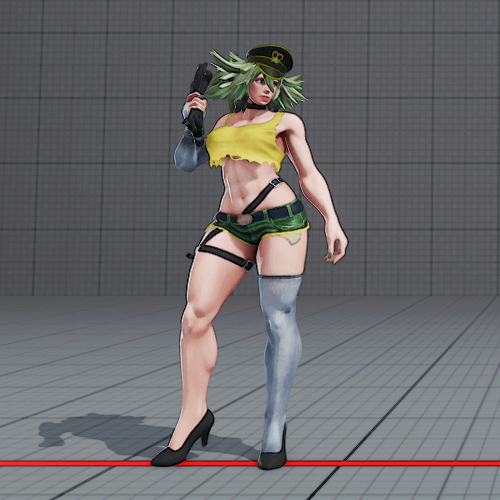
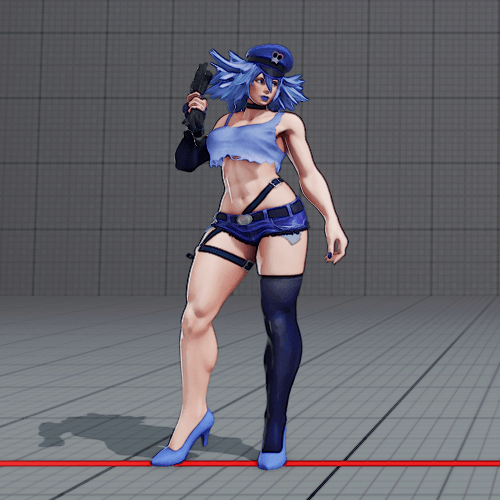
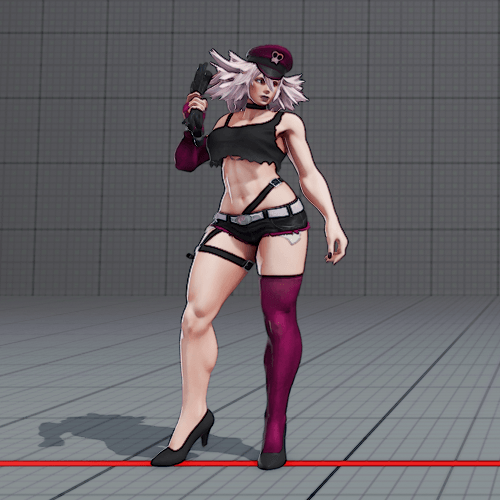
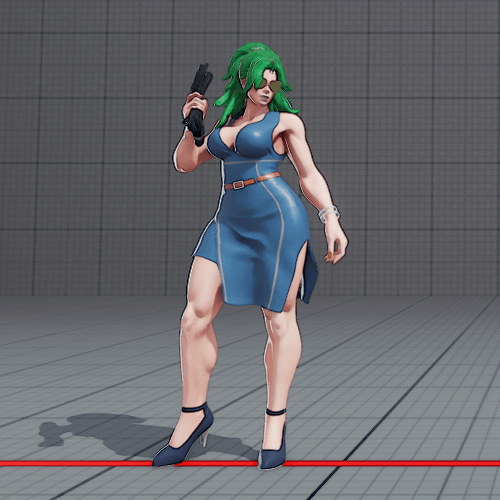
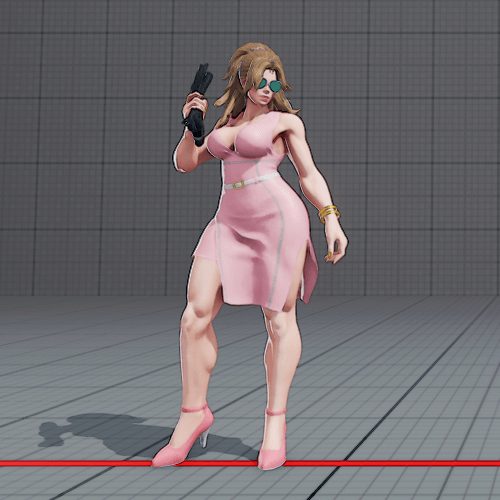
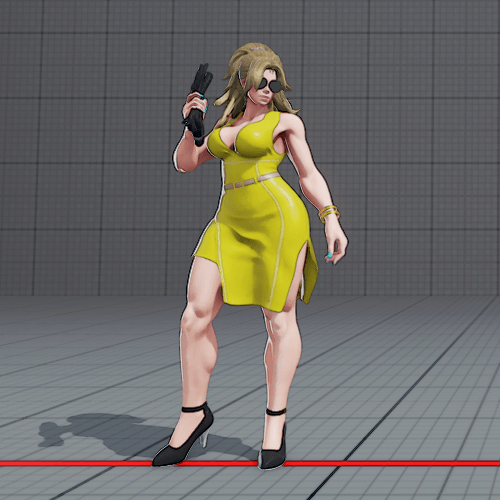
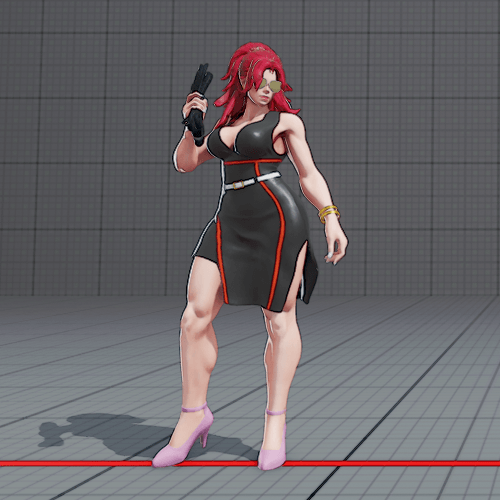
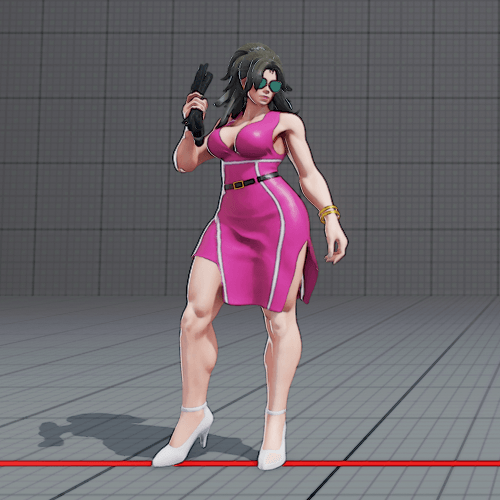
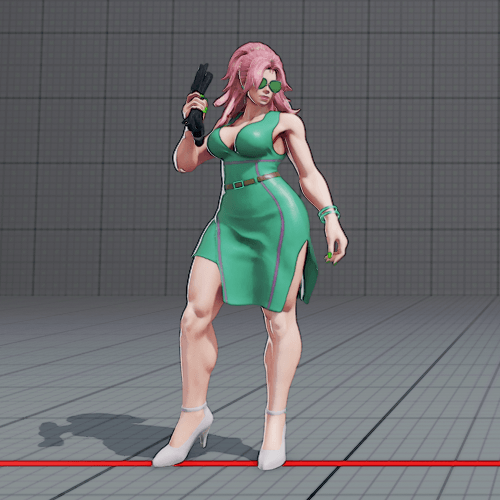
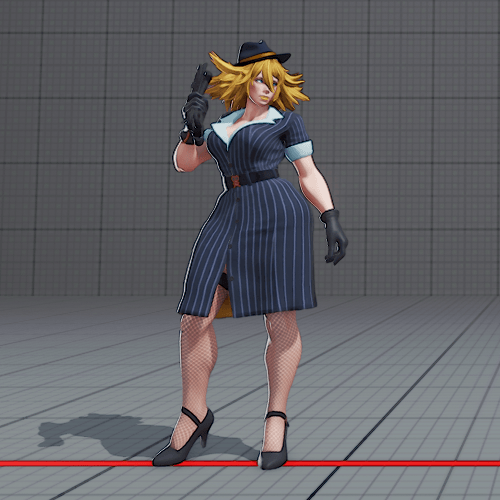
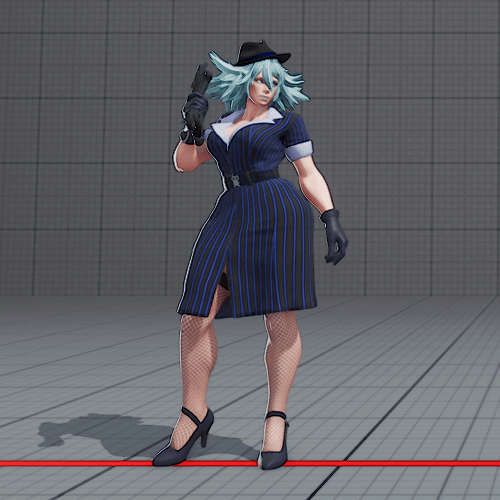
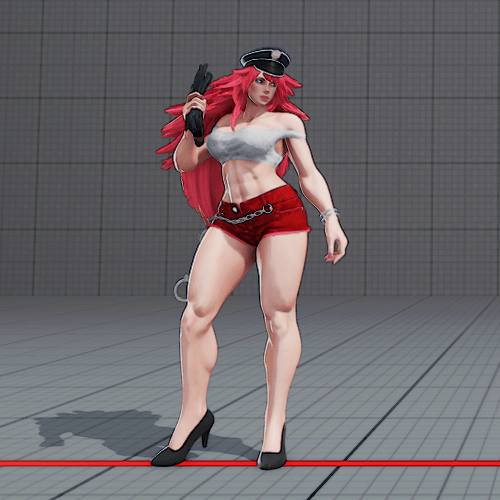
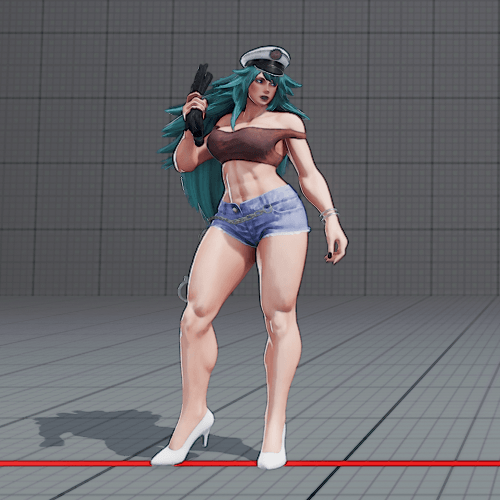
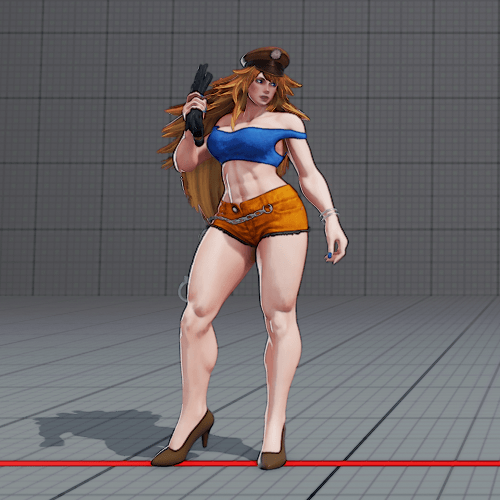
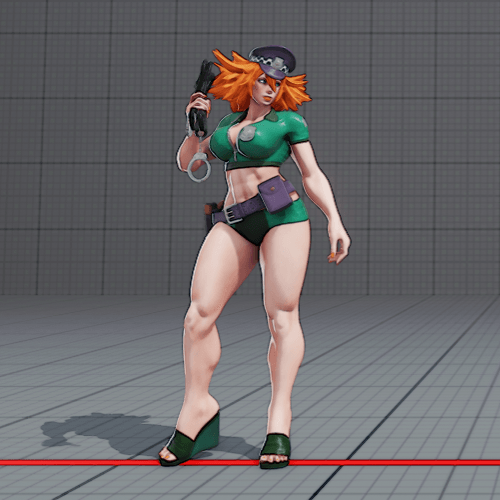
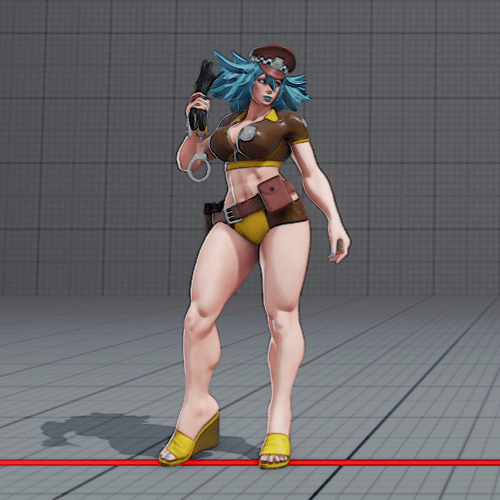
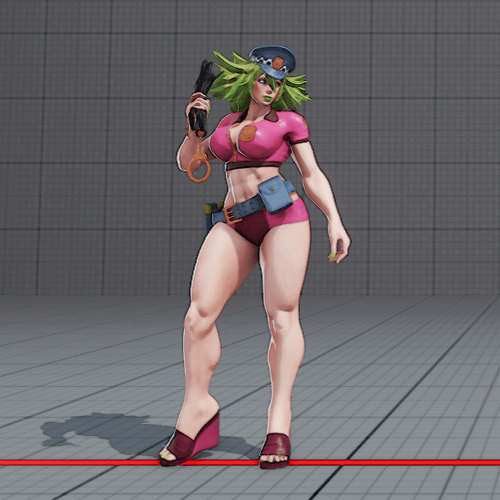
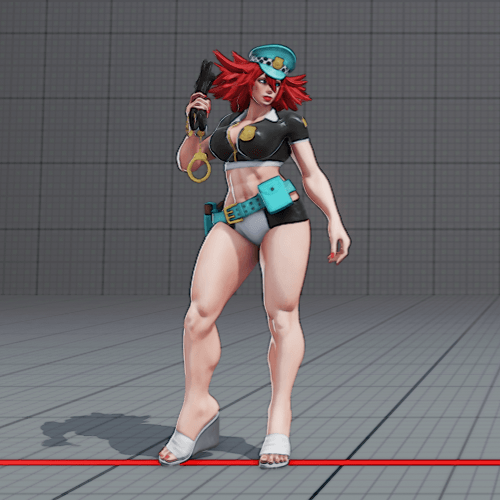
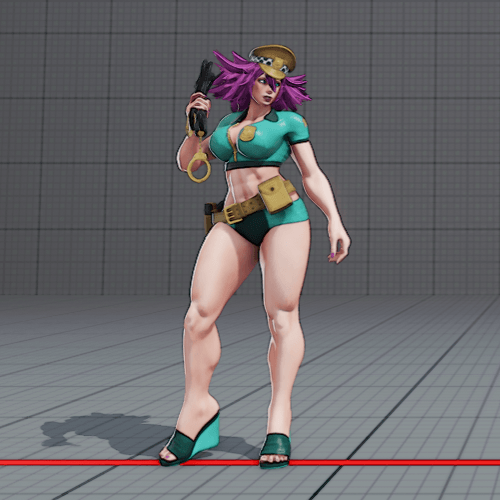
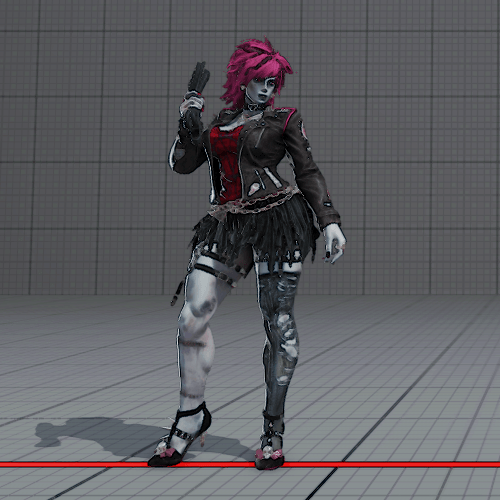
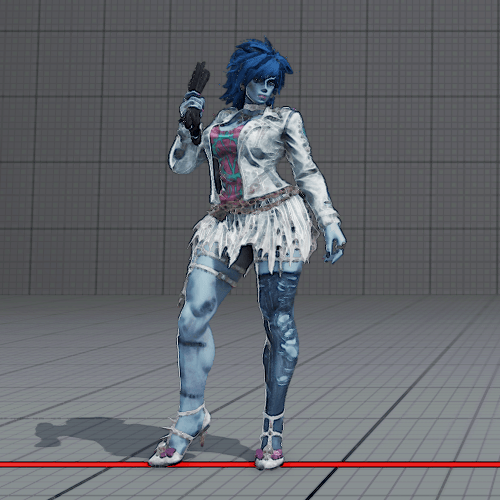
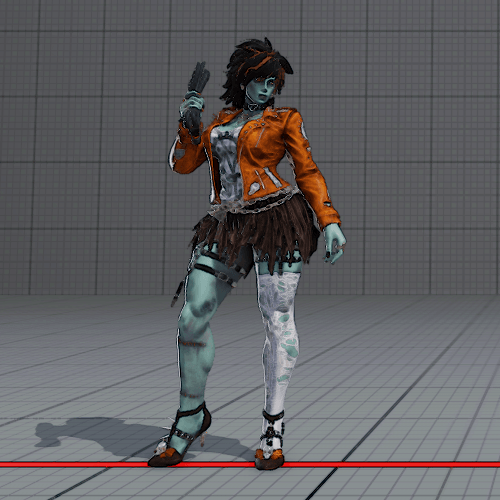
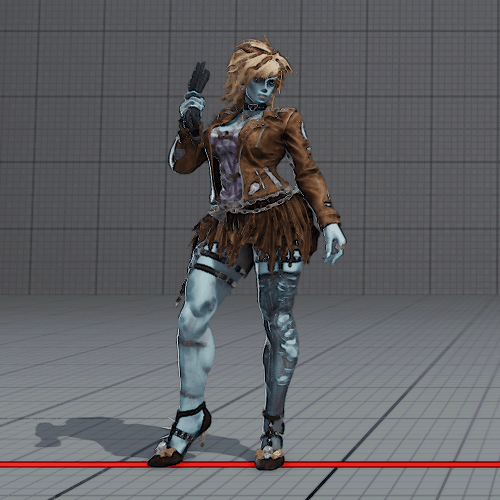
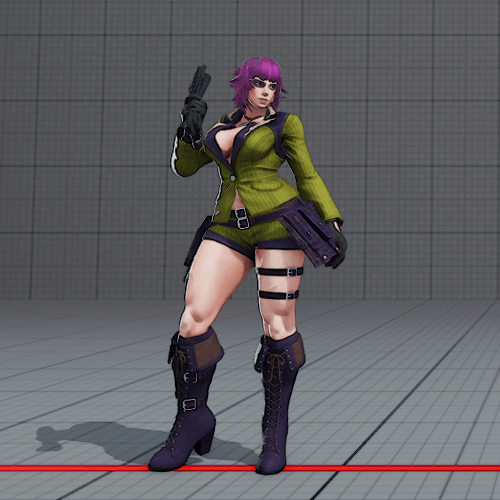
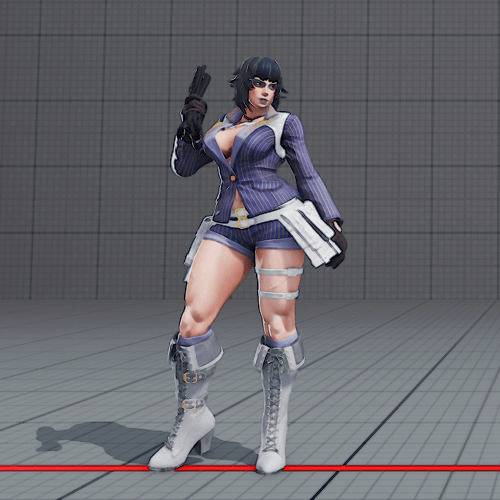
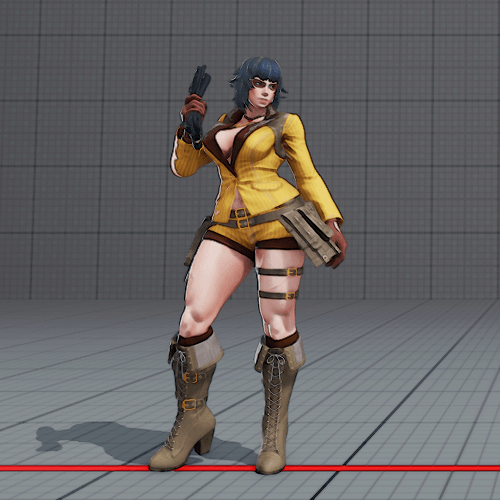
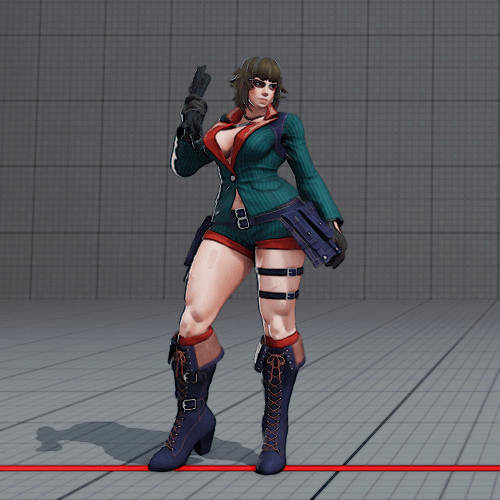
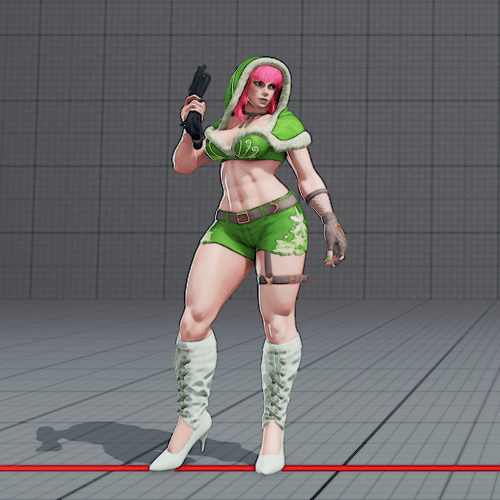
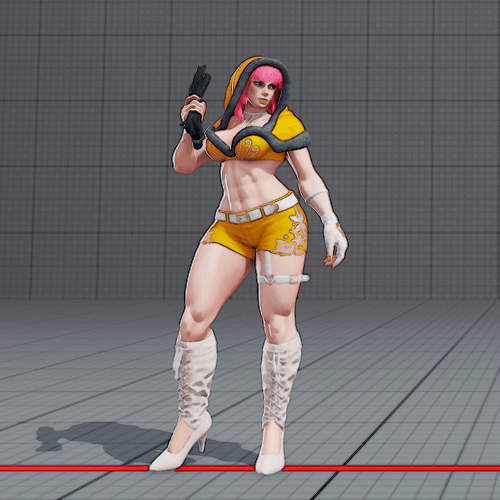
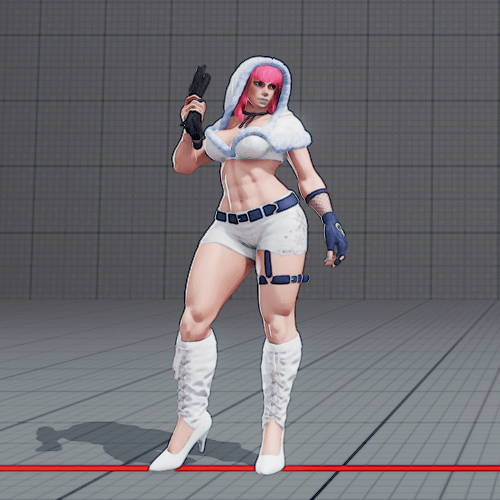
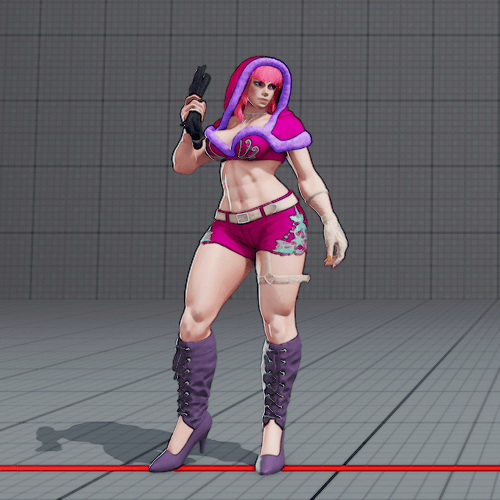
Costumes + Colors


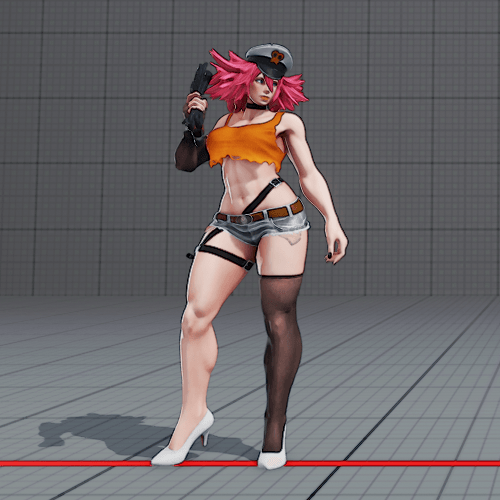
Default Color 01 Default Color 02 Default Color 03


Default Color 04 Default Color 05 Default Color 06


Default Color 07 Default Color 08 Default Color 09

Default Color 10 Default Color 11 Default Color 12 @ Level 5

Default Color 13 @ Level 10 Default Color 14 @ Level 25 Default Color 15 @ Level 50


Default Color EX6 Story Color 01 Story Color 02
(Fighting Chance)


Story Color 03 Story Color 04 Story Color 05


Story Color 06 Story Color 07 Story Color 08

Story Color 09 Story Color 10 Story Color 11

Story Color 12 Story Color 13 Story Color 14

Story Color 15 Story Color EX6. Battle Color 01
Fighting Chance Only.


Battle Color 02 Battle Color 03 Battle Color 04


Battle Color 05 Battle Color 06 Battle Color 07


Battle Color 09 Battle Color 10 Battle Color 11


Battle Color 12 Battle Color 13 Battle Color 14

Battle Color 15 Nostalgia Color 01 Nostalgia Color 02


Nostalgia Color 03 Nostalgia Color 04 Nostalgia Color 05


Nostalgia Color 06 Nostalgia Color 07 Nostalgia Color 08


Nostalgia Color 09 Nostalgia Color 10 Summer Color 01


Summer Color 02 Summer Color 03 Summer Color 04

Summer Color 05 Summer Color 06 Summer Color 07
Summer Color 08 Summer Color 09

Summer Color 10 Halloween 01 Halloween 02


Halloween 03 Halloween 04 Halloween 05


Halloween 06 Halloween 07 Halloween 08


Halloween 09 Halloween 10


Lady 01 Lady 02 Lady 03


Lady 04 Lady 05 Lady 06
Lady 07 Lady 08 Lady 09


Lady 10 Holiday 01 Holiday 02


Holiday 03 Holiday 04 Holiday 05


Holiday 06 Holiday 07 Holiday 08


Holiday 09 Holiday 10 Tracksuit 01
Tracksuit 02
Frequently Asked Questions
Q: I’m having trouble executing the St. Hp heart raid stance cancel. How can I make it more consistent?
A: Try negative edging the kick button you use to cancel the stance. Meaning, hold the kick button before or during your QCB P input and it will do the stance cancel immediately. If this doesn’t help you, the answer is you will just have to practice and get used to it.
Q: Is stance cancelling critical to her gameplan? Will I be able to play her without being good at stance cancelling?
A: Stance cancelling is not needed for her meterless combos. For combos that use meter and V-Trigger however, they are needed to achieve her highest damage. They are also needed in neutral to make St. Hp -2 on block instead of -6. The stance cancel in neutral also opens up a lot more flexibility, movement, and mind games that she would not have otherwise. Therefore, on a basic level you could pass without learning to stance cancel consistently, but don’t hope to go far with her otherwise. It shouldn’t take more than a day of playing to get used to it and do it consistently.
Q: What are Poison’s anti-airs?
A: cr. mp, QCF LK, QCB HP, EX QCB HP (MP + HP), j.mp – hp/f.hp
Q: I’m having trouble executing EX Heel xx V-Skill into air target combo. HELP!!?
A: This is difficult and takes a lot of practice. You need to cancel into V-Skill from EX Heel on the last frame you can (delay as much as you can) and then delay the air target combo too. If you can’t perform the target combo easily, then end the V-Skill in J.Mk or J.Hp instead for consistency and no need of any delays. Max range buffered St. Mk into v-skill target combo is consistent.
Q: How do the frames on the stance and cancelling work?
A: Starting the stance takes 12 frames for each version. To release the attack itself takes 9 frames for the light and medium versions, and 10 for the heavy version. Cancelling the stance takes 12 frames. This means it takes 21 frames in total to use L and M Heart Raids, 22 frames to use H Heart Raid, and 24 frames to start and immediately cancel the Heart Raid.
Common Terms & Notation
Avant: Avant Line (QCF+P)
Raid: Heart Raid (QCB+P)
LMT: Love Me Tender (QCB+K)
Heel: Shocking Heel (QCF+K)
VTC: V-Trigger Activation Cancel
AA: Anti air
cH: Counter Hit
Stancel: A quicker way of writing Heart Raid Stance Cancel
LEXHR: Light EX Heart Raid.
MEXHR: Medium EX Heart Raid.
HEXHR: Heavy EX Heart Raid.
Shimmy: Predicting that your opponent is going to attempt to throw break (tech) your own throw on them, and instead of throwing them, you move backwards and use a normal to punish the recovery frames of their grab.
Meaty: Hitting with your attack’s most late active frames, giving you more advantage on both hit and block as well as beating out any options from your opponent that are not fully invincible.
Sweep: Crouching Heavy Kick
Visuals & Frame Data
| St.LP Startup3Active 3Recovery7On Hit +3 On Block +2VTC Hit +3VTC Block +2Additional Notes | St. MPStartup6Active2Recovery16On Hit+5On Block +3VTC Hit +13VTC Block +11Additional Notes | St.HPStartup11Active3Recovery24On Hit +5On Block -6 VTC Hit +20VTC Block +12Additional NotesBecomes -2 when stancel’d |
| Cr.LPStartup4Active 3Recovery9On Hit +4On Block +3VTC Hit +3VTC Block +2Additional Notes | Cr.MPStartup6Active5Recovery13On Hit+6On Block +4VTC Hit +15VTC Block +12Additional Notes | Cr.HPStartup15Active3Recovery22On Hit -1On Block -11VTC Hit +14VTC Block +4Additional NotesHits low |
| Jump LP Startup34Active 4RecoveryN/AOn Hit N/AOn Block N/AVTC Hit N/AVTC Block N/AAdditional Notes | Jump MPStartup6Active3RecoveryN/AOn HitN/AOn Block N/AVTC Hit N/AVTC Block N/AAdditional NotesCauses a knockdown | Jump HPStartup12Active3RecoveryN/AOn Hit N/AOn Block N/AVTC Hit N/AVTC Block N/AAdditional Notes |
| St.LK Startup4Active 3Recovery11On Hit +3On Block +1VTC Hit +4VTC Block +2Additional Notes | St.MK Startup7Active3Recovery16On Hit+2On Block -2VTC Hit +11VTC Block +7Additional Notes | St.HKStartup8Active3Recovery21On Hit +4On Block -4VTC Hit 18VTC Block 10Additional NotesMoves Poison forward slightly |
| Cr.LKStartup4Active 2Recovery12On Hit +1On Block -2VTC Hit 2VTC Block -1Additional NotesChains into cr.LP Hi 🙂 (Intentionally left blank) | Cr.MKStartup7Active3Recovery15On Hit+4On Block -2VTC Hit +12VTC Block +6Additional Notes | Cr.HKStartup10Active3Recovery22On Hit N/AOn Block -14VTC Hit InfinityVTC Block +1Additional Notes |
| Jump LK Startup3Active 5RecoveryN/AOn Hit N/AOn Block N/AVTC Hit N/AVTC Block N/AAdditional NotesCross up button, fuzzy guards entire cast | Jump MK Startup7Active5RecoveryN/AOn HitN/AOn Block N/AVTC Hit N/AVTC Block N/AAdditional NotesCauses Knockdown | Jump HKStartup9Active5RecoveryN/AOn Hit N/AOn Block N/AVTC Hit N/AVTC Block N/AAdditional Notes |
| Whiplash(J. Forward heavy punch)Startup13Active 4RecoveryN/AOn Hit N/AOn Block N/AVTC Hit N/AVTC Block N/AAdditional NotesOnly during forward jump | Slap and Smash Startup9Active3RecoveryN/AOn HitN/AOn Block N/AVTC Hit N/AVTC Block N/AAdditional Notes | Slap and SlashStartup9Active7RecoveryN/AOn Hit N/AOn Block N/AVTC Hit N/AVTC Block N/AAdditional Notes |
| V-SkillStartup25Active 18Recovery28 On Hit N/AOn Block -21VTC Hit N/AVTC Block N/AAdditional NotesDoes not hit crouching opponents. Projectile invincible. | Light Avant Line (QCF+LP)Startup15Active2Recovery27On Hit+1On Block -7VTC Hit N/AVTC Block N/AAdditional Notes | Medium Avant Line (QCF+MP)Startup15Active2Recovery27On Hit +2On Block -8VTC Hit N/AVTC Block N/AAdditional Notes |
| Heavy Avant Line (QCF +HP)Startup12Active 7Recovery35On Hit KnockdownOn Block -17VTC Hit N/AVTC Block N/AAdditional Notes | EX Avant Line (QCF+PP)Startup12Active7Recovery35On HitKnockdownOn Block -2VTC Hit N/AVTC Block N/AAdditional Notes | Light Heart Raid (QCB + P)Startup12+9Active2Recovery26On Hit +2On Block -6VTC Hit N/AVTC Block N/AAdditional Notes |
| Medium Heart Raid (QCB +MP)Startup12+9Active 2Recovery26On Hit +2On Block -6VTC Hit N/AVTC Block N/AAdditional Notes | Heavy Heart Raid (QCB +HP)Startup12+10Active2Recovery17On HitKnockdownOn Block N/AVTC Hit N/AVTC Block N/AAdditional NotesCannot hit grounded opponents | EX Light Heart Raid (QCB + LP+MP)Startup18Active4Recovery24On Hit KnockdownOn Block -2VTC Hit 17VTC Block +14Additional Notes |
| Ex Medium Heart Raid (QCB + LP+HP)Startup19Active 4Recovery24On Hit +2On Block +2VTC Hit +17VTC Block +14Additional NotesUSE THIS MOVE | Ex Heavy Heart Raid (QCB+ MP+HP)Startup9Active4Recovery29On HitKnockdownOn Block N/AVTC Hit N/AVTC Block N/AAdditional Notes |
| Light Shocking Heel (QCF+LK)Startup8Active 6Recovery27On Hit KnockdownOn Block -12VTC Hit N/AVTC Block N/AAdditional Notes | Medium Shocking Heel (QCF+MK)Startup15Active6Recovery27On HitKnockdownOn Block -12VTC Hit N/AVTC Block N/AAdditional Notes | Heavy Shocking Heel (QCF+HK)Startup25Active6Recovery27On Hit KnockdownOn Block -12VTC Hit N/AVTC Block N/AAdditional Notes |
| EX Shocking Heel (QCF+KK)Startup18Active 7Recovery32On Hit KnockdownOn Block -17VTC Hit N/AVTC Block N/AAdditional NotesCancels into heartraid / VT specials | Light Love Me Tender (QCB+LK)Startup21Active3Recovery1+18On Hit+2On Block -4VTC Hit N/AVTC Block N/AAdditional Notes | Medium Love Me Tender (QCB+MK)Startup28Active3Recovery2+17On Hit +3On Block -4VTC Hit N/AVTC Block N/AAdditional Notes |
| Heavy Love Me Tender (QCB+HK)Startup21Active 3Recovery1+18On Hit KnockdownOn Block -2VTC Hit N/AVTC Block N/AAdditional Notes | EX Love Me Tender (QCB+KK) Startup24Active3Recovery18On HitKnockdownOn Block -4VTC Hit N/AVTC Block N/AAdditional NotesProjectile invincible on frame 3. Overhead |
| VT1 NeutralStartup19Active N/ARecovery25On Hit On Block VTC Hit VTC Block Additional Notes | VT2 Toxic HoldStartup6Active3Recovery52On HitKDOn Block N/AVTC Hit N/AVTC Block N/AAdditional NotesClose command grab | VT2 Toxic BindStartup29Active2Recovery44On Hit KDOn Block N/AVTC Hit N/AVTC Block N/AAdditional NotesFar command grab |
| Love Hurricane (CA) Startup1+9Active 2Recovery57On Hit KnockdownOn Block -37VTC Hit N/AVTC Block N/AAdditional NotesInvincible from frame 1 | V-ReversalStartup17Active 2Recovery23On Hit KDOn Block -2VTC Hit N/AVTC Block N/AAdditional Notes |
Normals Overview
St.Lp: Poison’s 3 frame normal. This button is crucial when being pressured on as it allows you to significantly reduce the types of frame traps you have to deal with that characters with only a 4 frame jab would. Because Poison does not have an EX DP and her critical art is pitifully slow, you need to become comfortable with blocking and checking “fake” pressure with this move. It’s only +5 on cH so meaty with cr.lp instead for a light meaty. This move can also serve as a quick anti-air. It can be risky, but the hitbox is generous and it comes out in 3f obviously so it tends to stuff out attacks. It is a good pressure tool for staggering.
Cr.Lp: Arguably Poison’s biggest pressuring tool. Being +3 unlike most other jabs, it ticks into her VT2 command throw and makes her normal throw game more scary by default. You should meaty with this button since on counter hit you can convert into cr. Mp / st. mp for L LMT or H Avant / M Heel.
St.Mp: Typical 6f starting medium with decent range to catch out other buttons and whiff punish. Links into QCB LK to leave you point blank for +2, or into M heel kick, or M / H avant as per your choice. It is your go to follow up after a cH cr.Lp because Cr. Mp tends to whiff in most situations following a cH cr.Lp. Season 5 change: Now combos into St.Mk on counterhit.
Cr. Mp: This move is arguably Poison’s best button and one of the best normals in the entire game. It is a godsend and has many uses. Firstly, it is a 6f start up anti air with a generous hitbox. This move allows you to hold your stance more comfortably in neutral as it allows for an assured anti air once reacting to an enemy’s jump in and stance cancelling. On block this move is +4 and on hit +7. On cH it can link to St.Mk for slightly more damage and the assured range. On meaty counter hits, this move can be as high as +14 and link into St.Hp for high damaging kill sequences. On block, this move can meaty to be as high as +8. A point blank cr. mp only needs to be +6 to still microwalk meaty throw a 3f jab after they block. This should be your go to meaty button in the corner.
St.Hp: A shimmy tool as well and range tester. Jails into MEXHR. Turns into -2 oB when stanceled, and is a good button to establish your stanceling game, between hitting the button, stancelling, immediately hitting St. Hp again, and then choosing to either stancel or go into the raid of your choice. The hitbox on this move is deceptive however and won’t reach as far as you think it would.
Cr.Hp: A button to use outside of your St. Hp range. It can low profile fireballs and is used along with raids to trade with fireballs, dealing more damage to them than to you. Also used as a meaty button after a back throw. (some but not all of the cast can ex dp it) This button is -11 and can be punished by a lot of forward moving special moves in the game as well as some critical arts, either when poorly spaced or even from absolute max range. You’ll have to see which characters not to use it so willingly against, two obvious examples being Cammy and Balrog.
St.Lk: Relatively standard 4-frame light button in distance. Can buffer into medium heel kick. Synergize with st.hk
Cr.Lk: 4 frame low. -2 on block but chains into cr.lp. Don’t meaty with this
St.Mk: An 8 framer standing medium kick, comparable to that of other mediums but with the clear strength of being special cancellable. It’s a really nice button and safer to throw out than St. Hp in regard to both being jumped in on and getting crush countered. Does not perfectly jail into MEXHR against 3f jabs, which results in a +12 trade in your favor that can be confirmed with St. Hp. Against 4fs they lose outright.
Cr.Mk: A good button to keep people out that are trying to push forward, and a button to end a frame trapping block string with. Only -2 on block and leaves you in good space when used from afar. Not special cancellable but when point blank and slightly further out it can combo on both normal and counter hit. Has great VT1 and 2 activation conversions on hit.
St.Hk: A nice button that synergizes well with St.Lk, to create good distance and encourage someone to hit a button and get a CC. Forward throw sets up this button to be -2 on block instead of -4 as a meaty, making it a great way to CC someone trying to check you dash or walk forward after a forward throw with jabs. Maybe can be used as a late crush option if you are okay with being -4 on block if you don’t get said late crush.
Cr.Hk: It’s a sweep. Her only other crush counter button alongside St. Hk. Can be safe to most things when properly spaced. Sets up VT1 50/50s on crush counter.
J.Lk: Your cross up button. This button can fuzzy everyone in the game. Good for when you need a quick 50/50 overhead to close out the match.
J.Hp: Really big on the lower hitbox, meaning you can hit this button while still high in the air and still catch the opponent. Always works into cr.mp even when hitting from high up surprisingly. J.Hp into St.Hp seems to be a frustrating link for people.
Whiplash (Forward J.Hp): Surprisingly big vertical and horizontal hitbox, meaning you can use this button as a jump in button and hit people earlier than expected even when they are on the ground. It reaches REALLY far, like near full screen far. The hitbox also lingers, meaning you can hit it before hitting the opponent, and as you fall the hitbox will still trigger a hit. Important to note that it whiffs on crouchers.
Dealing With Fireballs
Poison has both reactionary and preliminary ways to deal with fireballs.
On reaction, Poison can:
- Use EX LMT to go over ALL projectiles to punish.
- Use CA to punish projectiles as well as CA things like Akuma jump ins.
- Release medium heart raid on the opponent throwing a fireball to trade for damage in her favor in most cases. (Fireballs with only 1 hit)
- Cr.hp on the opponent throwing a fireball to trade for damage in her favor in most cases. (Fireballs with only 1 hit)
When predicting, Poison can:
- Use light, medium, or heavy LMT to travel over the fireball.
- Use VS1 to go over the fireball (and actually manage to punish. On reaction this would get blocked or even DP’d)
- Use LEXHR to absorb a hit of a fireball and punish. (Fireballs with only 1 hit. Can also use MEXHR but the reward is worse, but you’re +2 instead of -2 on block)
Layering Your Offense
This section will go into heavy detail on how to layer your offense on Poison in all aspects.
It’s important to understand that Poison is rewarded with oki on hit for almost everything she does, and if you are serious about maining the character, you have to learn to take advantage of the oki and buffer into beneficial moves instead of only buffering into medium heart raid.
- When the opponent blocks a cr.mp, you can:
- Microwalk throw (meaty throw against 4f and will swallow their jab, loses to 3f)
- Delay st. mp to catch throws. On counter hit you can convert into st.mk into avant or heel kick, or convert into cr.mk (xx super) if st.mk is too far.
- 3f Frame trap with st.mp, also catches backdash.
- When the opponent blocks a st.mp, you can:
- Frame trap into st.mp
- Cancel into stance. Here, you can do multiple things
- Walk back and let the raid rip, leaving you safe and ending your turn. This is technically a delay, so it tends to catch people thinking they can start their turn if they don’t know the match up.
- Walk forward and let the raid rip. This is if you think you are a chad and will definitely catch them hitting buttons.
- Delay letting the whip rip as to either counter hit up close or trade with the opponent. Trades leave you at around +14 to continue a combo with St.Hp xx M LMT.
- Immediately cancel the stance to stancel, stealing a turn as to walk up (or even dash sometimes) and throw or continue hitting buttons. This is obviously fake and depends on how you condition your opponent with your stancelling. The better you are at this, the more unique and strong your individual Poison will be. Immediately stancelling leaves you -3, but if you make them fear delays in releasing the whip, you can play around this to prolong your offense and steal turns.
- Delay your cancel into MEXHR. It will still be a string, but there will be a gap that if people mash, it will hit them, giving you free damage and the same situation. This is a good reward after a lot of st.mp xx heart raid conditioning.
- After an anti-air cr.mp, you are usually +15 or higher. You must take these opportunities to:
- Throw
- Meaty cr.lk(to force them to crouch block), meaty cr.lp, or cr.mp (usually can’t do this as a meaty in time but still a good option)
- Shimmy with st.hp xx a buffer. LMT if you are confident they will tech or M raid if you aren’t.
- After an anti air Light heel kick, you are usually at least always +2 on double dash regardless of recovery, and always plus doing VS2 immediately after. Take your oki. Same goes for H raid and HEXHR anti airs, except you simply walk up and meaty, no dashing.
- EX LMT also gives oki. Do not dash up, just walk up and meaty.
- Poison has a pseudo throw loop that works everywhere on screen. After a forward throw, you can:
- Walk forward and throw again. It takes some practice but it is a strong threat as you can mix this with a button and force the opponent to be afraid to try to check your walk up.
- Meaty st.hk to either get a crush counter, or make your st.hk -2 on block.
- Meaty with st.mp or st.hp.
- After MEXHR (On hit or block) you can:
- You cannot shimmy due to the distance. To beat throws, you must delay your buttons. You can delay cr.lp or delay cr.mp to beat delay tech. Confirm into st.mp for cr.lp CH or st.mk for cr.mp CH.
- Do an undelayed cr.lp / cr.mp into your block string.
- Do an undelayed cr.lp into walk back shimmy St.Hp into buffer.
- Do an undelayed cr.lp into tick throw.
- Throw
- After an on hit L LMT:
- Same options as after MEXHR. (Also cannot shimmy with that distance)
- Delay a VT2 close grab so that instead of comboing, it will be a combo reset for more damage. You can then do cr.mp to catch people who try to hold up after you expose them to this.
- After an on hit M LMT you can:
- Finish the combo
- Throw
- Delay cr.lp / cr.mp when you have conditioned them to fear a throw instead of expecting you to finish the combo to beat their tech
- Do st.lp to make it seem like you wiil finish the combo, then walk up throw.
- Do st.lp, then as you walk up, st.lk for 3 framers or st.mp for 4 framers as frame traps. (Mostly giving up your turn here but it’s possible to confirm off of the counter hit lights that might occur, importantly you are adding layers for them to be afraid of)
- DO NOT:
- Do VS2 after an AA cr.mp unless you NEED the side switch. You are giving up being +15 with the ability to shimmy for being around +2 with no shimmy potential. In some cases you can be negative frames after the VS2, so only do this if you need the side switch.
- Throw bait with L LMT. There’s not really any point. -4 on block, +2 on hit. You get better rewards for doing traditional delays / shimmies and are safer for it.
- Do a VT1 molotov toss after an on block LEXHR. You are still -2 either way. The fire chip doesn’t change the fact that you are now guessing between the throw or not so don’t bother wasting your molotov!
- Do a VT1 molotov after any LMT. You are unsafe and throwing the molotov actually makes you worsty unsafe because of the gap in between the specials. Just take your punish like a chad.
- Other things to note:
- Close out rounds by mixing a jump in with cr.lk and a j.lk fuzzy.
Bread and Butter Combos
Meterless 0 VT combos.
NOTE: Ending combos in Heavy Avant deals MORE damage and LESS stun, however, the oki is worse compared to Heel Kick’s oki in which even on back roll you can meaty jab and tick throw. If you need to kill / confirm into CA or you have the opponent in the corner, end combos in Heavy Avant. Otherwise, the more consistent oki ender is Heel Kick. The damage difference is in the single digits anyway. Even with VS2, H avant still does not give oki while heel kick enders into VS2 roll does.
J.HP St HP xx QCB MK St. lp xx QCF K. 288 damage, 520 stun.
(Point blank, cannot perform from jump in) St. Hp xx Heart Raid Stance Cancel xx cr. mp, st. mp xx QCF MK. 245 damage, 425 stun,
Cr. mk, st.lk xx QCF MK. 168 Damage, 283 stun.
St, Mp, st. Lk xx QCF MK. 168 damage, 283 stun.
Cr. mp, St. Mp xx QCF MK. 186 Damage, 310 stun. +2 oki on back roll. (Or QCF HP for more damage)
Cr.lk, cr. lp xx QCF LK. 111 damage 253 stun.
Cr. lp, st. lk xx QCF MK. 138 damage, 253 stun.
J.Lk, cr. Lp, St. Lk xx QCF MK. 162 damage, 294 stun. (Do J.Lk, cr. lk cr. lp xx QCF LK for easier cross up confirm if you find cr. Lp after J.Lk inconsistent)
Counterhit combos:
(Point blank) cH cr.lp, cr.mp, st. mp xx QCF MK. 201 damage, 359 stun.
(At range where cH cr. lp, cr.mp st. mp will whiff) cH cr. lp, st.mp xx QCF MK. 146 damage, 270 stun.
cH Cr. MK, St. Mp xx QCF MK. 198 damage, 330 stun.
cH St. Mp, St. Mk xx QCF MK. 207 damage, 330 stun.
cH cr. Mp, St. Hk, St. Lk xx QCF MK. 239 damage, 416 stun.
(Further away) cH cr. Mp, St. Mk xx QCF MK. 207 damage, 330 stun.
CC St. Hk, St. Hp xx QCB MK, st. Lp xx QCF LK. 268 damage, 501 stun.
(Max range) CC St. Hk, dash forward st. lk xx QCF Mk. 191 damage, 341 stun.
cH St. Mk xx QCB MP OR St. Mk, St. lk xx QCF MK.
Counter hit St.HK xx VS2 hold, QCF + HP. 236 damage, 365 stun. Can replace H avant with HEXHR for 250 damage 400 stun.
1 Bar no VT combos:
J.Hp, St. Hp xx QCF HK, QCB MP + HP. 348 damage, 545 stun. +4 oki on normal, +9 on backrise.
J.Hp, St. Hp xx Stancel, St. Mp xx QCF KK xx V-Skill 1, J.Mk, jump forward. 327 damage, 563 stun. Sets up meaty cr. mp / throw on both recoveries.
J,Hp St.Hp xx Stancel, St. mp xx QCF KK xx V-Skill 2 hold, H avant. 368 damage, 605 stun. Do M avant to still have oki.
Cr. Mp, St. Mp xx QCF KK xx V-Skill, J.Hp. 268 damage, 438 stun. Dash up +10 on normal recovery, +15 on back. Or end in J.mk for significantly better set up.
Cr. Mk, St. Lk xx QCF PP. 192 damage, 283 stun.
Cr. Lp, St. Lk xx QCF PP. 162 damage, 253 stun.
DP Punish Combos: (Max damage, ignoring oki)
For DPs you cannot Jump punish:
0 meter 0 VT:
(Point blank) St. Hp xx Stancel, cr. Mp, St. Mp xx H Avant. 301 damage 455 stun.
CC St. Hk, St. Hp xx QCB MK, St. Lp xx QCF LK. 287 damage 501 stun, builds V-Gauge.
1 bar 0 VT:
CC St. Hk, St. Hp xx QCF HK, QCB MP + HP. 340 damage, 525 stun.
0 Bar VT1:
(Point Blank) St. Hp xx Stancel, Cr. Mp, St.Mp xx QCF Mk xx Molotov Toss, QCF HK. 371 damage + fire damage, 590 stun.
1 Bar VT1:
(Point Blank) St. Hp xx Stancel, Cr. Mp, St.Mp xx QCB LP + MP, QCF LK xx Molotov Toss, QCB HP. 427 damage + fire damage, 640 stun.
0 Bar VT2:
(Point blank) St. Hp xx Stancel, Cr. Mp, St. Mp xx QCF MK xx VT2 Long throw. 370 damage 545 stun.
1 Bar VT2:
(Point Blank) St. Hp xx Stancel, Cr. Mp, St. Mp xx QCB LP + MP xx QCF LK, VT2 long throw. 424 damage 585 stun.
For DPs you CAN Jump Punish: (Max damage ignoring Oki)
0 Resources
J.Hp, St. Hp xx Stancel, St. Mp xx H Avant. 334 damage, 500 stun.
1 Bar Punish:
J.Hp, St. Hp xx QCF HK, QCB MP + HP. 388 damage, 575 stun.
0 Bar VT1:
J.Hp, St. Hp xx Stancel, St. Mp xx QCF MK xx VT1 Toss, QCF HK. 404 damage + fire damage, 635 stun.
1 Bar VT1:
J.Hp, St. Hp xx Stancel, St. Mp xx QCB LP + MP, QCF LK xx VT1 Toss xx QCF HK. 456 + fire damage, 665 stun.
0 Bar VT2:
J.Hp, St. Hp xx Stancel, St. Mp xx QCF HP xx VT2 long grab. 424 Damage 590 stun.
1 Bar VT2:
J.Hp, St. Hp xx Stancel, St. Mp xx QCB LP + MP xx QCF LK xx VT2 long grab. 457 damage, 630 stun.
VT1 Combos:
Note: These are just the best damage combos, not necessarily the best to set up for mix-ups or ambiguous situations.
0 Bar:
J.Hp, St. Hp xx Stancel, St. Mp xx QCF MK xx VT1 Toss, QCF HK. 364 Damage + Fire damage, 605 stun. Double dash +5 on normal, +10 on back.
OR J. Hp St. Hp xx QCB MK, St. Lp xx QCF LK xx VT1 Toss QCF HK. 362 damage + fire damage, 630 stun, more corner carry.
Corner Only: (End corner combos in HP raid for max damage)
J.Hp, St. Hp xx Stancel St. Mp xx H Avant xx Molotov Toss, QCB MP. 380 damage, 605 stun.
1 Bar VT1 Combos:
J.Hp, St. Hp xx Stancel, St. Mp xx QCB LP + MP, QCF LK xx VT1 Toss xx QCB HP. 420 damage + fire damage, 655 stun.
2 Bar VT1 Combo: (Do this combo!!!!)
J.Hp, St. Hp xx Stancel, St. Mp xx QCB LP + MP xx Back VT1 Toss, QCF HP xx cancel into forward VT1 toss on second hit of H avant, QCF PP. 433 damage + fire damage, 630 stun. The amount of fire damage in this combo makes this combo do basically half health, so it is much higher than 433. Do this combo off of any conversion when you need to kill, whether it’s raw St.Hp in neutral or anything. The damage is extremely good!!
VT2 Combos: 0 Bar.
J. Hp, St. Hp xx Stancel, St. Mp xx QCF + HP xx VT2 long grab. 384 damage. 560 stun.
OR
J.Hp, St. Hp xx Stancel, St. Mp xx QCB LK xx VT2 close grab. 361 damage, 569 stun. Better oki for meaty St. Hp into MEXHR.
1 bar:
J.Hp, St. Hp xx Stancel, St. Mp xx QCB LP + MP xx QCF LK xx VT2 long grab. 417 damage, 600 stun.
OR
J.Hp, St. Hp xx Stancel, St. Mp xx QCB LP+HP xx VT2 close grab. 402 damage, 625 stun. Better oki for meaty St. Hp into MEXHR.
Jump/Anti-Air combos:
Jump MP/MK, CA: 365 damage, 100 stun.
Jump Mp + F.hp, CA: 395 damage, 190 stun.
V-Skill 2 uses and set-ups:
QCF KK xx VS2 hold, H avant xx Forward molotov toss. VS2 + dash up. (Your back to corner / mid screen set up)
This set up works on both recoveries, leaving you at +3 on normal recovery, +8 on back. You can meaty throw on both recoveries, and this leaves the fire burning for a bit right on their wake up. Very high corner carry and can combo into H avant if they get hit by the molotov.
(Corner only) J.Hp, St.Hp xx Stancel, st.mp xx VTC. St. Hp xx QCB MP xx VT1 toss, H avant xx Back molotov toss. Slight delay, VS2.
The elongated combo is necessary for the right spacing so that both H avant will connect, and the molotov will be in the ideal spacing for a cross up. When you cross to the other side, the opponent has to block the molotov in side you started the combo with while you can hit them on the other side, making for a left right. On delay wake up, you can L LMT to go back to your original side and still be in time for a meaty. If they decide to stand block this, you also get 4-way mix between cr.lk and a j.lk fuzzy.
Video showcasing this at 0:35 https://twitter.com/sonic_sol/status/1206528989713571840
You can use VS2 on reaction for some jump ins, like Akuma air fireballs, Falke jump ins, or Mika jump ins, to try to avoid their mix altogether. You can also VS2 off of an on hit sweep to get better oki.
You can use VS2 after a cr.mp anti air, but it’s not recommended unless to switch sides as your advantage is significantly worse. You can also use VS2 after heel kick enders to have easier oki instead of doing single / double dashes to try predicting your opponent’s wake up.
VT1 vs VT2 vs VS1 vs VS2. What to use?
VS1 is extremely pale in comparison to VS2. It cannot reliably go through projectiles unless through prediction, has limited combo routes, is easily beatable out of the air and unsafe. VS2 cannot go through projectiles at all, but Poison has enough ways to deal with them already. VS2 gives oki off of a variety of knockdowns, much bigger damage extensions, and has the same corner carry as VS1 but with actual left / right mix up potential. There is almost no reason to use VS1 over 2.
For V-triggers, VT1 is the way to go. It has an exceptionally high amount of uses between making avant and heel kick safe, an array of combos both with and without VS2, combos for dumping meter, corner carry set ups, possible left rights, meaty corner set ups, etc. It gives way too many combo opportunities, damage extensions, confirms, and overall utility to be used over VT2 in a competitive sense. In tournaments and meta play, you will see people use VT1 over 2 almost always for these reasons. Additionally, VS2 and VT1 work very well together for corner carry and 50/50s. VT2 has no real synergy with VT2.
Although VT2 has useful benefits which will be detailed further below, it is ultimately a very weak and unrewarding command grab which makes the Poison player have to take unnecessary risks that can end up getting her killed. While Poison has great offense, her kit is not really designed around having a command grab. One traditional SFV Mix up with a VT1 combo will do more damage than 2-3 landed command grabs. You can definitely use VT2 to scare people, but in retrospect it is not inherently scary nor really good, especially not as a comeback mechanic to rely on.
V-Triggers Overview
VT1: Poison Cocktail
Poison’s VT1 is a two bar V-Trigger that grants her usage to two molotov cocktails. These molotovs break on both hit and block, causing the ground to erupt in flames, doing unscaled chip damage both when guarding and when in a combo.
Set-ups (With / Without VT1)
(Midscreen) End any combo into QCF LK xx Molotov toss, then do a raw QCB MK. The QCB MK will whiff, leaving you +8 point blank if the opponent quick rises, and further away with the opponent back rising. This set-up is strong because you can meaty St. Hp on both wake-ups and continue a combo if the opponent hits a button, stancel and back off on quick rise, or just let a M heart raid rip on back recovery.
Video Example: https://twitter.com/MacabrexEmizel/status/1158808480985362432?s=19
(Corner Only) (Credits to Twitter / Discord user Sephi22) End any combo into QCF LK, Molotov Throw, (back version) QCB MP xx back Molotov throw (it will whiff.) Here Poison gets like a 8 way mix up opportunity if the opponent quick rises, and gets the same opportunities on back roll if you delay your button to match the wake up. The button you choose should meaty the opponent and counter hit, or be blocked and then be made advantageous as the molotov falls down. You can confirm all these hits into CA or QCF PP / QCB MP + HP. You can jump forward for really ambiguous cross ups, cross up empty low, just throw, etc.. Uses both molotovs but has a lot of potential as both a concept and a set-up with the idea of using the blockstun of one move allow the molotov to hit and then be plus thanks to the molotov.
Video Example: https://twitter.com/sephi22/status/1159230397823275008
(Midscreen) (Credits to Twitter / Discord users Wolfgang and PianoDensetsu) Confirm cr. Mk into VT activation, hit St. Hp and activate Medium Heart Raid while walking backwards, then release the hit as a combo, then toss far molotov into MEXHR, then set up back molotov toss. This set up serves to replicate the corner only set up above, albeit with seemingly less advantage and capability of mix-up, but the premise here is still strong and might create ambiguous set-ups. You can still apply the concept of using blockstun of a meaty move to let the molotov come to give you frame advantage. The molotov will still hit on backroll in mid-screen too, just keep in mind your timing for your meaty (or jump) has to accompany the back roll.
Video example: https://twitter.com/PianoDensetsu/status/1159474558090526721?s=19
(Midscreen) After a Crush Counter sweep, immediately activate V-Trigger and set up a back molotov. Wait and then execute a medium LMT. You will land on the opposite side with the molotov falling immediately after. Delay the medium LMT a little bit longer and you will fall on the same side instead, again with the molotov falling immediately after. You can be up to +20 on the side switch and +14 on the same side. This may not be entirely a pure left-right 50/50 but for a lot of players the side switch (or lack of) can be hard to react to and even if it’s blocked (or if the opposite side molotov doesn’t make them panic) they are in the flames and stuck while you get free continued pressure.
Video example: https://twitter.com/MacabrexEmizel/status/1159519812474810369
Following an EX heel kick, v-skill into j.mk, then jump forward. On quick recovery, the opponent must take a 50/50 as to switch side you’ll land on. You can meaty with cr. mp and be up to +8 on block and +14 on hit. To land on the same side, delay the air j.mk a bit. If the opponent back rises it is no longer a 50/50 but you keep your meaty and throw pressure regardless.
Video example: https://twitter.com/MacabrexEmizel/status/1158920121328590848
V-Trigger 2: Toxic Glamor
Toxic Glamor is a 2 bar V-Trigger that provides Poison with access to a close range and long range command grab. Both command grabs are simple to use, the close range being a respectable 6f start up move with really high range to it. This trigger does not have a high skill / technical ceiling to it, or need of high knowledge for that matter. It functions very much like a normal grappler’s command grab in providing a threat to consider up close. The V-Timer is generous in how long it lasts, and you can get three uses before the bar depletes. The command grabs can also be used as simple combo extenders when you need to close out the round.
The long range command grab has a 29 frame start up, and while it proposes a threat by just existing in neutral, you shouldn’t be looking to get wins by doing it raw, it is reactable in both visuals and sound cue.
The close range command grab synergizes very well with Poison due to two things: The existence of Medium EX Heart Raid (MEXHR) and a +3 on block cr. lp. Because the command grab starts in 6 frames, cr. lp tick throws into the command grab, making it true mix for a respectable 170 damage and 200 stun. Following the command grab, Poison can microwalk forward to do St.Hp into MEXHR. Here she has layers to her mix. She can immediately grab, jab then tick throw, jab then shimmy, or with VT2, jab then command grab. All her options can either reset to +2 or leave her in a position to meaty MEXHR again and the command grab only helps to amplify both the damage and layered fear of mix as such.
If a combo won’t kill, then I suggest not using the long range command grab at the end of the combo since it hard resets you back to neutral spacing and you lose your pressure and are taken out of the corner if you have the opponent there. It’s better to save a command grab usage to continue the classic SFV pressure. End combos in the close range command grab if possible. Close range does more damage and at least lets you meaty St.Hp for a jailing MEXHR.
VT2 command grab results in a hard knock down leaving you +17. If you dash up, you will be -1. However like mentioned before you can meaty St. HP into MEXHR to continue the loop. You can also meaty CC with both St. Hk and Cr. Hk. If the opponent hits a button they will get CC’d, if they don’t hit a button then your button will only whiff, not be blocked.
The far command grab can also be used to catch enemy forward moving specials, like Lucia command dash, Abigail run, Gief V-Skill flex, etc. It can also be used to whiff punish things like Menat’s St. Hp.
Things to note:
- You can covert max range M raid into the long command grab for 235 damage, which by all means is nice.
- The whip of the VT2 long grab ignores projectiles but can still be hit by normal buttons
Matchups: (Not done)
| Alex | Good. 6-4 |
| Abigail | Good. 6-4 |
| Akuma | |
| Birdie | |
| Blanka | |
| Balrog | Even? |
| Cammy | Bad. 4-6 |
| Chun | |
| Claw | |
| Cody | |
| Dhalsim | Good. 6-4EX LMT through all fireballs and VT2 balls. VS1 through ex fireballs and VS2 fireballs when on ground. HEXHR teleports on reaction. |
| Dictator | Bad. 4-6 |
| Ed | Good. |
| E Honda | Good. |
| Fang | Unfavorable. |
| Falke | Good. 5.5 to 6? |
| G | |
| Guile | |
| Ibuki | Bad. |
| Juri | Good. 6-4 |
| Karin | Good? 5.5 – 4.5 |
| Kage | Good. 6-4 |
| Ken | |
| Kolin | |
| Laura | |
| Lucia | |
| Menat | |
| Mika | |
| Nash | |
| Necalli | |
| Rashid | |
| Ryu | |
| Sagat | Good. 6-4 |
| Sakura | |
| Urien | |
| Zangief | |
| Zeku |